Kerf is the width of material removed by a saw blade during a cut. A typical table saw blade has a kerf of about 1/8 inch (3.2mm). On a 4x8 plywood sheet with seven rip cuts, that's nearly an inch of material turned to sawdust. On a full project with 40 cuts, the kerf alone consumes close to 5 inches of wood.
Most woodworkers learn about kerf the hard way: a piece comes out 1/8" short. Then another. By the third short piece, you realize the blade has been eating your margins.
This guide explains what kerf means, why it matters for your projects, how to measure it, and how to stop losing material to it. Whether you work with a table saw, circular saw, or jigsaw, the kerf is always there, quietly shrinking every piece you cut.
What Is Kerf? (Simple Definition)
Kerf is the slot left behind when a saw blade passes through material. The blade doesn't just separate wood into two pieces. It removes a strip of material equal to the width of the blade's teeth. That strip becomes sawdust.
The word comes from the Old English "cyrf," meaning a cut or a slit. It's been used in woodworking for centuries, long before power tools existed.
Kerf in Woodworking vs Other Industries
In woodworking, kerf refers specifically to the width removed by a saw blade (table saw, circular saw, band saw, jigsaw).
In laser cutting, kerf is the width burned away by the laser beam, typically 0.1 to 0.3mm. Much narrower than a saw blade, which is why laser-cut parts fit together with tighter tolerances.
In metalworking and welding, kerf describes the cut width from plasma cutters, oxy-fuel torches, or water jets. Different tools, same principle: material is removed during the cut, and you need to account for it.
If you've searched "kerf meaning" or "kerf definition" and found results about welding or laser cutting, that's because the same word applies across industries. In this guide, we're focused on saw blades and woodworking.
Why Kerf Matters in Woodworking
Here's where the kerf stops being a vocabulary word and starts being a budget line item.
The Math
A standard table saw blade has a 1/8" (3.2mm) kerf. If your project requires 40 cuts across all your sheets:
40 cuts x 3.2mm = 128mm of material lost to sawdust.
That's over 5 inches. On a 4x8 sheet (2,440mm long), that's more than 5% of the sheet's length consumed by the blade alone.
The Money
A sheet of 3/4" Baltic birch plywood costs around $133. If bad kerf accounting forces you to buy one extra sheet on a project, that's $133 you didn't need to spend.
On a 77-piece cabinet project, the kerf across all cuts can be the difference between fitting everything on 10 sheets and needing 11. That one extra sheet isn't cheap.
Why Optimizers Ask for Kerf Width
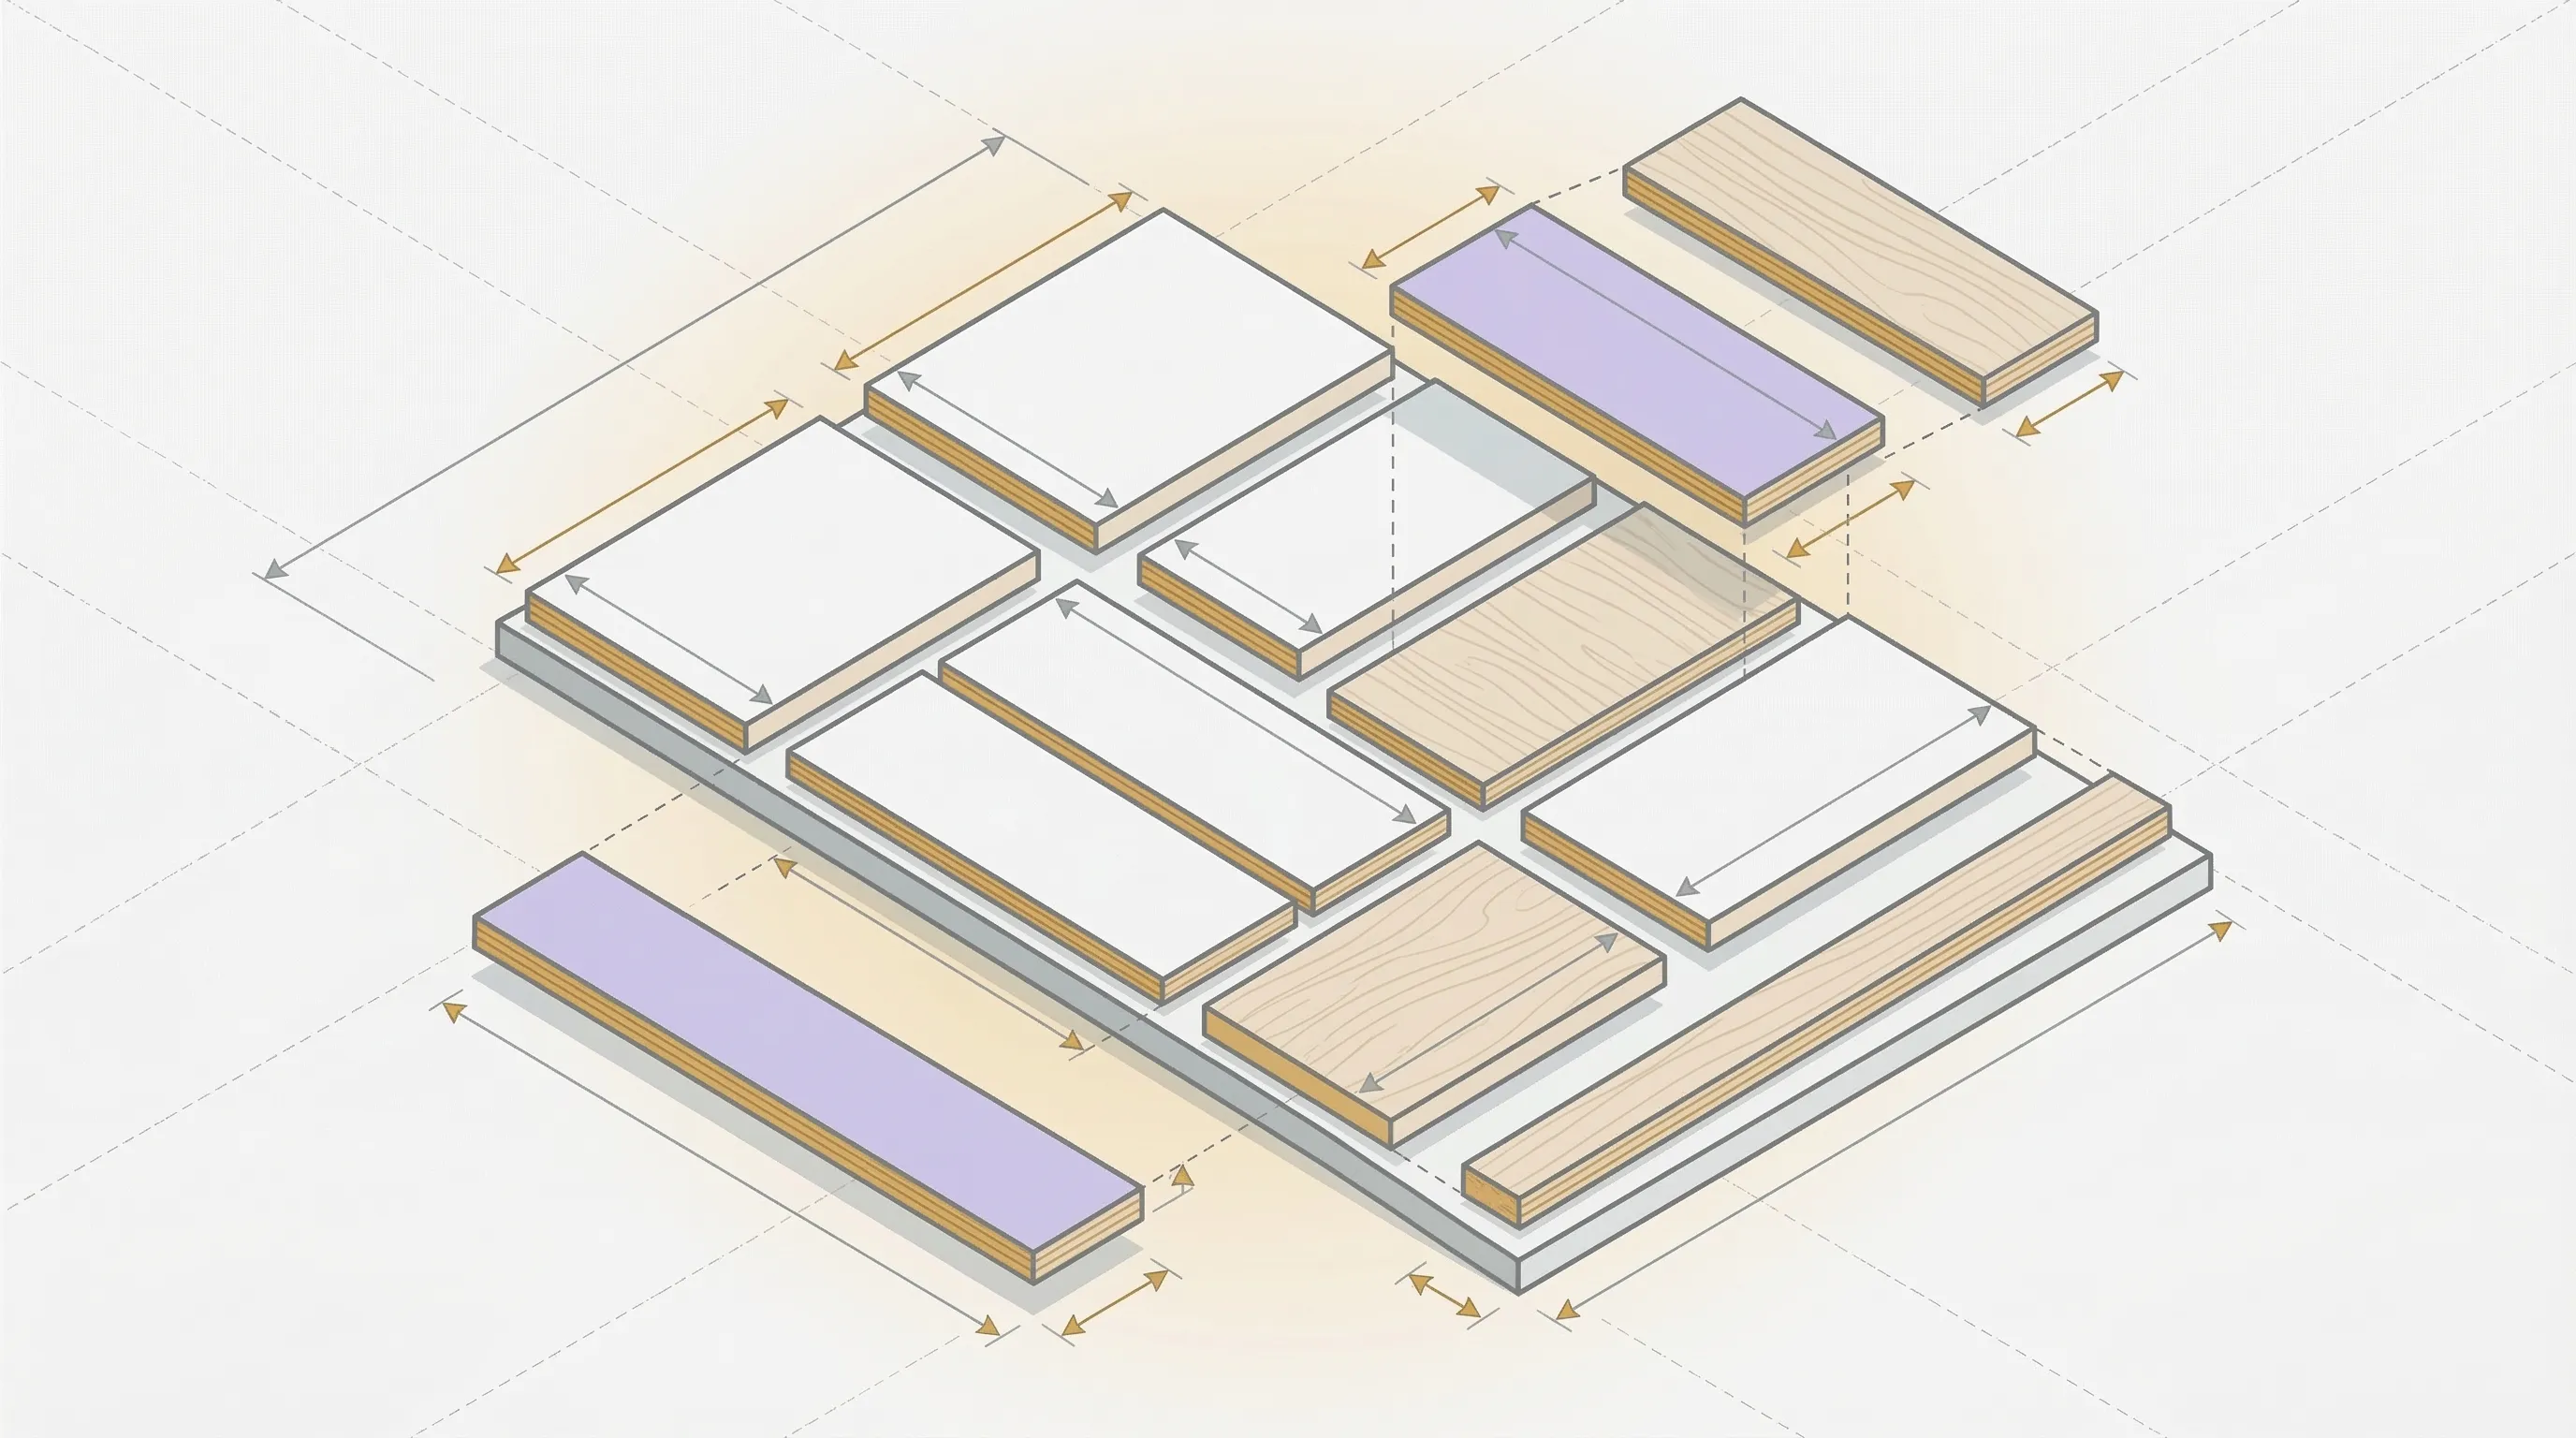
When you enter pieces into a cut list optimizer, one of the first settings is kerf width. The software needs to know how much material each cut removes so it can space pieces correctly on the sheet.
Set the kerf too low and pieces won't fit as planned. Set it too high and you'll waste space between cuts. The right number matters.
What Is Kerf Width? (Standard Sizes)
Kerf width varies by blade type. Here are the common categories:
| Blade Type | Kerf Width | Common Use |
|---|---|---|
| Full kerf | 1/8" (3.2mm) | Standard table saw, standard circular saw |
| Thin kerf | 3/32" (2.4mm) | Table saws with smaller motors, portable saws |
| Ultra-thin kerf | 5/64" (2.0mm) | Specialty blades, Japanese-style saws |
| Band saw | 1/16" to 1/8" (1.5-3mm) | Resawing, curves, thicker stock |
| Jigsaw | ~1/16" (1.5mm) | Curves, interior cuts |
| Hand saw | ~1/16" to 3/32" (1.5-2.4mm) | Traditional joinery |
| Laser | 0.004-0.012" (0.1-0.3mm) | CNC laser cutters |
The full kerf blade at 1/8" is what most woodworkers encounter first. It's the default on nearly every 10" table saw blade sold in stores.
Thin kerf blades save material but trade stability for it. More on that tradeoff below.
How to Measure Your Kerf
If you're not sure of your blade's kerf width, measure it:
- Take a scrap piece of plywood, at least 12" long.
- Mark a line across it.
- Cut along the line.
- Push the two halves back together (they won't quite touch).
- Measure the gap with calipers. That gap is your kerf.
Most blade manufacturers print the kerf width on the blade body or packaging. Check there first.
What Is a Kerf Cut?
A kerf cut is a specific woodworking technique where multiple parallel cuts are made partway through a board, allowing it to bend. The cuts weaken the wood in a controlled way, creating flexibility.
This is different from "kerf" as a measurement. "Kerf width" is about how much material the blade removes. "Kerf cutting" (or "kerfing") is about using those cuts as a bending technique.
How Kerf Cuts Work
You set your table saw blade to cut about 2/3 through the thickness of a board. Then you make a series of evenly spaced parallel cuts, typically 1/4" to 1/2" apart. The remaining 1/3 of the wood acts as a hinge, letting the board bend along the cuts.
Applications
- Curved furniture: Curved cabinet faces, rounded corners, arched trim.
- Bending plywood: Making plywood conform to curves without steam bending.
- Architectural details: Curved walls, radius moldings, cylindrical columns.
- Speaker enclosures: Rounded corners on speaker cabinets.
Kerf Cutting Plywood
Plywood is harder to kerf-bend than solid wood because of its cross-grain layers. For plywood kerf cuts:
- Use 1/4" or 1/2" plywood (3/4" is too thick for clean bending).
- Cut deeper (closer to 3/4 of the thickness).
- Space cuts closer together (every 1/4").
- Back the bend with a thin backing sheet or fiberglass mesh.
MDF kerfing is more common for curves because MDF bends more uniformly. But plywood kerf cuts work for larger radius bends where MDF's weight or moisture sensitivity is a concern.
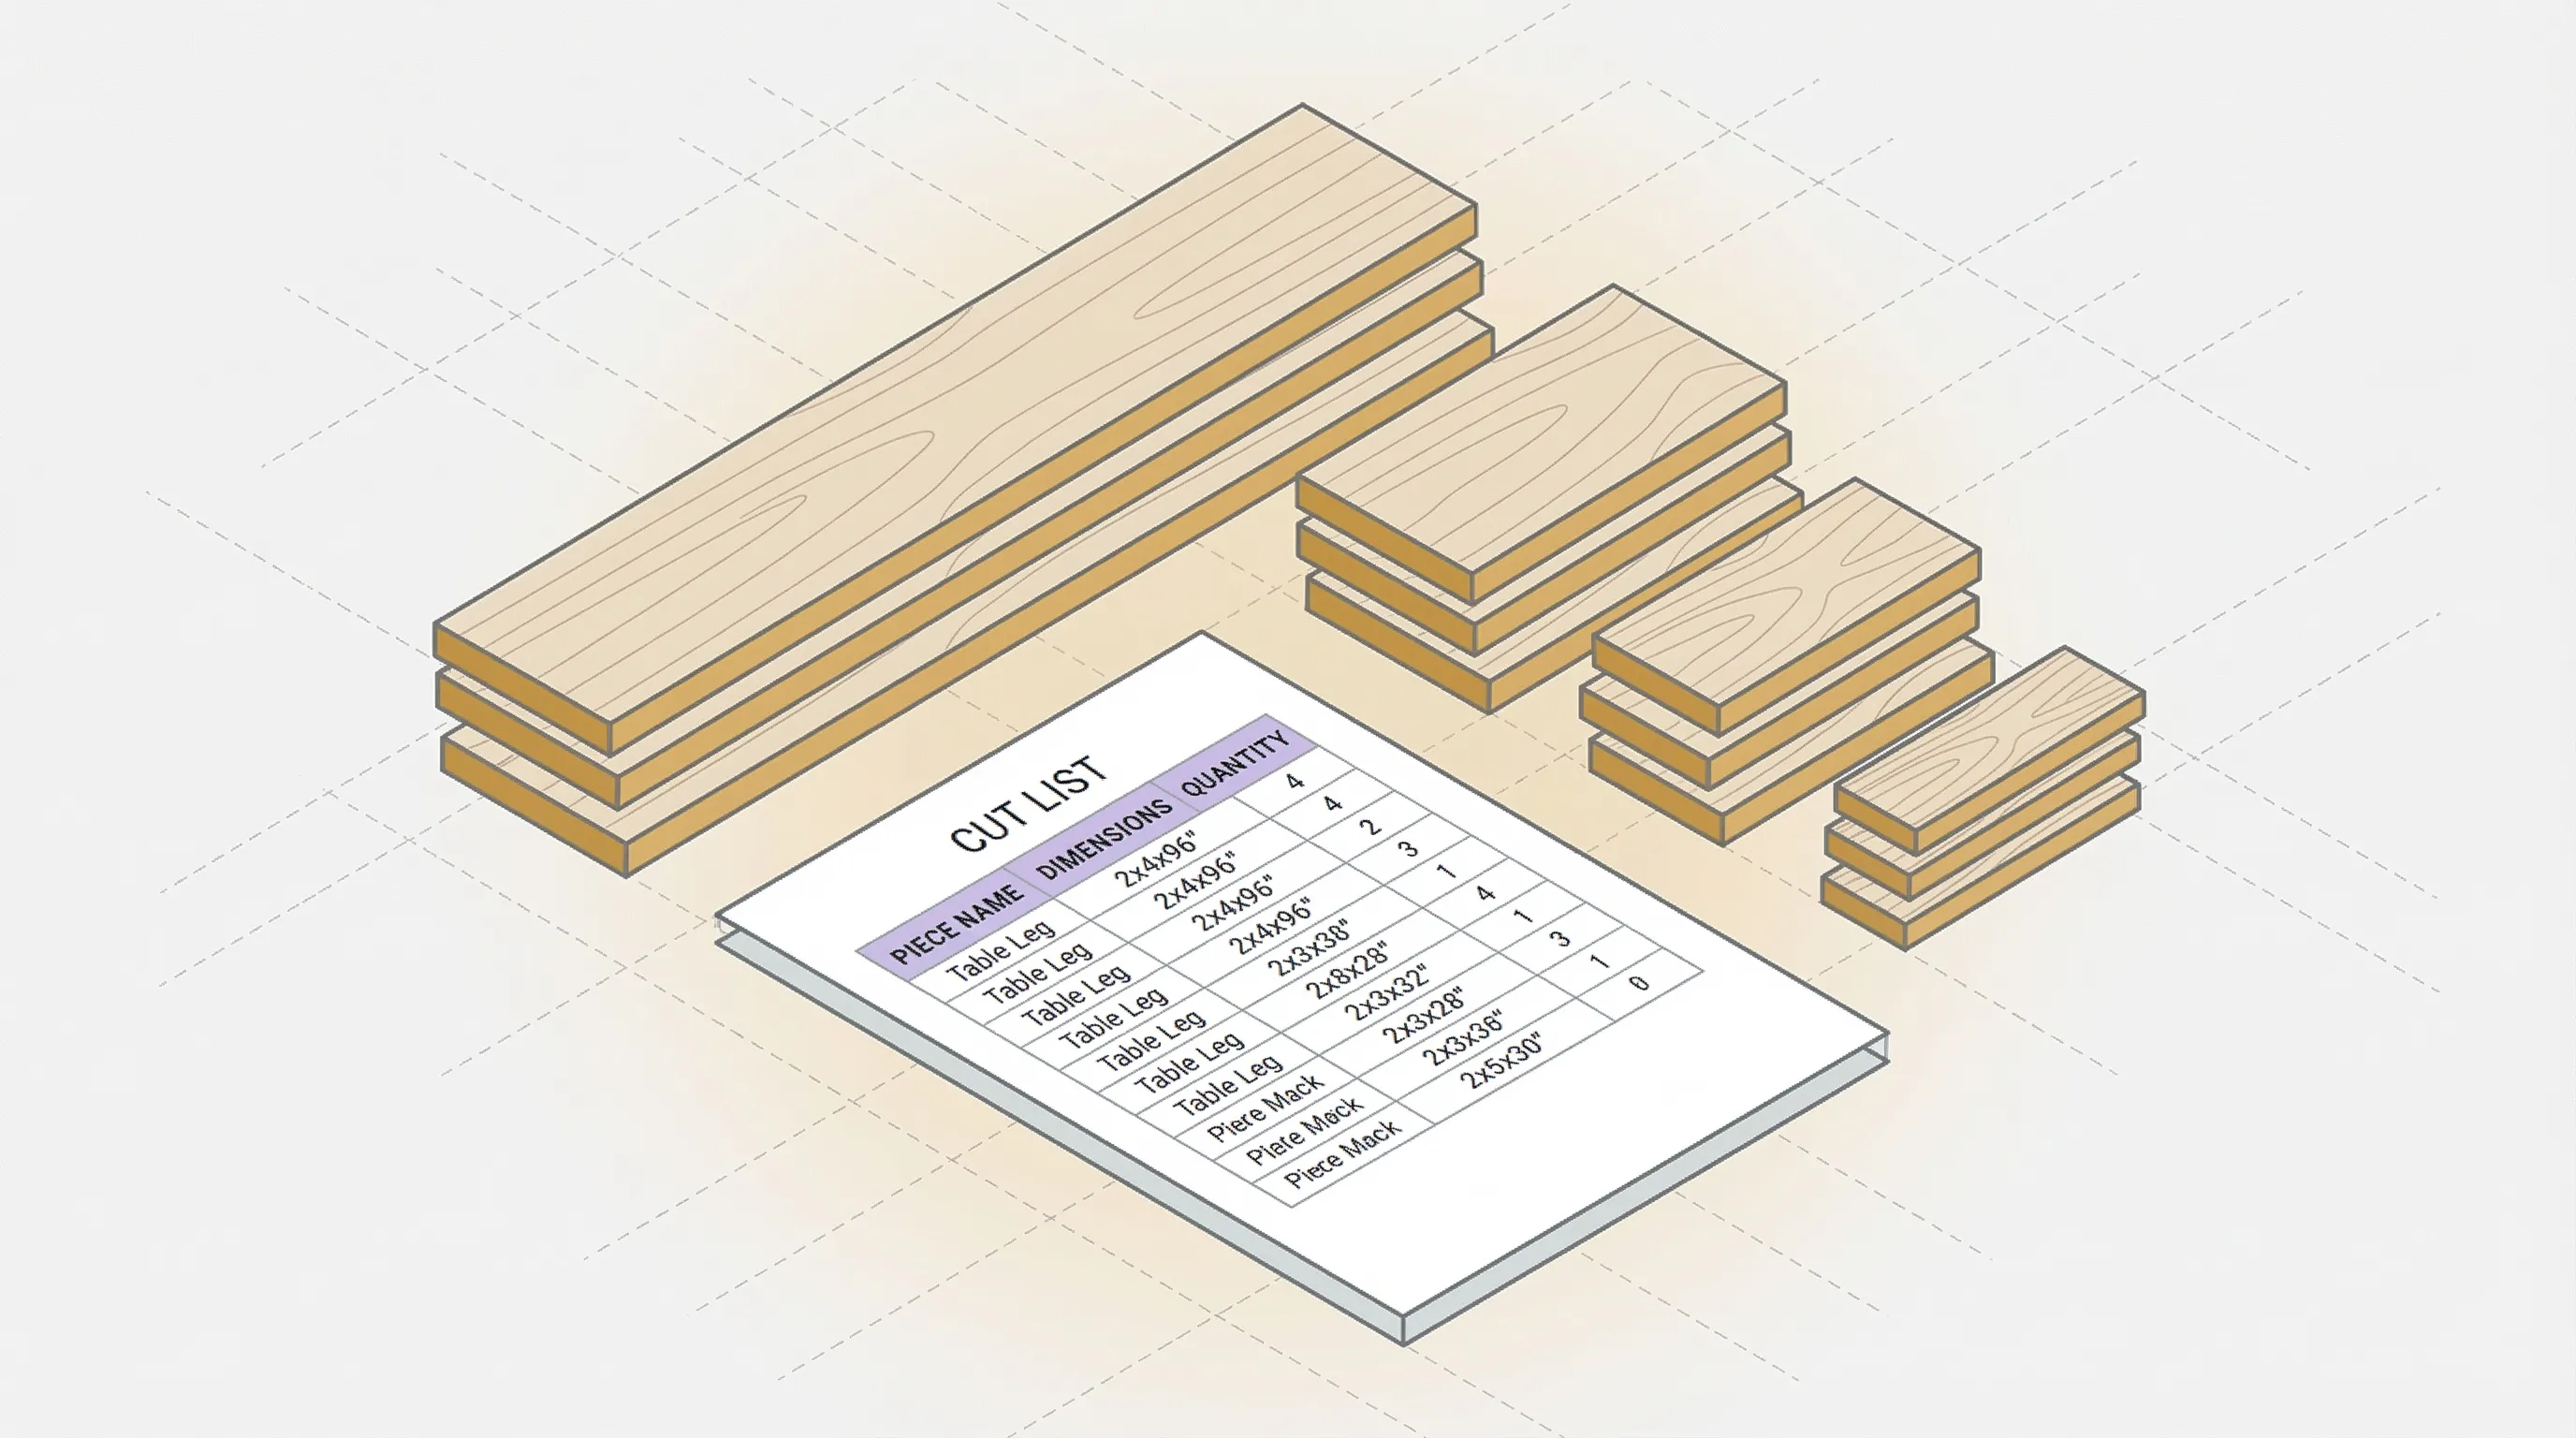
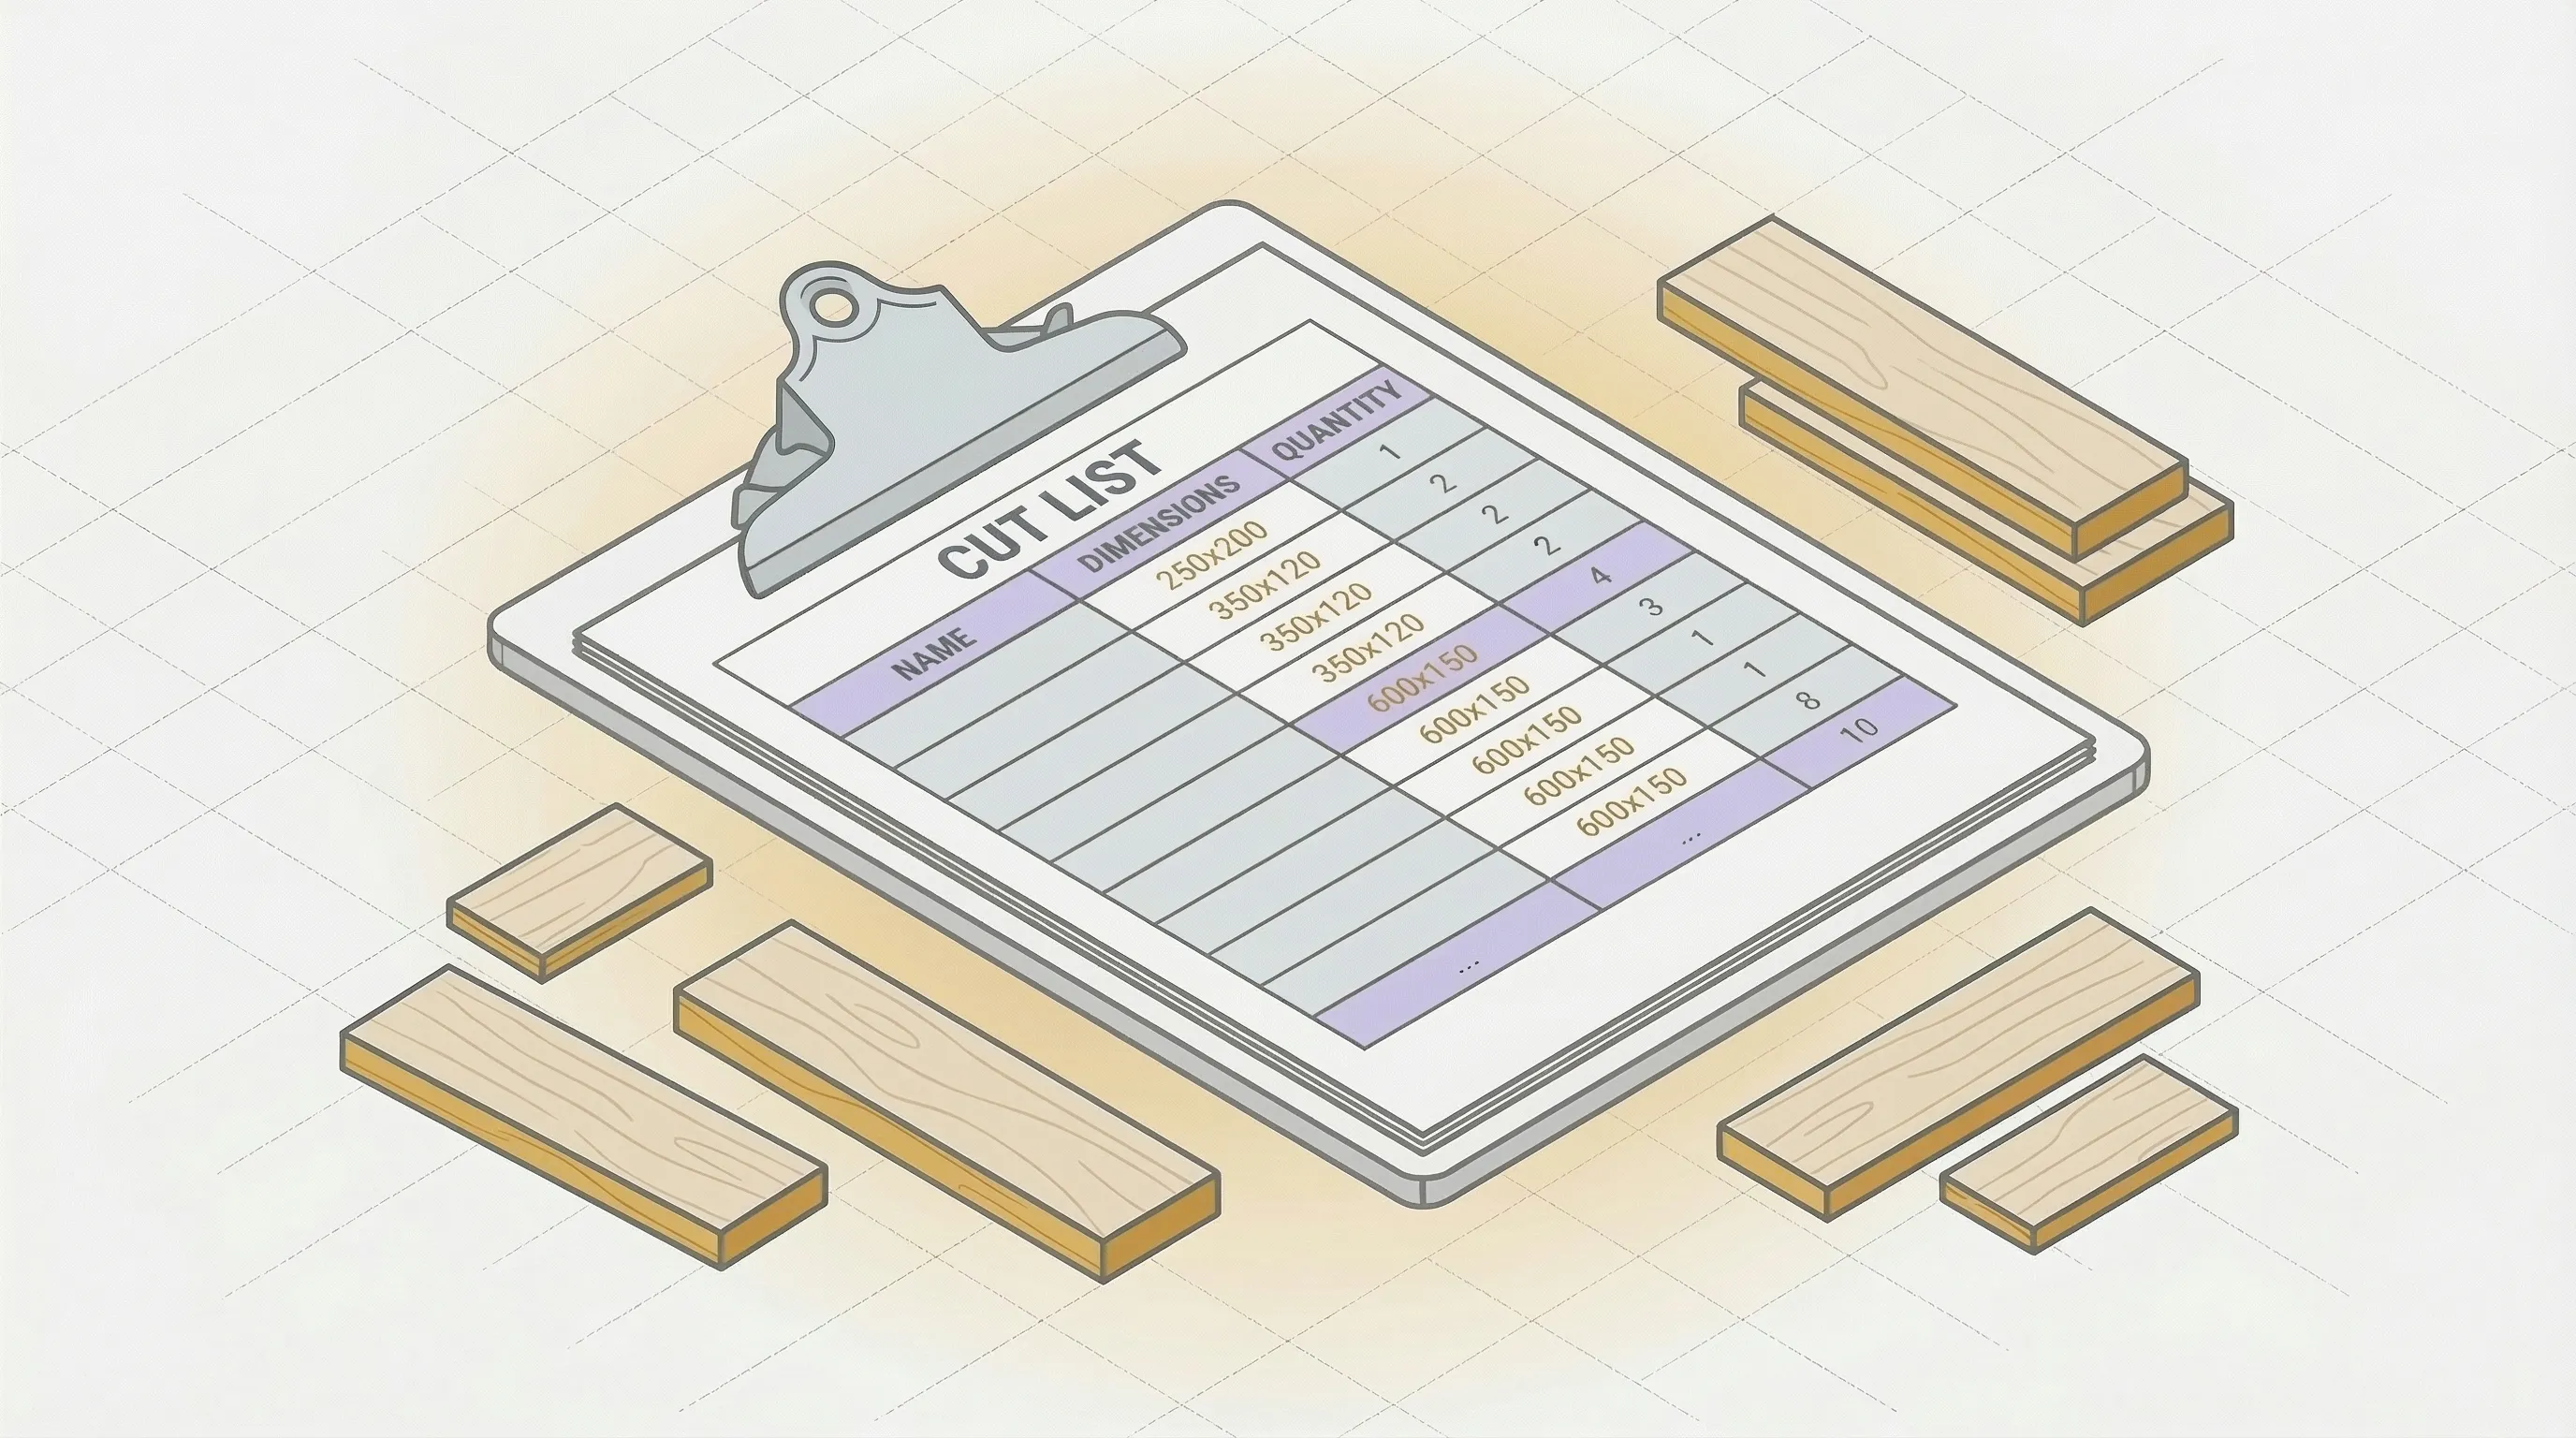
How to Account for Kerf in Your Cut List
Kerf is easy to forget and expensive to ignore. Here's how to handle it.
Manual Accounting
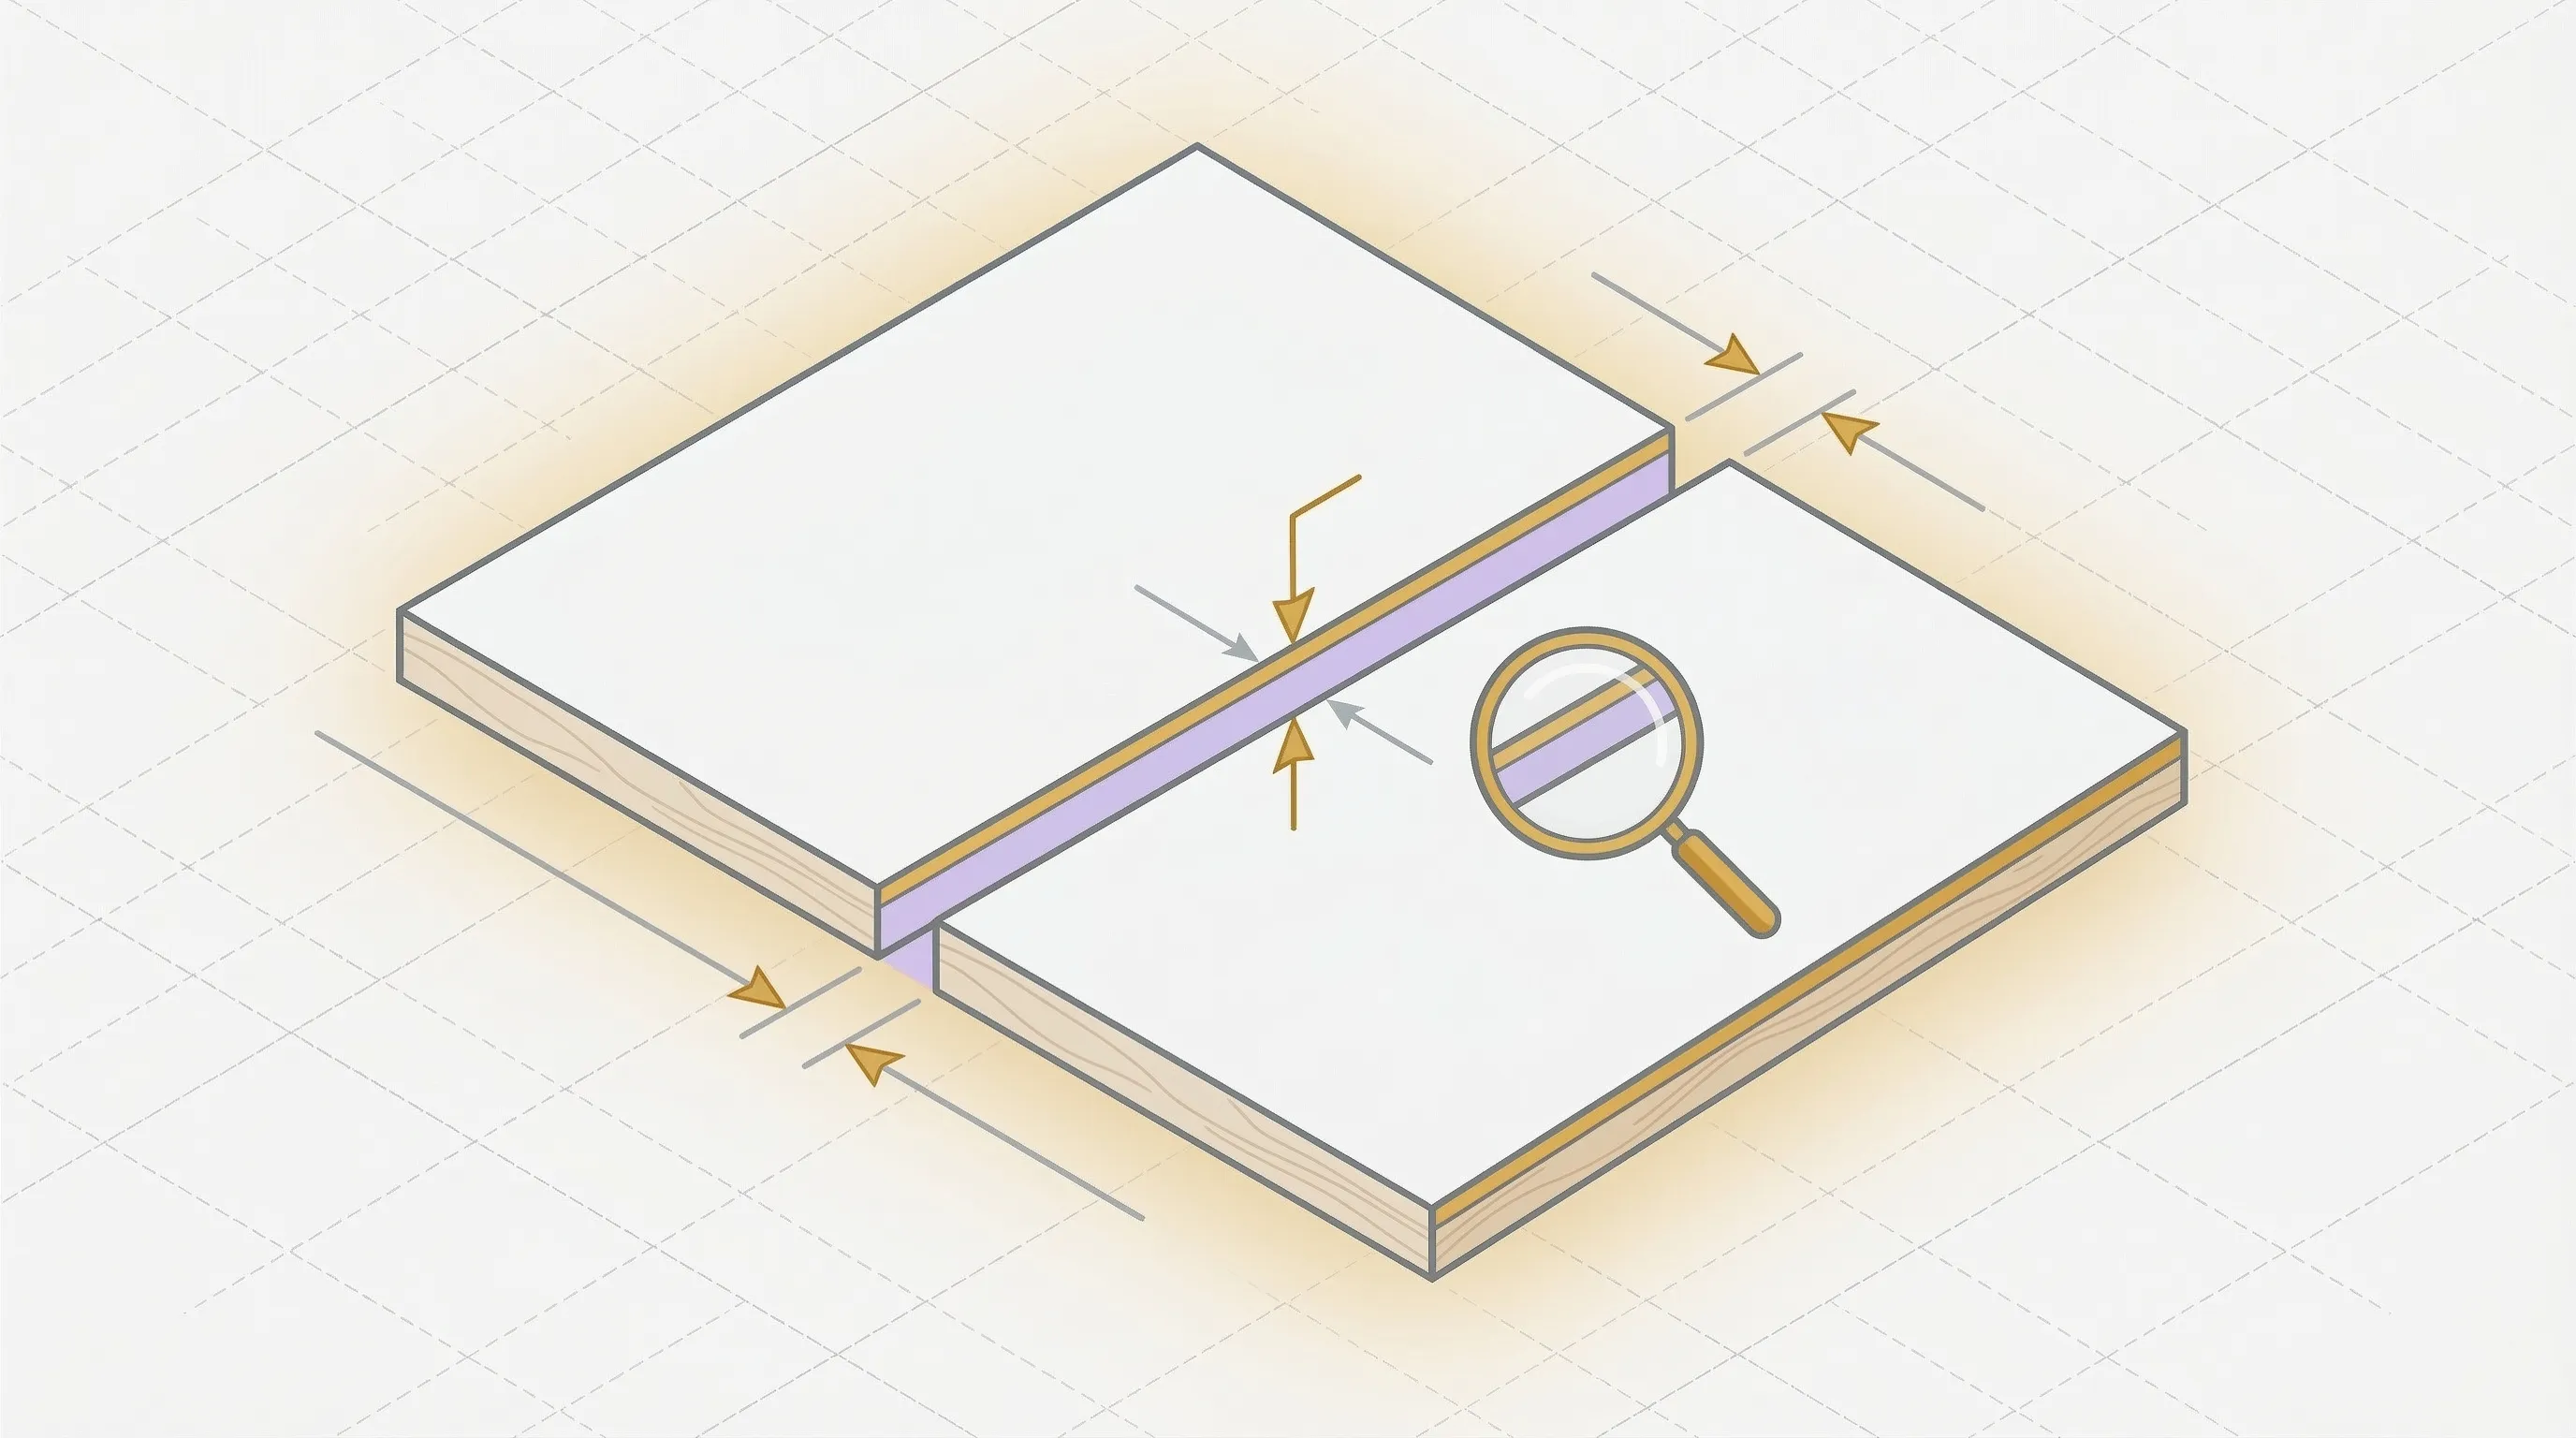
When laying out pieces on a sheet by hand:
- Place the first piece against the edge of the sheet.
- Add one kerf width (3.2mm for a standard blade) after the piece.
- Place the next piece after the kerf gap.
- Repeat for every cut.
On a sheet with seven pieces in a row, you need six kerf gaps between them. That's 6 x 3.2mm = 19.2mm of space consumed by the blade. If you forget to account for it, your last piece won't fit.
Let Software Handle It
Cut list optimizers account for kerf automatically. You enter your kerf width once as a setting. The software adds that gap between every piece when generating the cutting diagram.
This is one of the biggest advantages of using an optimizer over manual layout. The software never forgets the kerf. Your pencil and graph paper might.
Enter your cut list into the cutlist optimizer. Set your kerf width. The optimizer handles the rest.
Same Project, With and Without Kerf
Here's a real example of why kerf settings matter.
A 10-piece project on a single 4x8 sheet, with pieces that fit tightly:
- Without kerf: All 10 pieces fit on one sheet. Layout looks perfect.
- With 3.2mm kerf: Only 9 pieces fit. The last piece extends past the sheet edge by 22mm.
That's one extra sheet for one overlooked setting. At $133 per sheet of Baltic birch, the kerf setting just paid for itself many times over.
Thin Kerf vs Full Kerf Blades
Choosing between thin kerf and full kerf is a real tradeoff. Neither is universally better.
Full Kerf Blades (1/8" / 3.2mm)
Advantages:
- More rigid. Less vibration and deflection during cuts.
- Cleaner cuts on thick stock (3/4" and above).
- More forgiving on older or less rigid table saws.
- Wider variety of tooth configurations available.
Best for: Dedicated cabinet saws, contractor saws with good fences, heavy stock removal.
Thin Kerf Blades (3/32" / 2.4mm)
Advantages:
- Remove 25% less material per cut. On 40 cuts, that's 32mm of material saved.
- Require less motor power. Better for portable saws and contractor saws under 2 HP.
- Generate less sawdust.
Disadvantages:
- More prone to vibration, especially on longer cuts.
- Can deflect in thick stock, producing a slight curve in the cut.
- Stiffener plates sometimes needed for consistent results.
Best for: Portable job site saws, underpowered table saws, projects where every millimeter of material counts.
The Practical Difference
According to Fine Woodworking, thin kerf blades are a good choice for saws under 3 HP. For a dedicated cabinet saw with a 3+ HP motor and a solid fence, full kerf blades provide cleaner, more consistent results.
For a hobbyist with a contractor saw cutting plywood for a weekend project, thin kerf is the practical choice. You save material and your saw doesn't struggle.
FAQ
What Is a Kerf Door Frame?
A kerf door frame has a thin slot (kerf) cut along the inside edge of the frame. This slot holds a rubber or vinyl weatherstrip that seals the gap between the door and frame. It's called a "kerf frame" because the slot is created by running the frame through a saw, leaving a kerf-width channel. Common in interior pre-hung door units.
What Is Kerf in Laser Cutting?
In laser cutting, kerf is the width of material vaporized by the laser beam. Laser kerf is much narrower than saw kerf, typically 0.1 to 0.3mm depending on the material and laser power. CNC laser operators account for kerf in their software by offsetting the cut path by half the kerf width. The principle is identical to woodworking: material is removed during the cut, and the final piece dimensions depend on accounting for it.
How Do You Measure Kerf Width?
Make a single cut in a scrap piece of wood. Push the two halves back together. Measure the gap between them with calipers. That gap is your kerf width. Alternatively, check the blade's packaging or body, where the kerf is usually printed. For table saw blades, the kerf is determined by the width of the carbide teeth, not the blade plate.
Does Kerf Affect My Cut List?
Yes. Every cut removes material equal to the kerf width. If you don't account for kerf when planning your cuts, pieces will come out short or won't fit on the expected number of sheets. Most cutting optimization algorithms include kerf as a required input for this reason.
Where Should the Kerf Be When Beginning the Cut?
The kerf should fall on the waste side of your cut line, not on the piece you're keeping. Mark your cut line, then position the blade so the kerf falls entirely in the waste area. This ensures your finished piece matches the intended dimension. "Cut to the waste side of the line" is the standard shop rule, as referenced by the Forest Products Laboratory.
Account for Kerf in Your Next Project
Kerf is one of those details that separates careful woodworkers from the ones who always seem to be a piece short. A 3.2mm gap doesn't look like much. Multiply it by 40 cuts and you're looking at 5 inches of missing material.
The fix takes 10 seconds: enter your kerf width into your cutting plan. The cutlist optimizer accounts for kerf automatically in every layout it generates. Set it once and the optimizer spaces every piece correctly.
Your saw blade is always eating material. Make sure your plan knows about it.
Ready to optimize your cuts?
Join the waitlist and be among the first to try SmartCutList.
Join the waitlist