To cut plywood cleanly, use a fine-toothed blade (60 to 80 teeth), set blade depth to 1/8" below the sheet, and cut with the finished side facing down on a circular saw or facing up on a table saw. Apply masking tape along the cut line for extra protection. Plan your cuts first with a cutting diagram to minimize waste.
Most plywood waste happens before you pick up the saw.
A badly planned layout on a $133 sheet of Baltic birch is an expensive mistake. Eyeballing the arrangement, forgetting about kerf, cutting the small pieces first and leaving awkward gaps for the large ones. That's how a 10-sheet project turns into a 12-sheet project. That's $266 in the scrap bin.
This guide covers everything: planning your cuts before touching wood, choosing the right tool for the job, preventing splintering on every cut, handling thin plywood, and setting up safely. The goal is clean cuts and zero wasted sheets.
Plan Your Cuts Before You Cut
The best way to cut plywood starts before you turn on any tool. Planning is where the money is saved.
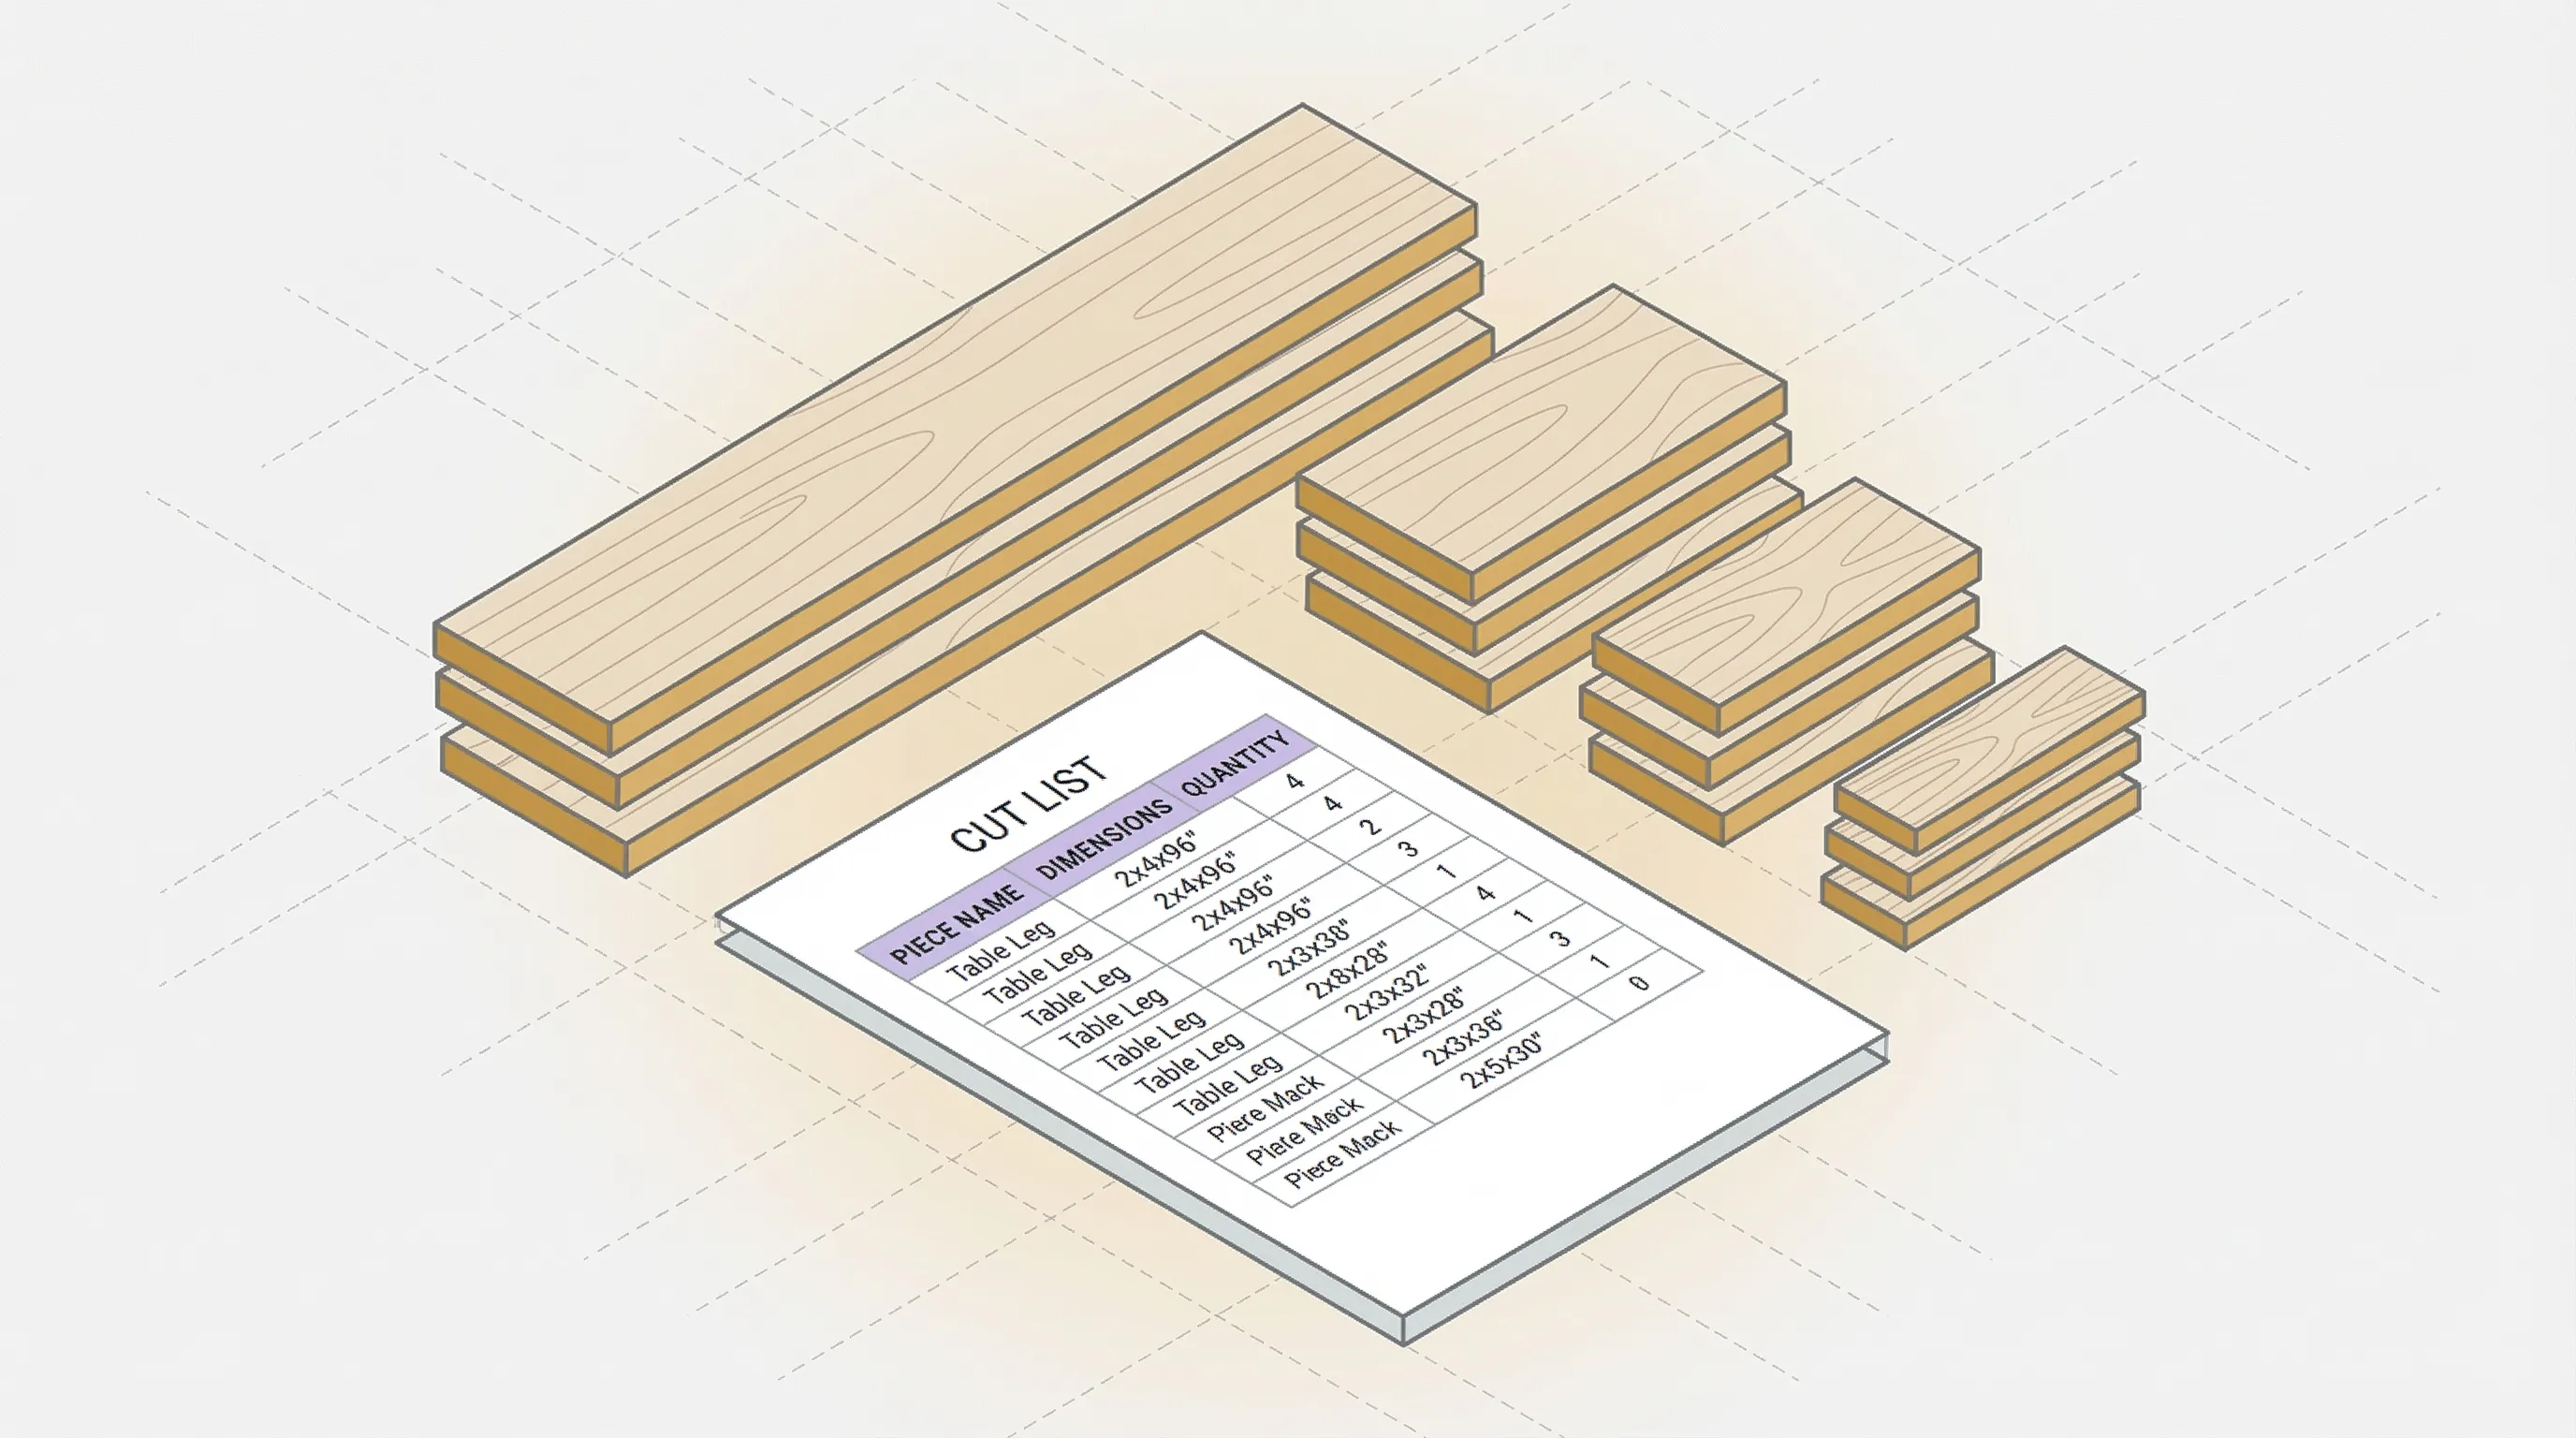
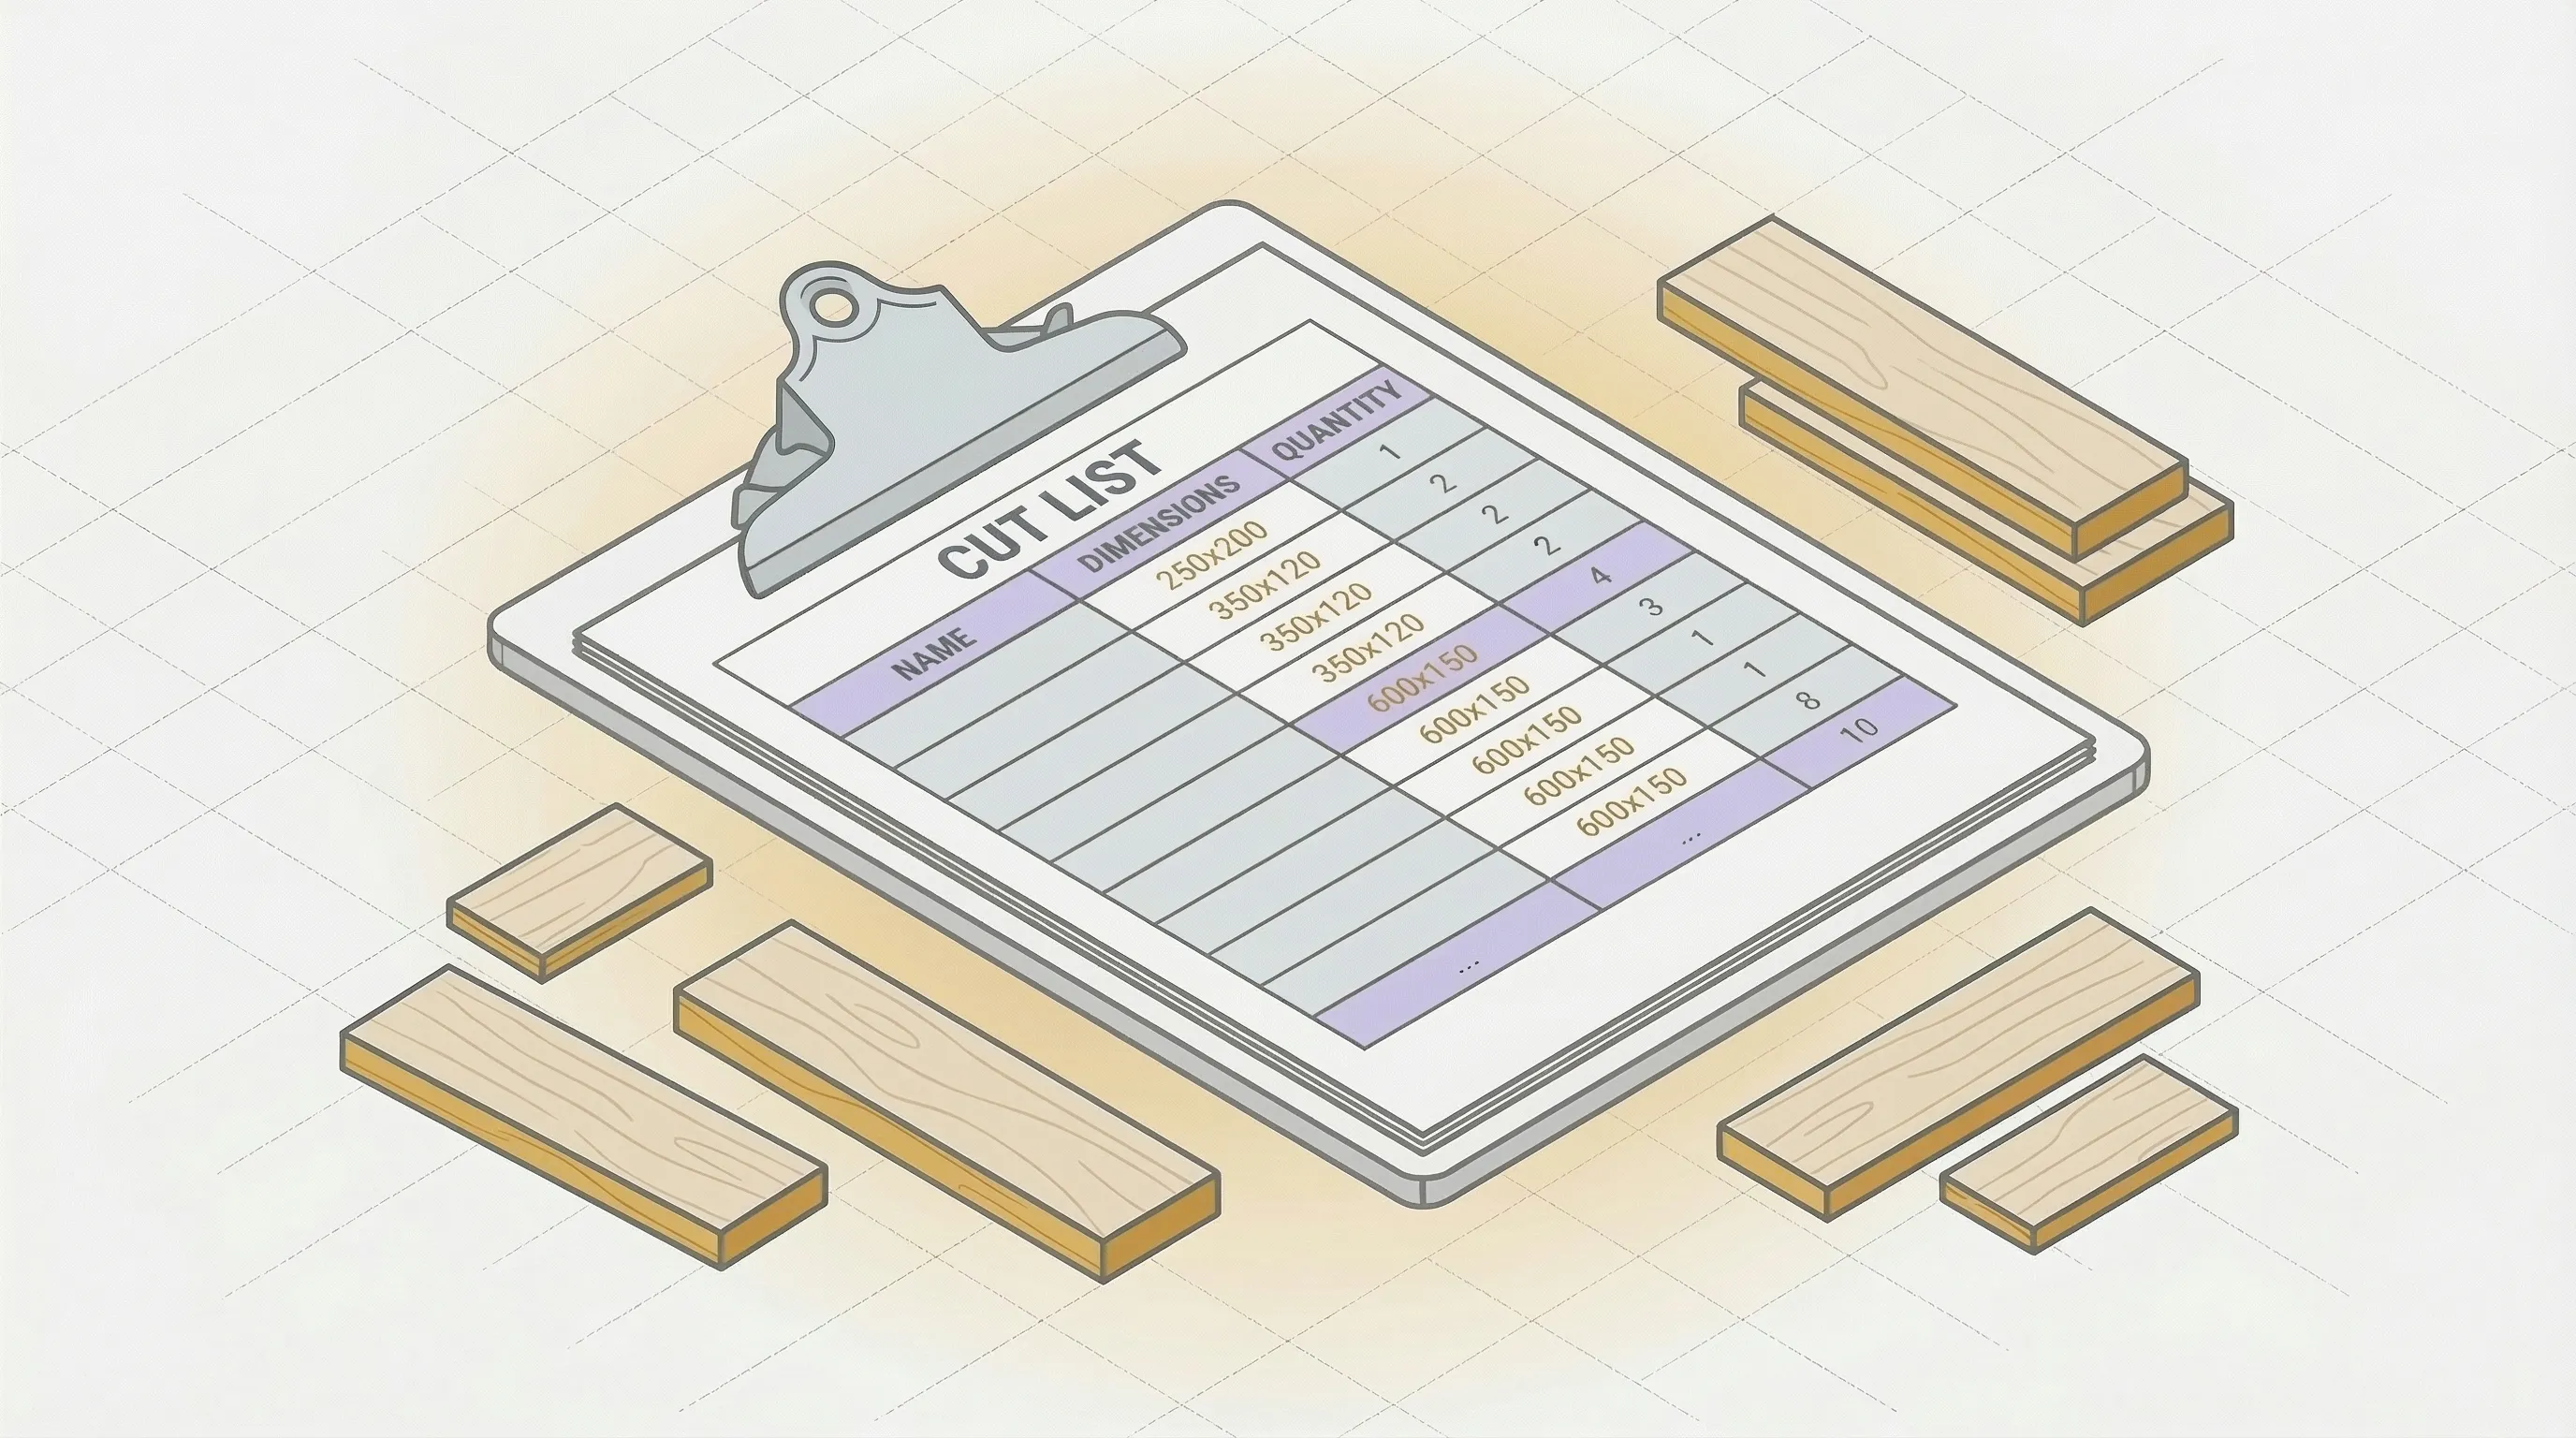
Build a Cut List First
A cut list is a table of every piece you need: name, length, width, quantity, material. It forces you to account for every piece before the blade touches wood.
Without a cut list, you'll forget the toe kick. Or cut the shelf at 34-1/2" instead of 34-3/4". Or realize you need two more pieces from a sheet you already cut up.
For a step-by-step walkthrough, see how to make a cut list.
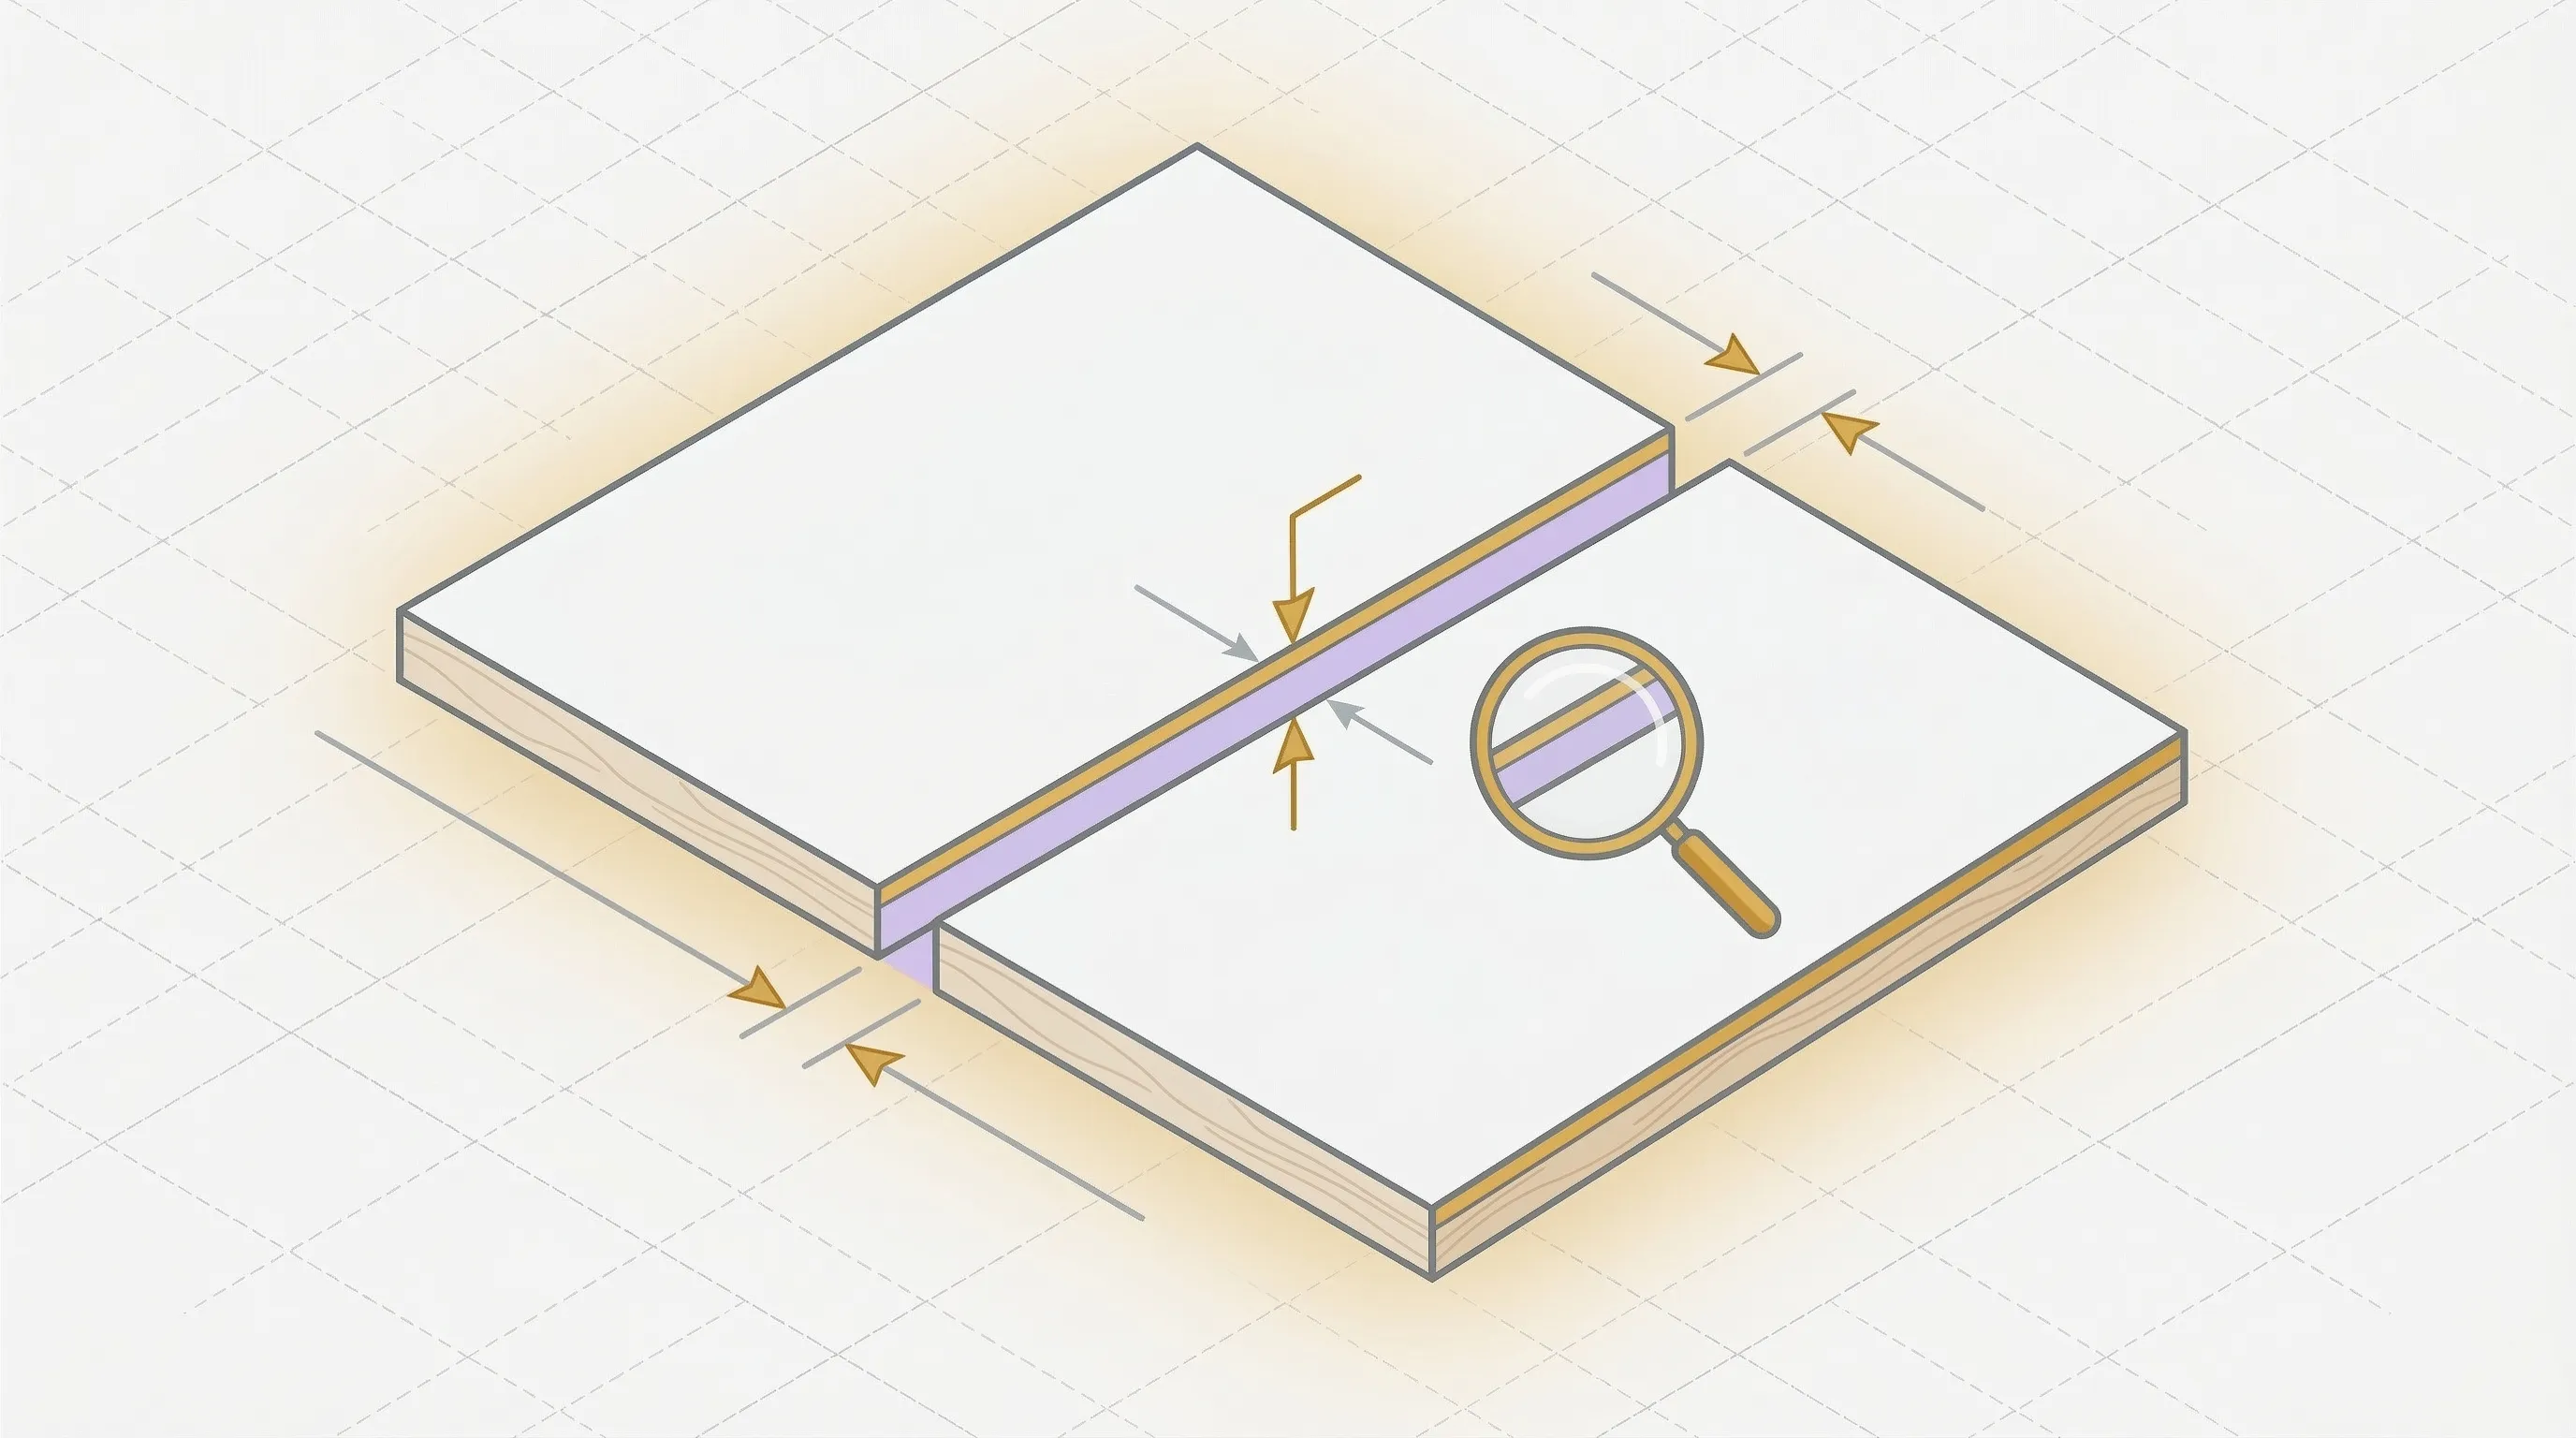
Account for Kerf and Waste
Your saw blade removes material with every cut. A standard table saw blade has a 1/8" (3.2mm) kerf. Across 40 cuts on a project, that's nearly 5 inches of wood turned to sawdust.
If you don't account for kerf in your layout, pieces won't fit as planned. The last piece on every sheet comes up short. This is the most common source of plywood waste that nobody talks about.
The Cost of Bad Planning
A 77-piece cabinet project tested across six different layout methods showed a range of 10 to 12 sheets needed, depending on how the pieces were arranged. Two extra sheets of 3/4" Baltic birch at $133 each is $266 wasted on layout, not on cutting technique.
The planning saves more money than the blade choice, the tape, or any other trick in this guide.
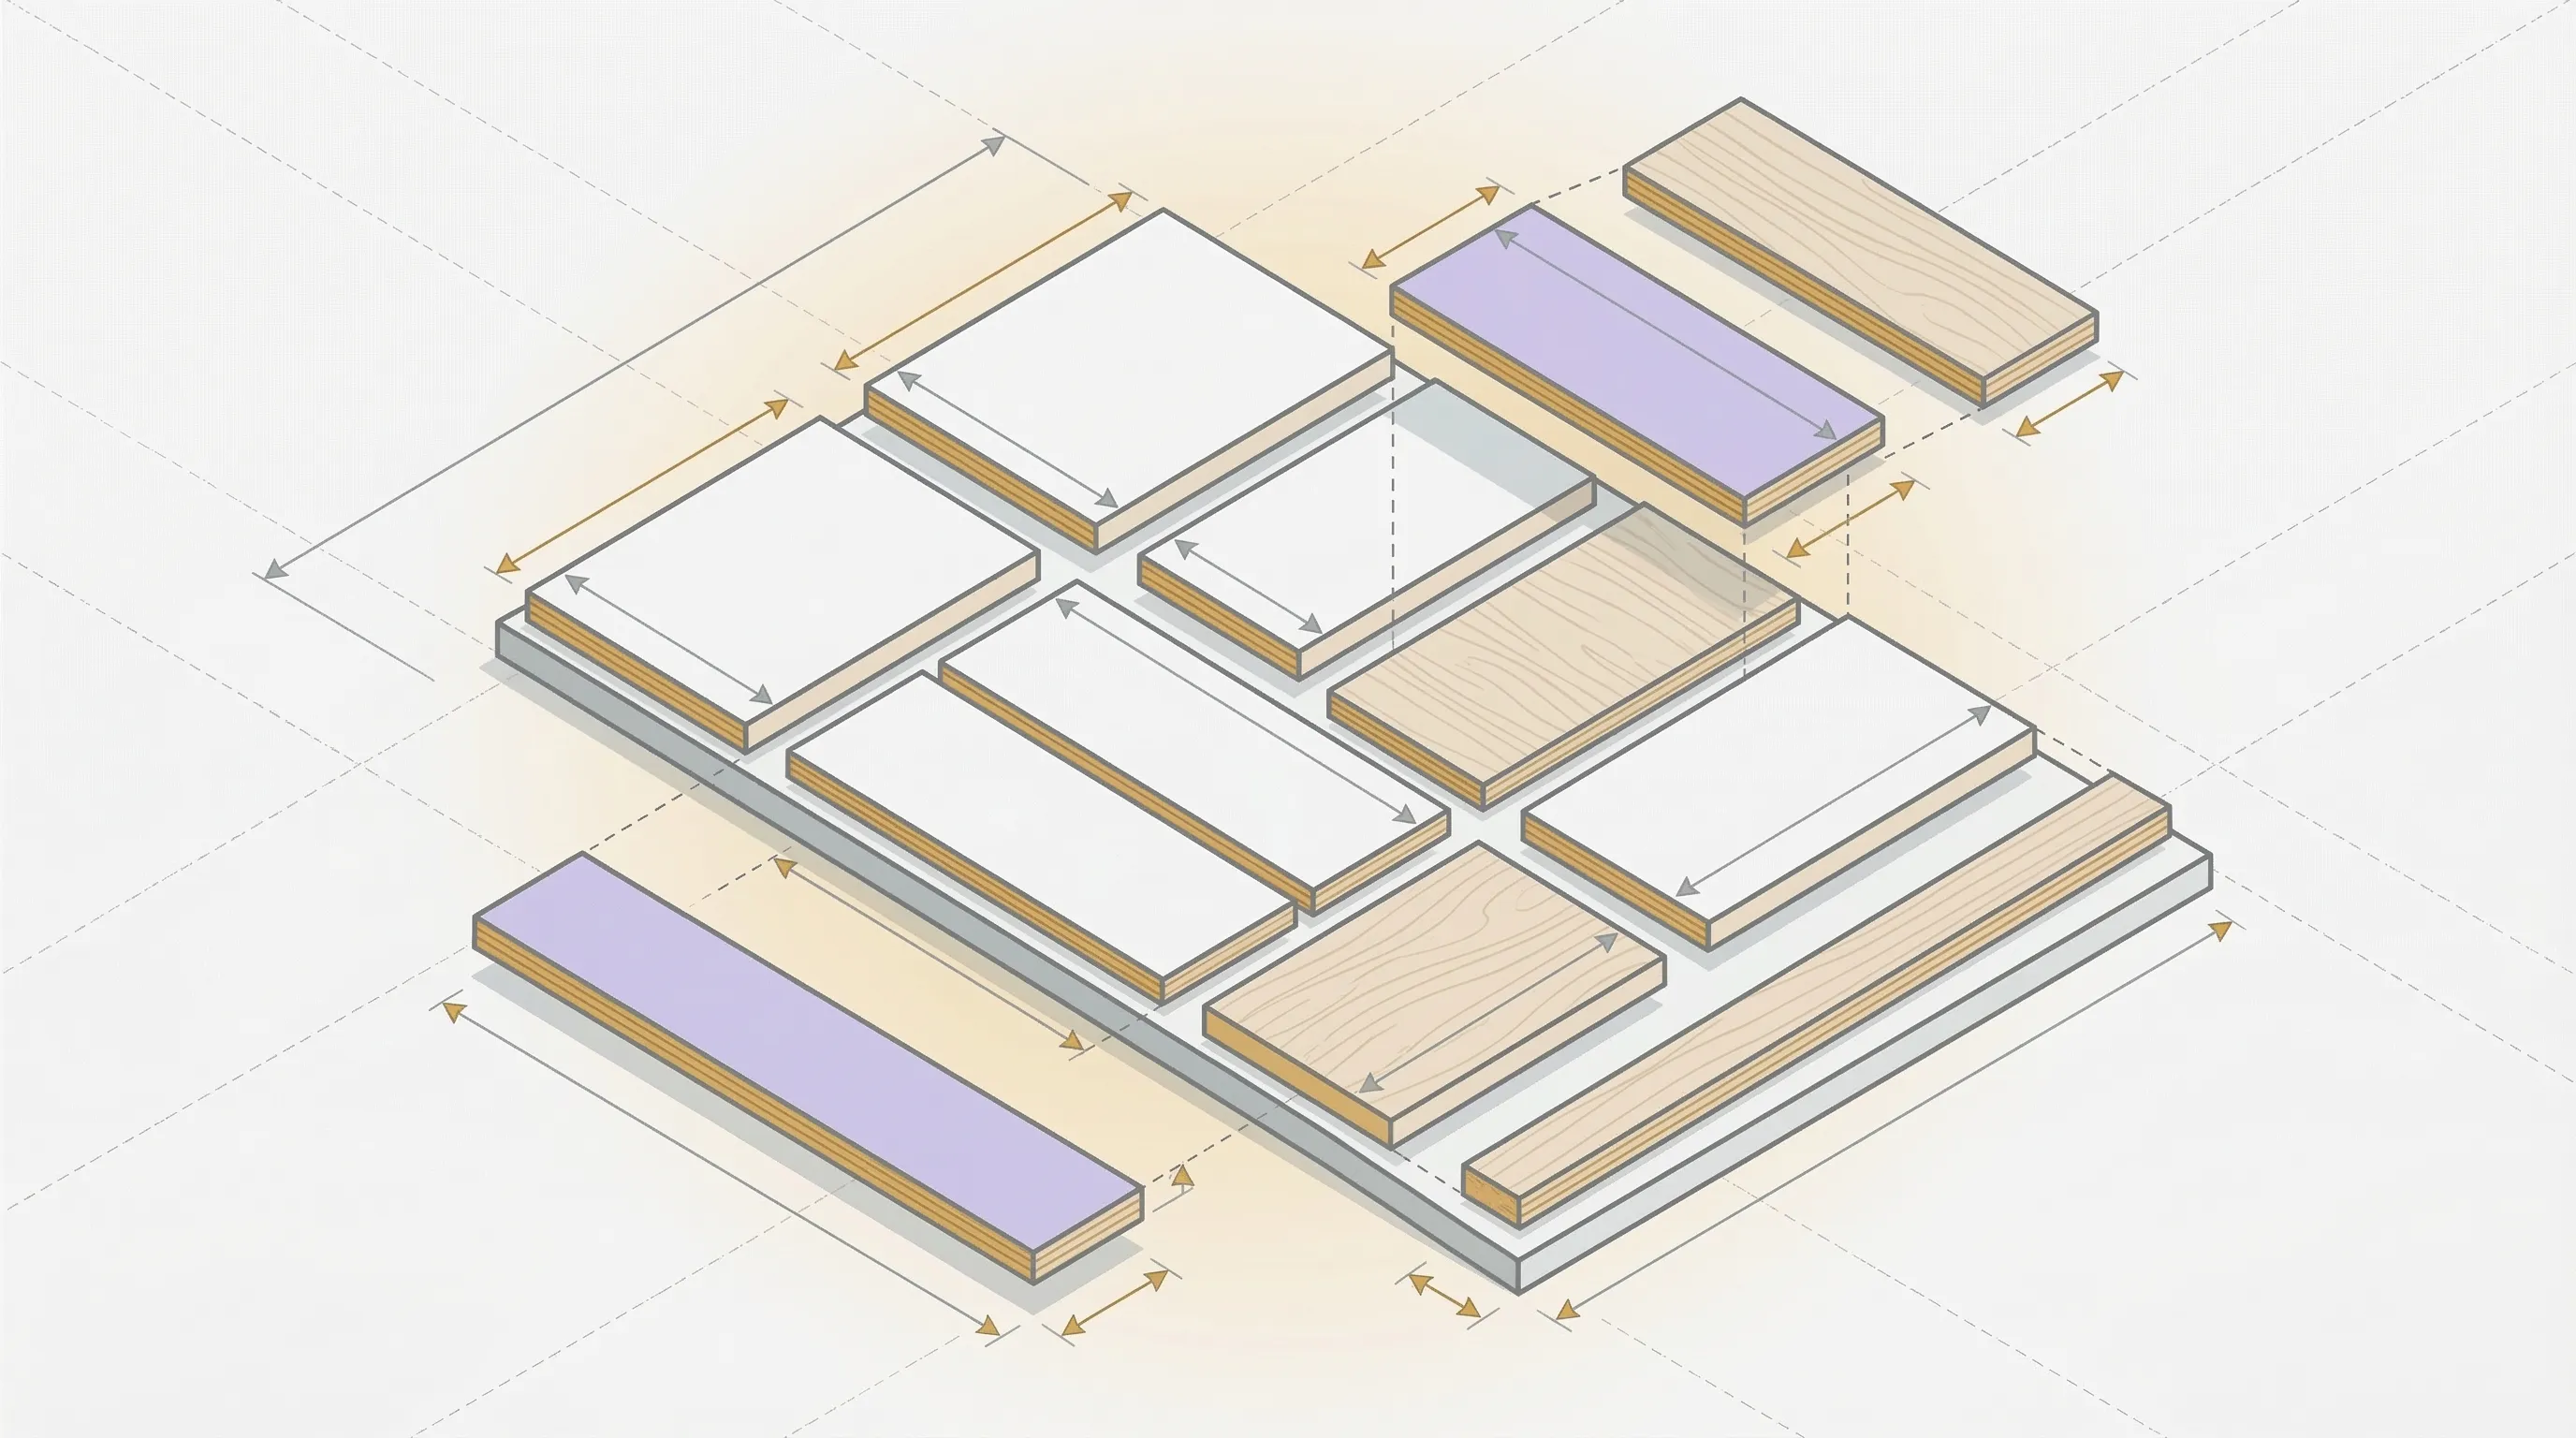
Use a Cutting Diagram
A cutting diagram is a visual map showing exactly where each piece goes on each sheet. You can draw one by hand on graph paper (place the biggest pieces first, add kerf gaps between them) or let software generate one automatically.
The software approach is faster and more accurate. A cut planning tool tests thousands of arrangements and returns the one that uses the fewest sheets. The cutlist optimizer generates an optimized cutting diagram in 30 seconds. Enter your pieces, set your sheet size and kerf, and print the layout.
Cut the biggest pieces first. They constrain the layout the most. Small pieces fit into the gaps that large pieces leave behind, not the other way around.
Best Tools to Cut Plywood
Circular Saw (Best for Most People)
The circular saw is the most common tool for cutting plywood, and for good reason. It's portable, affordable, and handles full 4x8 sheets on sawhorses.
Key settings:
- Blade: 60 to 80 tooth, carbide-tipped, "plywood" or "fine finish" label.
- Blade depth: Set so teeth extend 1/8" below the sheet. No more. Deeper settings increase tearout.
- Guide: Use a straight edge clamped to the sheet or a track saw system for straight cuts. Freehand cuts on plywood are not straight cuts.
- Face orientation: Finished side faces down. The circular saw blade rotates upward, so tearout happens on the top face.
A circular saw with a good blade and a straight edge produces cuts as clean as a table saw. The blade does the work, not the tool.
Table Saw (Best for Repeated Rip Cuts)
The table saw excels at ripping plywood to consistent widths: shelf depths, side panels, drawer parts. Once the fence is set, every cut is identical.
Key differences from circular saw:
- Finished side faces up. The blade rotates downward into the wood, so tearout happens on the bottom.
- Full 4x8 sheets are awkward on a table saw. Get a helper or use roller stands.
- Better for repeated cuts at the same width. Worse for one-off crosscuts.
For crosscuts on the table saw, use a crosscut sled or miter gauge. Don't freehand crosscuts against the fence (the offcut can kick back).
Jigsaw (Best for Curves and Cutouts)
The jigsaw handles curves, interior cutouts, and sink openings that straight-line tools can't.
- Use a fine-tooth blade with 20 teeth per inch (TPI) for clean edges.
- Go slow. Forcing a jigsaw through plywood causes wandering cuts and tearout.
- Finished side faces down (same as circular saw, blade cuts on the upstroke).
- Not ideal for long straight cuts. Use a circular saw or table saw for those.
By Hand (No Power Tools)
You can cut plywood without power tools. The results are slower but clean if you use the right technique.
Crosscut hand saw: For cuts across the sheet. Use a fine-tooth crosscut saw (12+ TPI). Clamp a straight edge as a guide. Support the sheet on both sides of the cut line.
Score and snap: For thin plywood (1/4" or less). Score the cut line deeply with a utility knife and straight edge. Score multiple passes. Align the score line with the edge of a table and snap downward. Clean the edge with a sanding block.
Utility knife only: For very thin plywood (1/8" or less, like craft plywood). Multiple passes with a sharp blade against a metal straight edge. No saw needed.
How to Cut Plywood Without Splintering
Splintering is the number one complaint about cutting plywood. The cross-grain veneer layers tear instead of cutting cleanly, leaving ragged edges on your finished pieces.
Here's how to prevent it.
Use the Right Blade
A 24-tooth framing blade will destroy plywood. Use a blade with 60 to 80 teeth, carbide-tipped, labeled for plywood or fine finish cuts. The more teeth, the smaller each bite, the cleaner the cut.
According to Fine Woodworking, an 80-tooth blade on a 10" saw is the gold standard for plywood crosscuts.
Finished Side Down (Circular Saw) or Up (Table Saw)
The blade exits the material on one side and enters on the other. Tearout happens on the exit side.
- Circular saw: Blade rotates upward. Tearout on top. Put the good face down.
- Table saw: Blade rotates downward. Tearout on bottom. Put the good face up.
- Jigsaw: Blade cuts on the upstroke. Tearout on top. Put the good face down.
This single rule prevents most splintering. Know where your blade exits and keep the good face on the entry side.
Apply Masking Tape Along the Cut Line
Lay a strip of painter's tape along the cut line on the exit side of the cut. The tape holds the top veneer fibers together as the blade passes through, reducing tearout.
Mark your cut line on the tape, not on the wood. Cut through the tape. Peel it off after the cut. The edge underneath will be cleaner than cutting bare wood.
Score the Cut Line First
Before sawing, run a utility knife along the cut line, guided by a straight edge. Score through the top veneer layer. This pre-cuts the fibers so the saw blade doesn't tear them.
Two or three passes with a sharp blade is enough. You're not cutting through the plywood, just severing the top veneer.
This is the most effective anti-splintering technique for high-end veneer plywood (walnut, cherry, white oak) where even minor tearout is visible.
Use a Zero Clearance Insert (Table Saw)
The standard table saw throat plate has a wide opening around the blade. Wood fibers can dip into that gap and tear.
A zero clearance insert is a throat plate with a slot that exactly matches your blade width. The wood is supported right up to the cut line, so fibers have nowhere to tear into.
Make one from 1/4" MDF or hardboard. Insert a blank plate, start the saw, and slowly raise the blade through it. The blade cuts its own perfect slot.
Routing for Perfectly Clean Edges
When you need a flawless edge (visible cabinet faces, furniture tops), cut 1/16" oversize with the saw, then trim to final dimension with a flush-trim router bit.
The router shears the fibers cleanly instead of chopping through them. It's an extra step, but the edge quality is noticeably better than any saw can produce.
How to Cut Thin Plywood
Thin plywood (1/4" and under) presents unique challenges. It flexes, vibrates, and tears easily. Standard plywood cutting techniques need adjustment.
Full support is critical. Lay a sheet of rigid foam insulation (the pink or blue type from any hardware store) flat on your work surface. Place the thin plywood on top. The foam supports the sheet across its entire surface and the blade cuts into the foam, not into air.
According to Family Handyman, this foam support method is the best way to cut thin plywood without cracking or tearing.
Reduce blade depth. Set the blade so only the teeth clear the plywood. On 1/4" stock, that means 3/8" total blade depth.
Slow down. Push the saw slower than you would on 3/4" stock. Thin plywood is more likely to tear if the blade moves too fast.
Consider alternatives. For very thin plywood (1/8"), a utility knife and straight edge often produce a cleaner edge than a saw. Score deeply (5 to 6 passes), then snap along the score line.
For cuts that need to be perfect, cut 1/8" oversize and sand to the line with a block plane or sanding block.
Setting Up Your Cut (Support and Safety)
Supporting a Full Sheet
A 4x8 sheet of 3/4" plywood weighs 60 to 80 pounds. It needs proper support on both sides of the cut line, or it will pinch the blade, sag, or fall.
Foam insulation method: Lay 2" rigid foam insulation flat on the floor or on a pair of sawhorses. Place the plywood on top. Cut through the plywood and slightly into the foam. The foam supports the full sheet and both halves stay supported after the cut.
Sawhorse method: Place four sawhorses under the sheet, two on each side of the cut line. All four corners and both halves of the cut are supported. The saw cuts between the inner pair of horses.
Never let a cut-off piece fall unsupported. A falling piece can twist, bind the blade, and kick back.
Blade Depth
Set blade depth to 1/8" below the bottom of the sheet. This is the standard recommendation from the Forest Products Laboratory. Deeper blades produce more tearout and more friction. Shallower blades may not clear the plywood.
Safety Essentials
- Ear protection: circular saws hit 100+ dB.
- Eye protection: sawdust and wood chips fly.
- Dust mask or respirator: plywood dust contains formaldehyde from the adhesive.
- Clamp the sheet or guide. Never hold a sheet with one hand and saw with the other.
Store Cutting Service
Most lumber yards and big-box stores offer cutting services, often free for the first few cuts. If you need large sheets broken down to fit in your vehicle, use the store's panel saw. It's fast, straight, and saves you from wrestling full sheets.
Use the store saw for rough cuts (break the sheet into manageable sizes) and your own saw for final dimension cuts where accuracy matters.
Does Plywood Direction Matter When Cutting?
Yes. Grain direction affects both appearance and cut quality.
Appearance
On veneer plywood (oak, birch, walnut), the face veneer has a visible grain direction. Adjacent panels in a project should have grain running the same way, or the mismatch is noticeable. Cabinet doors next to each other with different grain directions look unfinished.
Plan your cut layout with grain direction in mind. Long pieces usually need grain running along the length. Your cut list should note grain direction for every visible piece.
Cut Quality
Cuts across the grain (crosscuts) produce more tearout than cuts along the grain (rip cuts). If your project has many crosscuts on veneer plywood, use the anti-splintering techniques above: tape, score line, zero clearance insert, and a fine-tooth blade.
When Grain Doesn't Matter
MDF has no grain. Melamine has a consistent surface in all directions. Painted plywood hides the grain under finish. Back panels and hidden structural pieces don't need grain matching.
For these materials and these pieces, cut in whatever direction produces the least waste. Save the grain-direction planning for visible faces.
FAQ
What Is the Best Tool to Cut Plywood?
A circular saw with a 60 to 80 tooth carbide blade and a straight edge guide. This combination handles crosscuts, rip cuts, and full sheet breakdowns. A table saw is better for repeated rip cuts at consistent widths but harder to use for full sheets.
How to Cut Plywood at Home Without a Machine?
Use a crosscut hand saw with 12+ TPI for thick plywood. For thin plywood (1/4" or less), score deeply with a utility knife along a metal straight edge and snap along the line. Both methods are slower than power tools but produce clean results with the right technique.
What Is the Easiest Way to Cut Plywood?
For a single straight cut: clamp a straight edge to the sheet as a fence, set a circular saw blade to 1/8" below the sheet, and run the saw along the guide. The straight edge does the steering. You just push forward.
How to Stop Plywood From Chipping When Cutting?
Use a fine-tooth blade (60+ teeth), put the finished face on the entry side of the blade (face down for circular saw, face up for table saw), apply masking tape along the cut line, and score the line with a utility knife before sawing.
Can I Use a Circular Saw to Cut Plywood?
Yes. A circular saw with the right blade (60 to 80 teeth, carbide-tipped) and a straight edge guide is the most common and practical way to cut plywood. Most professional cabinet shops use track saws (a type of guided circular saw) for sheet goods.
How Do I Account for Kerf When Cutting?
The kerf is the width of wood the saw blade removes (typically 1/8" or 3.2mm). When laying out pieces on a sheet, add one kerf width between each piece. Better yet, enter your kerf width into the cutlist optimizer and let the optimizer account for it automatically on every cut.
Does Plywood Split When Screwed?
Plywood is less prone to splitting than solid wood because the cross-grain layers distribute stress. However, screwing too close to an edge (less than 3/4" from the edge on 3/4" plywood) can cause the face veneer to crack. Pre-drill pilot holes near edges to prevent this.
How to Cut Plywood Perfectly Straight?
Clamp a factory-edge straight board or a commercial straight edge along your cut line. Run the saw base against this guide. The straight edge does the work. Measure the offset between the saw blade and the edge of the base plate, and account for that when positioning the guide.
Is It Hard to Cut Plywood With a Hand Saw?
A sharp crosscut hand saw with 12+ teeth per inch cuts plywood cleanly, just slower than a power saw. The key is supporting the sheet fully and using a straight edge guide. Let the saw do the cutting. Don't force or push hard, which causes the blade to wander and tear.
What Knife Is Best for Cutting Thin Plywood?
A standard utility knife with a fresh blade. Use a metal straight edge. Score 5 to 6 passes along the line, pressing firmly each time. The goal is to cut through the top veneer and into the core. Then align the score with a table edge and snap.
Can You Use a Chisel on Plywood?
A chisel works for trimming plywood edges, removing small amounts of material, or cleaning up corners. It's not practical for cutting pieces to size. For trimming, use a sharp chisel with the bevel facing away from the finished surface, taking thin shavings.
Does It Matter Which Direction You Cut Plywood?
For appearance: yes. Keep grain direction consistent across visible panels. For cut quality: crosscuts produce more tearout than rip cuts. For waste: let the optimizer decide which direction produces the best layout. Mark grain-sensitive pieces in your cut list so the optimizer respects their orientation.
Cut Smart, Not Hard
The saw is the last step, not the first. The woodworkers who waste the least plywood are the ones who spend the most time planning before they cut.
Build a cut list. Account for kerf. Generate a cutting diagram. Then pick up the right blade and cut with the finished side on the right face. Tape the cut line if you're working with veneer. Support the full sheet. Set your blade depth.
That's the entire playbook.
The cutlist optimizer handles the planning part in 30 seconds. Enter your pieces, set your sheet size and kerf width, and print the diagram. Take it to the workshop and cut with confidence.
Ready to optimize your cuts?
Join the waitlist and be among the first to try SmartCutList.
Join the waitlist