A cut list is a document that lists every piece needed for a woodworking project, including dimensions, material type, quantity, and grain direction. Think of it as your blueprint for cutting sheet goods efficiently. Without one, you are guessing, and guessing costs sheets.
Every woodworker who has ever bought one panel too many knows the feeling. You estimate, you eyeball the layout, you cut. Then you realize two pieces don't fit on the last sheet and you're driving back to the lumber yard.
A cut list eliminates that trip. It forces you to account for every piece before the saw touches the wood. The result: fewer sheets purchased, less waste sitting in the corner of your shop, and more money for the next project.
This guide covers what a cut list includes, how it differs from a cut sheet and a bill of materials, and how to create one for any project. Whether you're building a bookshelf or a full kitchen, the process is the same.
What Is a Cut List (and Why Every Project Needs One)
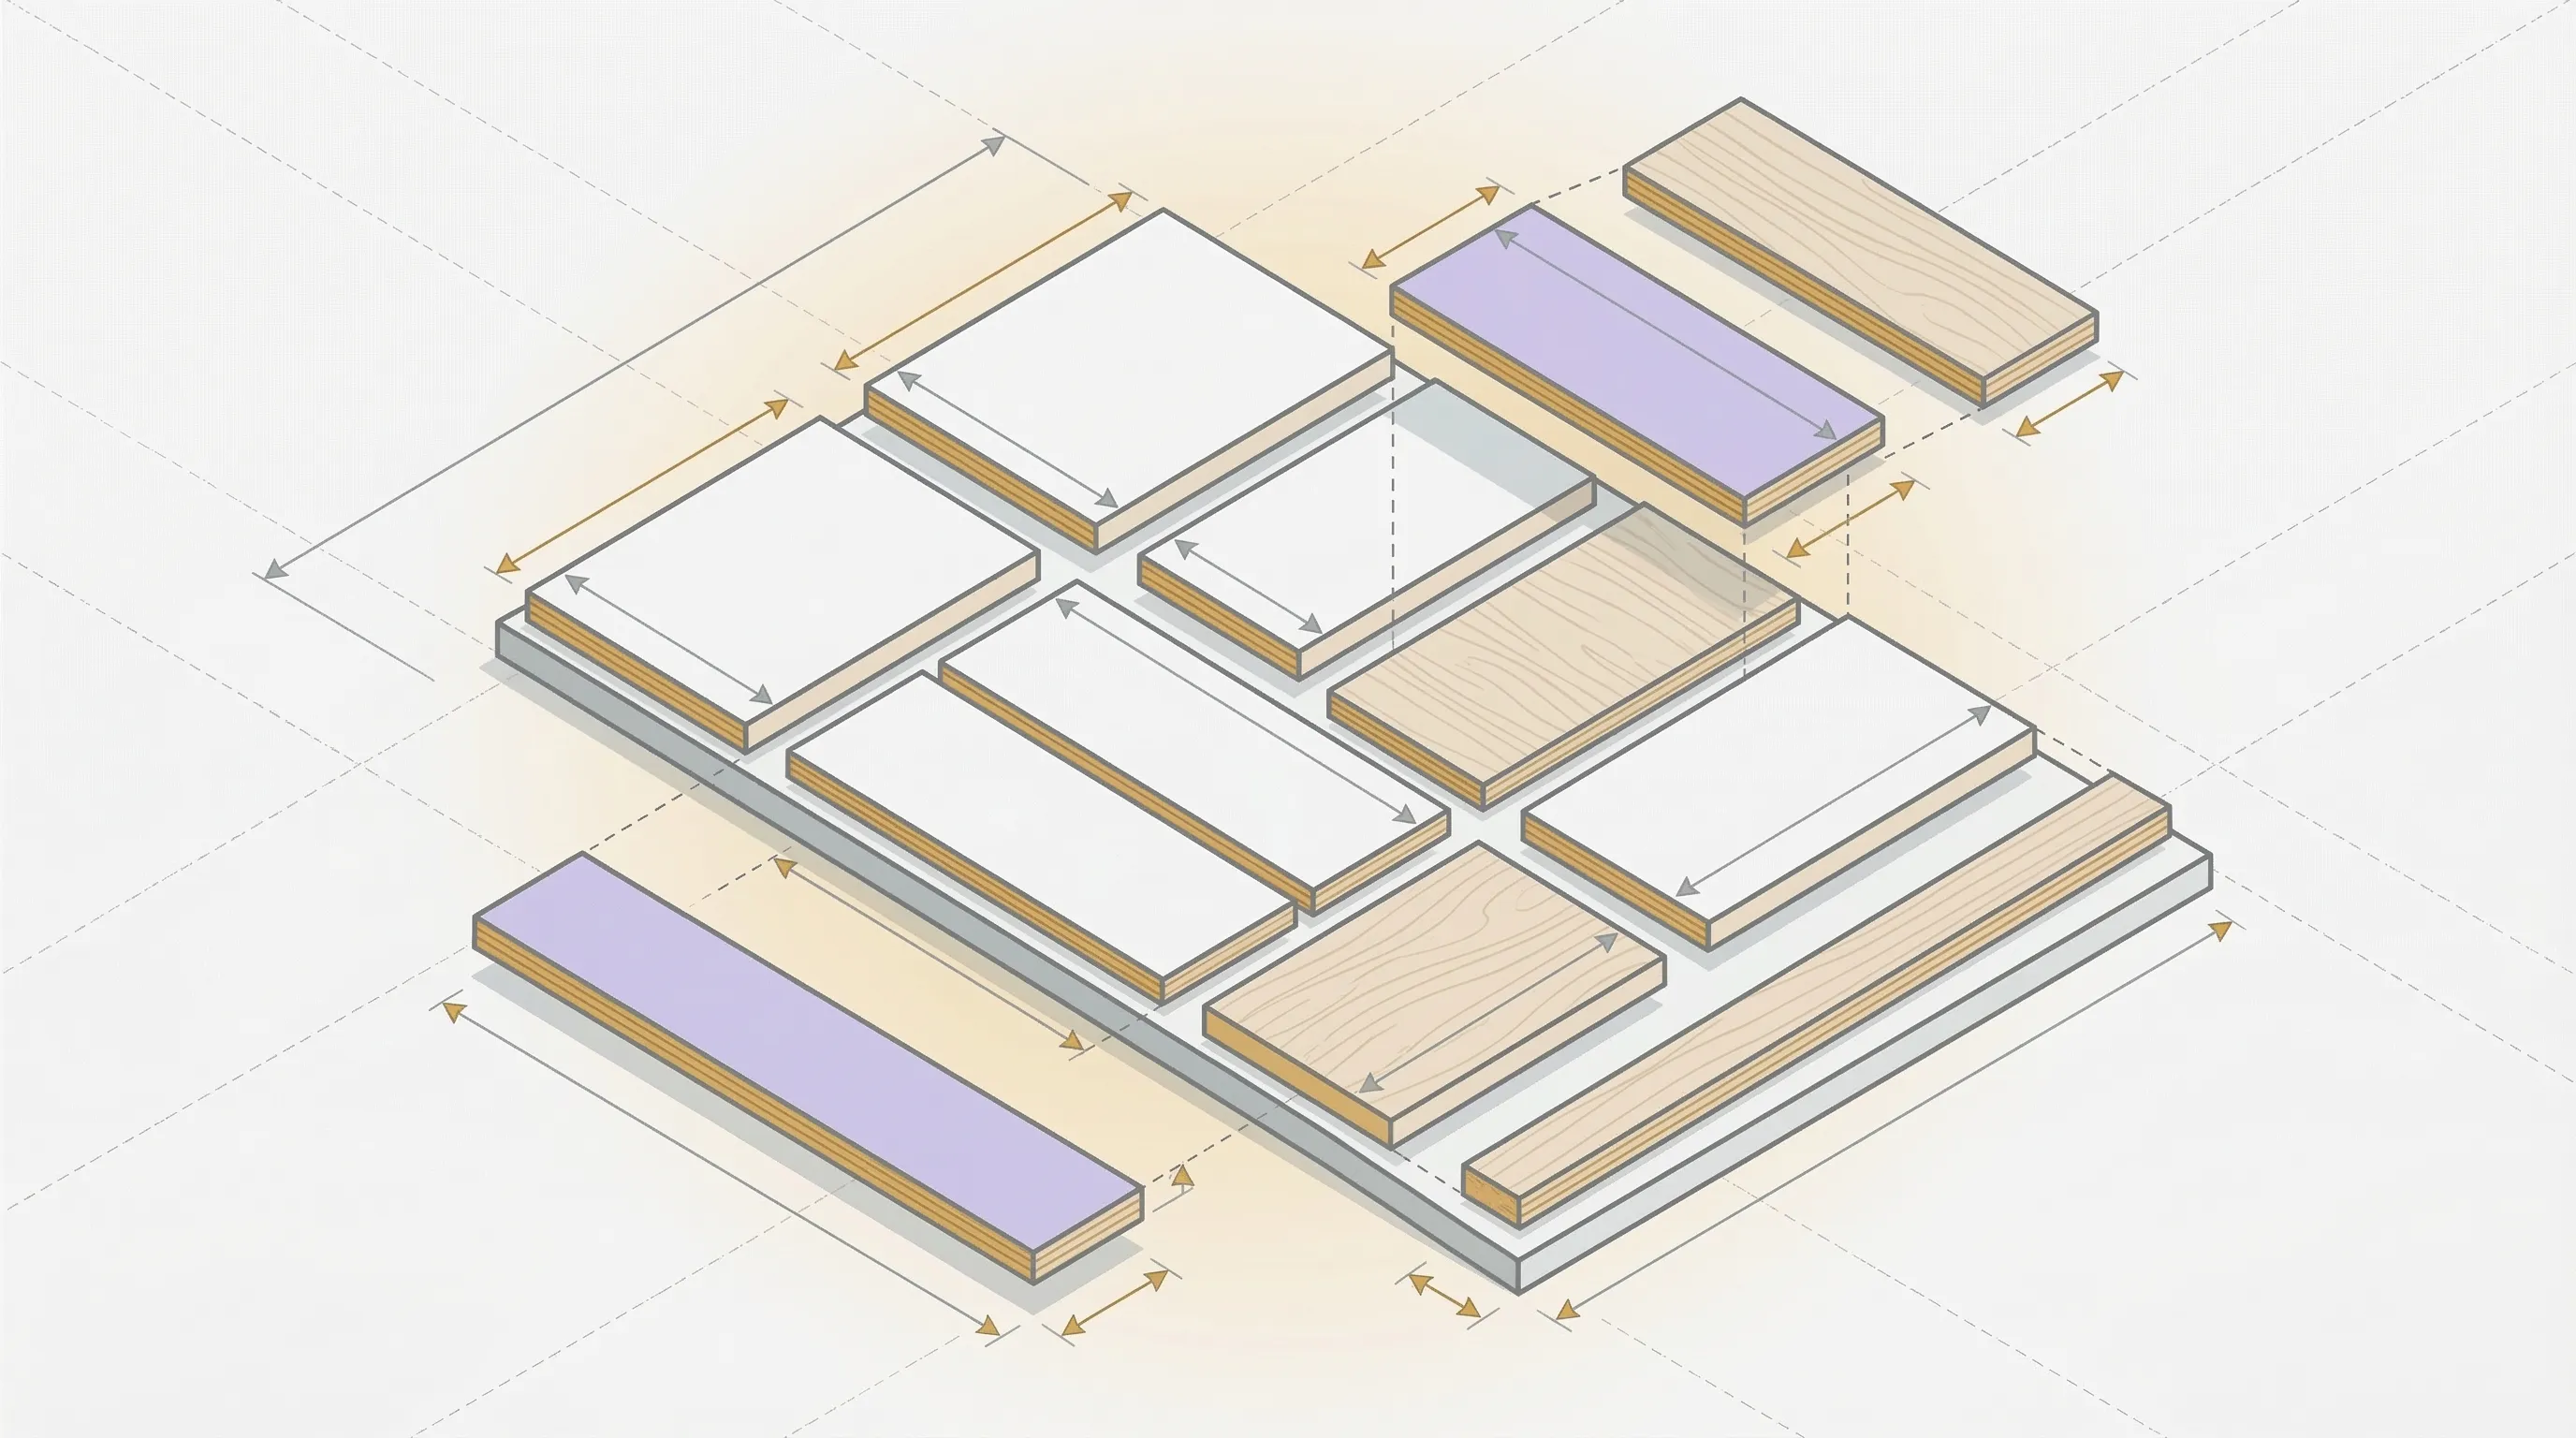
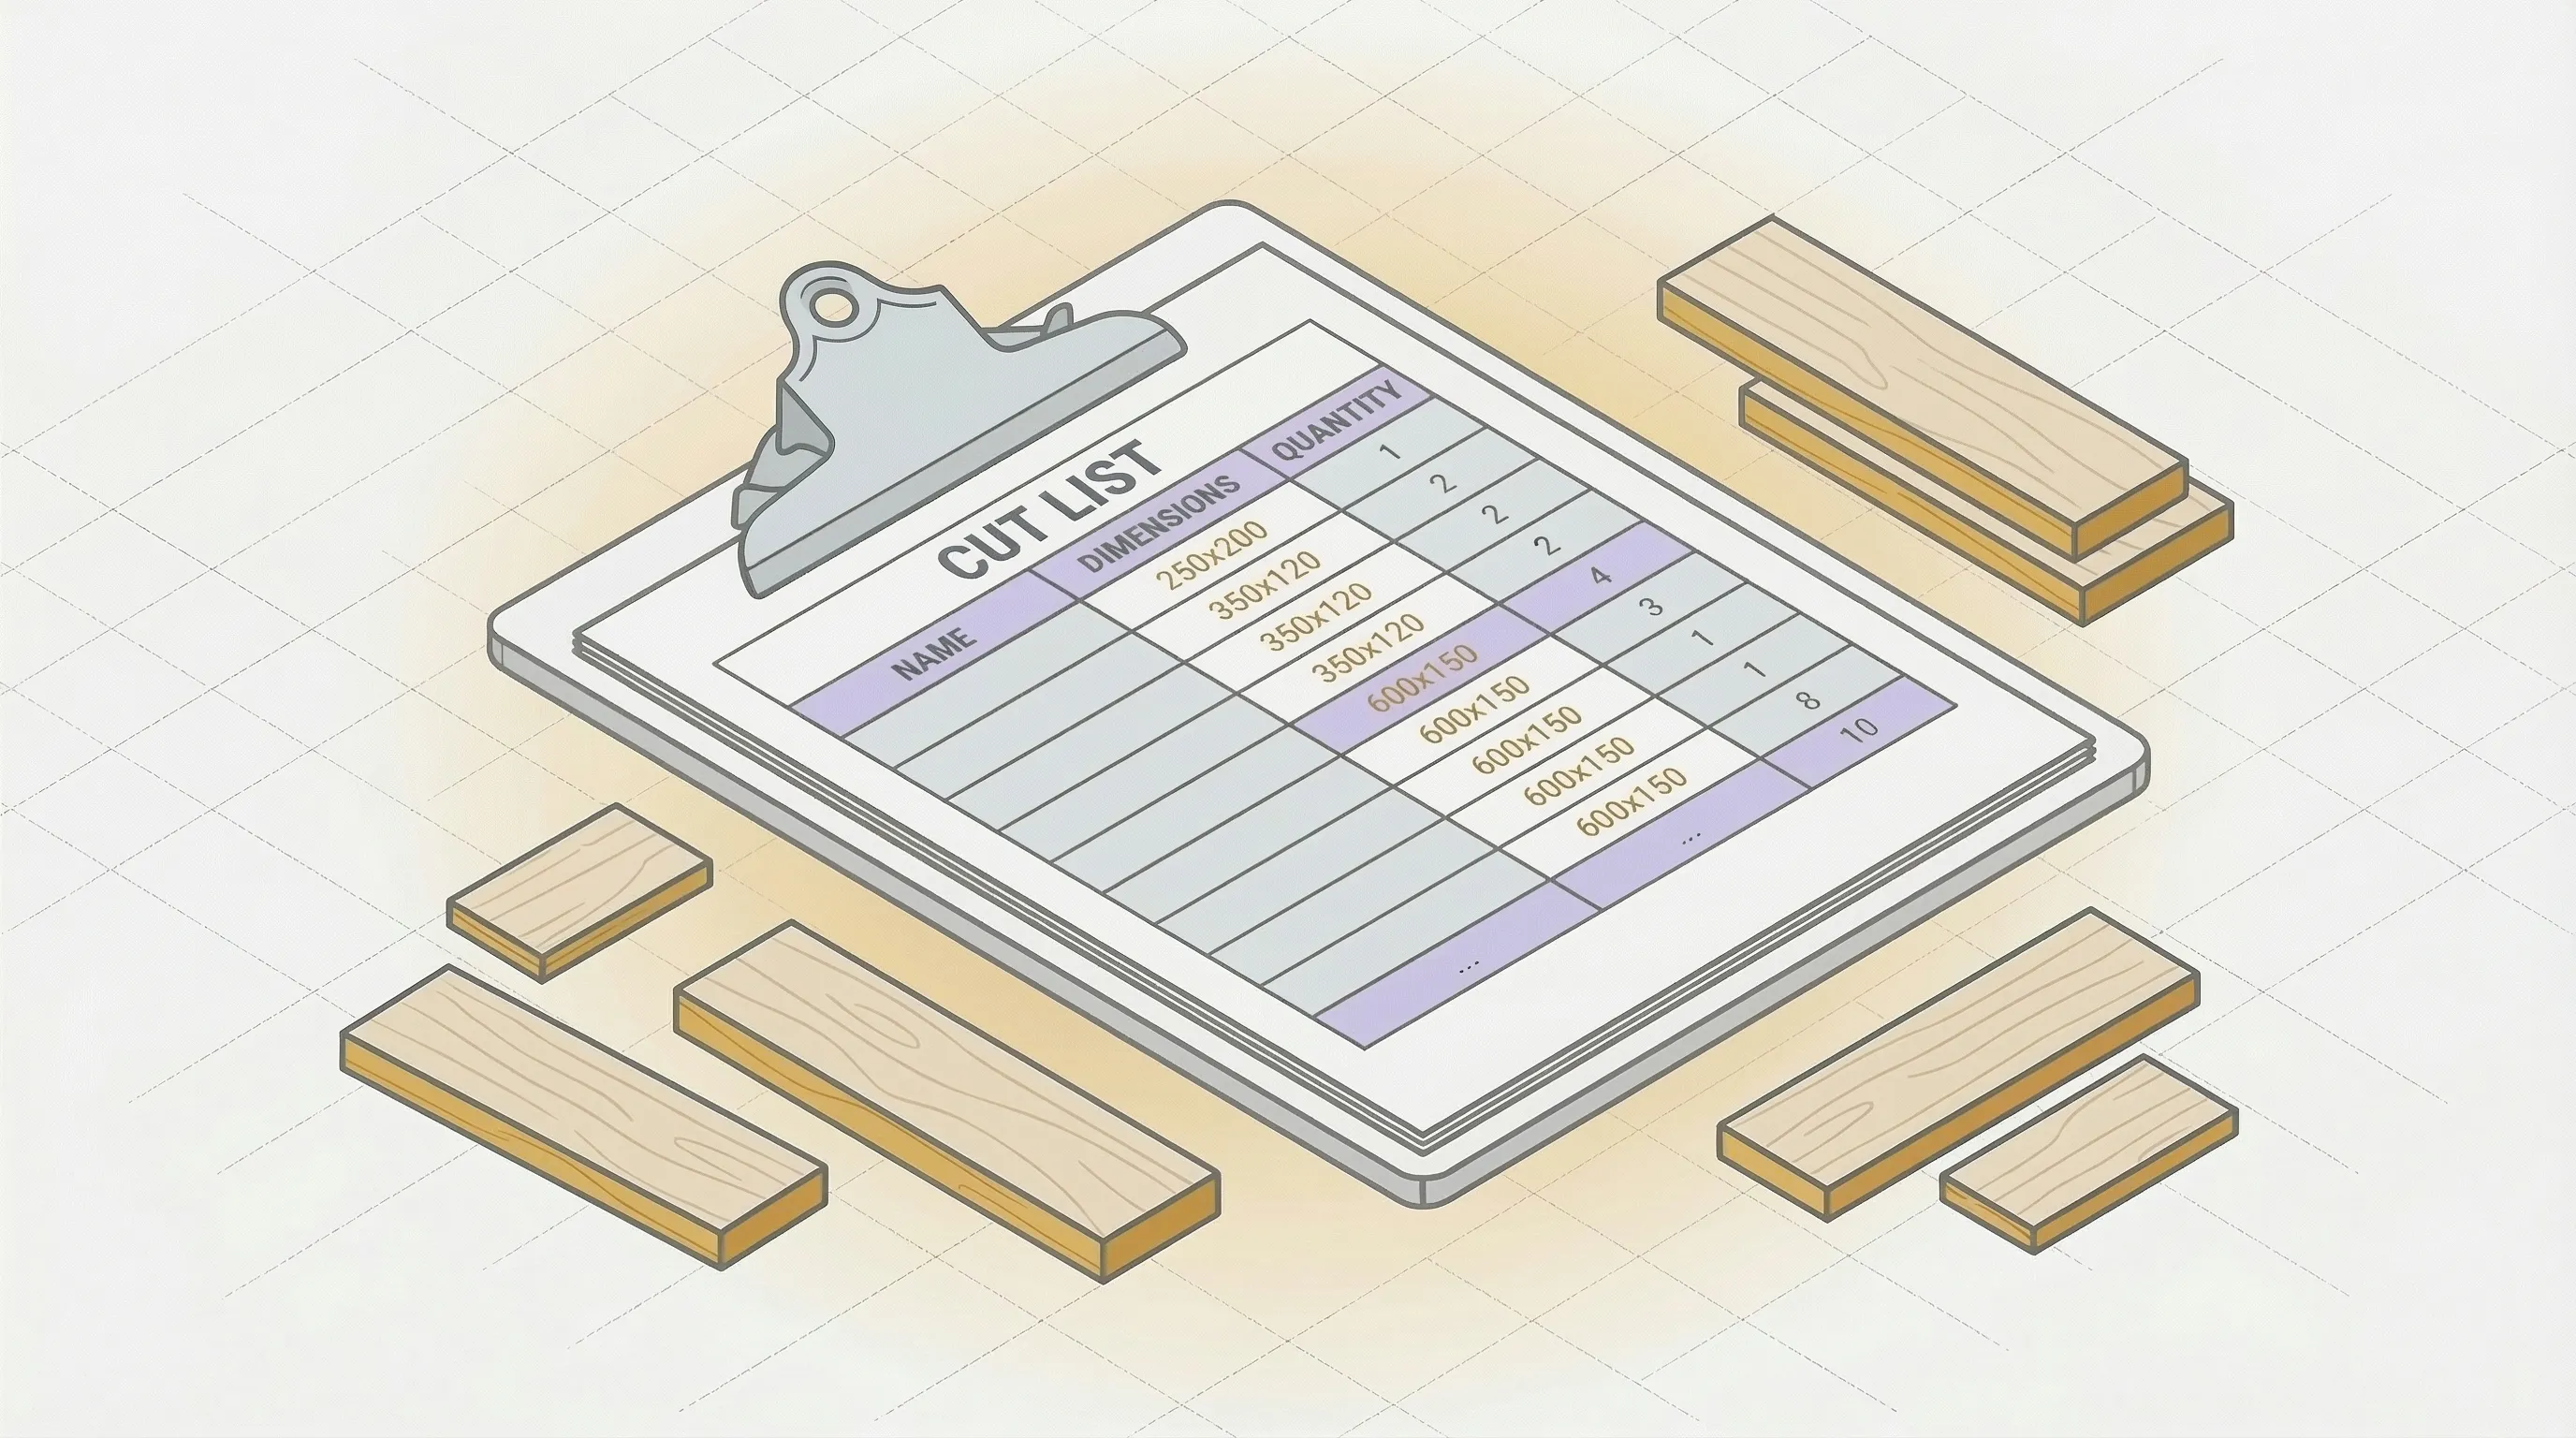
A cut list is a structured table of every piece you need to cut for a project. Each row represents one type of piece, with its name, finished dimensions, quantity, material, and any special notes like grain direction or edge banding.
The concept is straightforward: before you cut anything, you list everything. As Woodcraft's guide to cut lists notes, even experienced woodworkers who've built hundreds of projects still start with a list.
Cut List vs Cut Sheet
You'll hear both terms used interchangeably, especially in construction and manufacturing. A cut sheet in woodworking typically means the same thing as a cut list: a document specifying what to cut and at what dimensions.
In other industries, "cut sheet" can refer to a product specification sheet (one page summarizing a product's specs). In woodworking, the terms overlap. If someone asks for a cut sheet for your cabinet project, they want your cut list.
Cut List vs Bill of Materials
A bill of materials (BOM) includes everything for a project: sheet goods, hardware, screws, glue, finish, edge banding rolls. A cut list is a subset of the BOM. It covers only the pieces that need cutting.
For a bookshelf, your BOM includes the plywood, screws, shelf pins, wood glue, and polyurethane. Your cut list includes only the plywood pieces: two sides, four shelves, one top, one back panel.
When to Use a Cut List
For any project with more than three or four pieces. Small projects (a single shelf, a picture frame) can be done from memory. Once you're working with a full sheet of plywood and eight or more pieces, a cut list saves time, material, and mistakes.
For projects with multiple materials (plywood sides, MDF shelves, hardwood face frames), a cut list is essential. Trying to keep track of 30+ pieces across three materials in your head leads to errors that cost real money.
What Goes in a Cut List
A complete cut list has seven columns. Not every project needs all seven, but here's the full set:
- Piece name: A label you'll recognize at the saw. "Left side," "top shelf," "drawer bottom." Be specific enough to avoid confusion.
- Length: The finished dimension along the long axis (in inches or millimeters).
- Width: The finished dimension along the short axis.
- Quantity: How many identical pieces you need.
- Material: Plywood type, MDF, melamine, hardwood. Include thickness if you're mixing (3/4" Baltic birch vs 1/2" MDF).
- Grain direction: Whether the grain runs along the length or width. Matters for veneer plywood (oak, birch, walnut). Doesn't matter for MDF or painted panels.
- Edge banding: Which edges get banding. Mark as L (long sides), W (short sides), or specific edges (front only, all four).
- Notes: Anything else. "Visible face up," "cut 1/16" oversize for trimming," "match grain with piece #3."
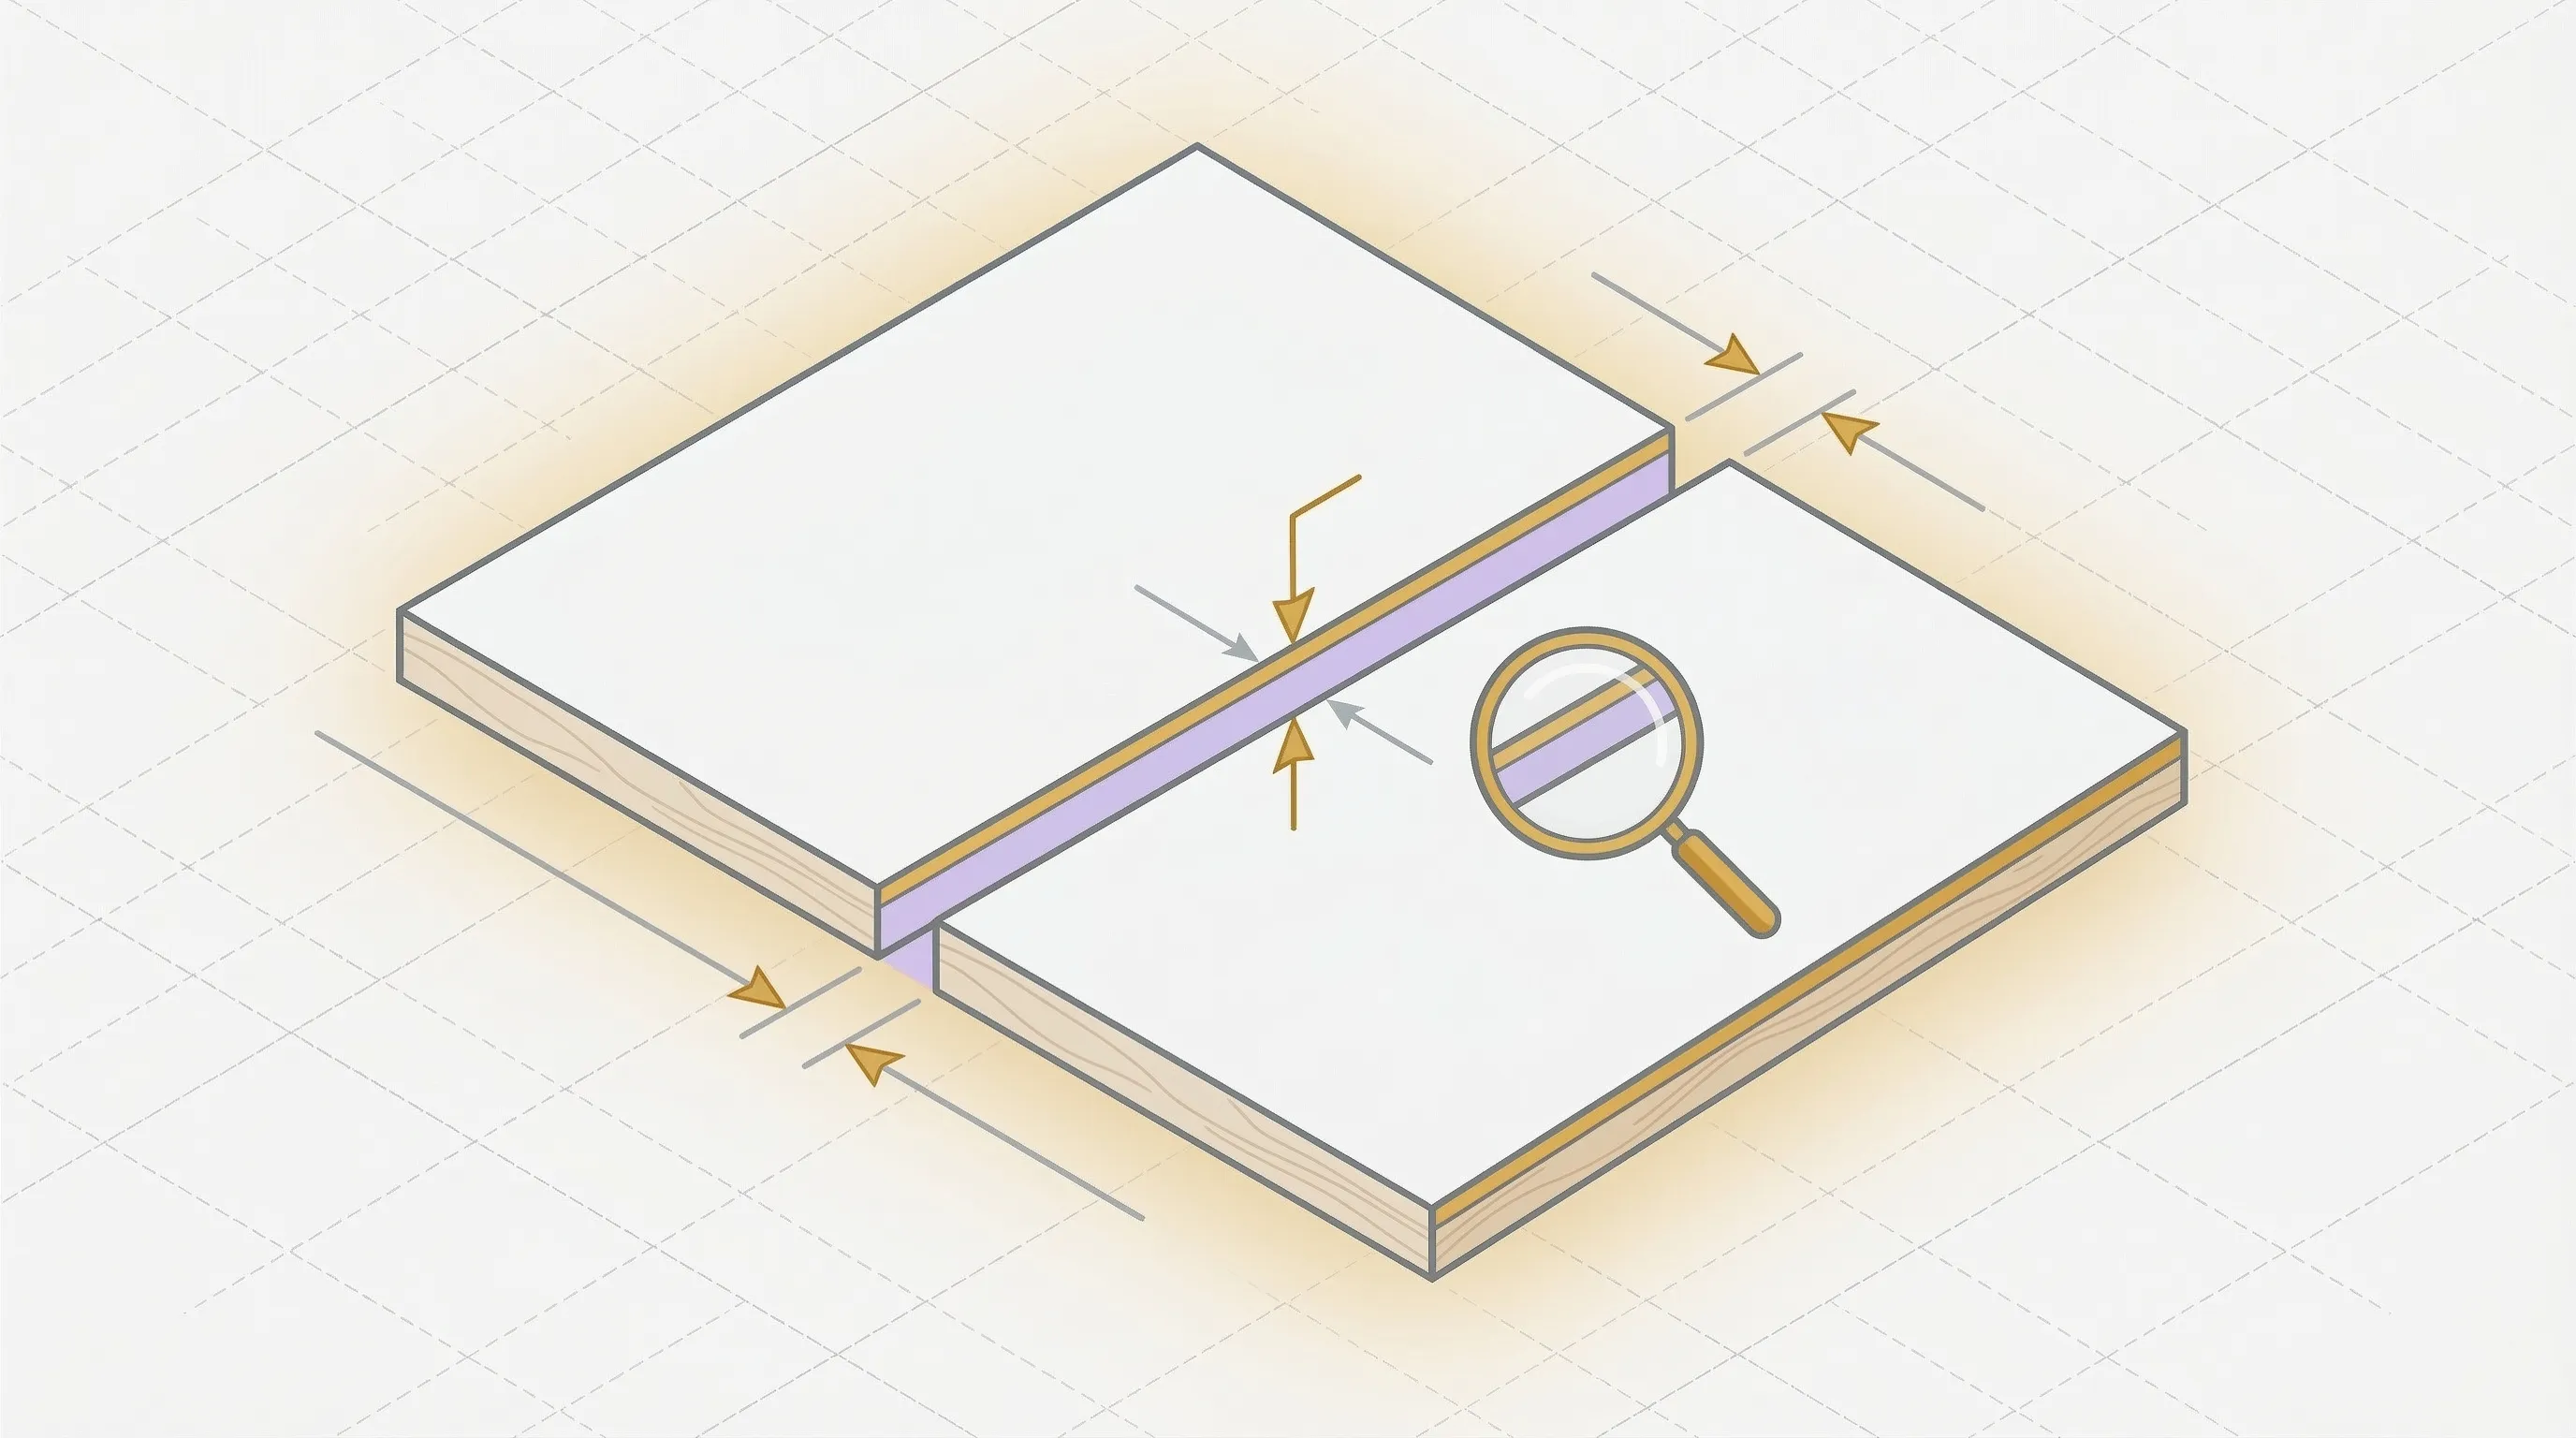
One detail many beginners miss: kerf. The kerf is the width of material the saw blade removes during each cut. On a table saw, that's about 1/8" (3mm) per cut. Across 40 cuts, that's nearly 5 inches of material gone to sawdust. A good cut list accounts for kerf when calculating how pieces fit on sheets.
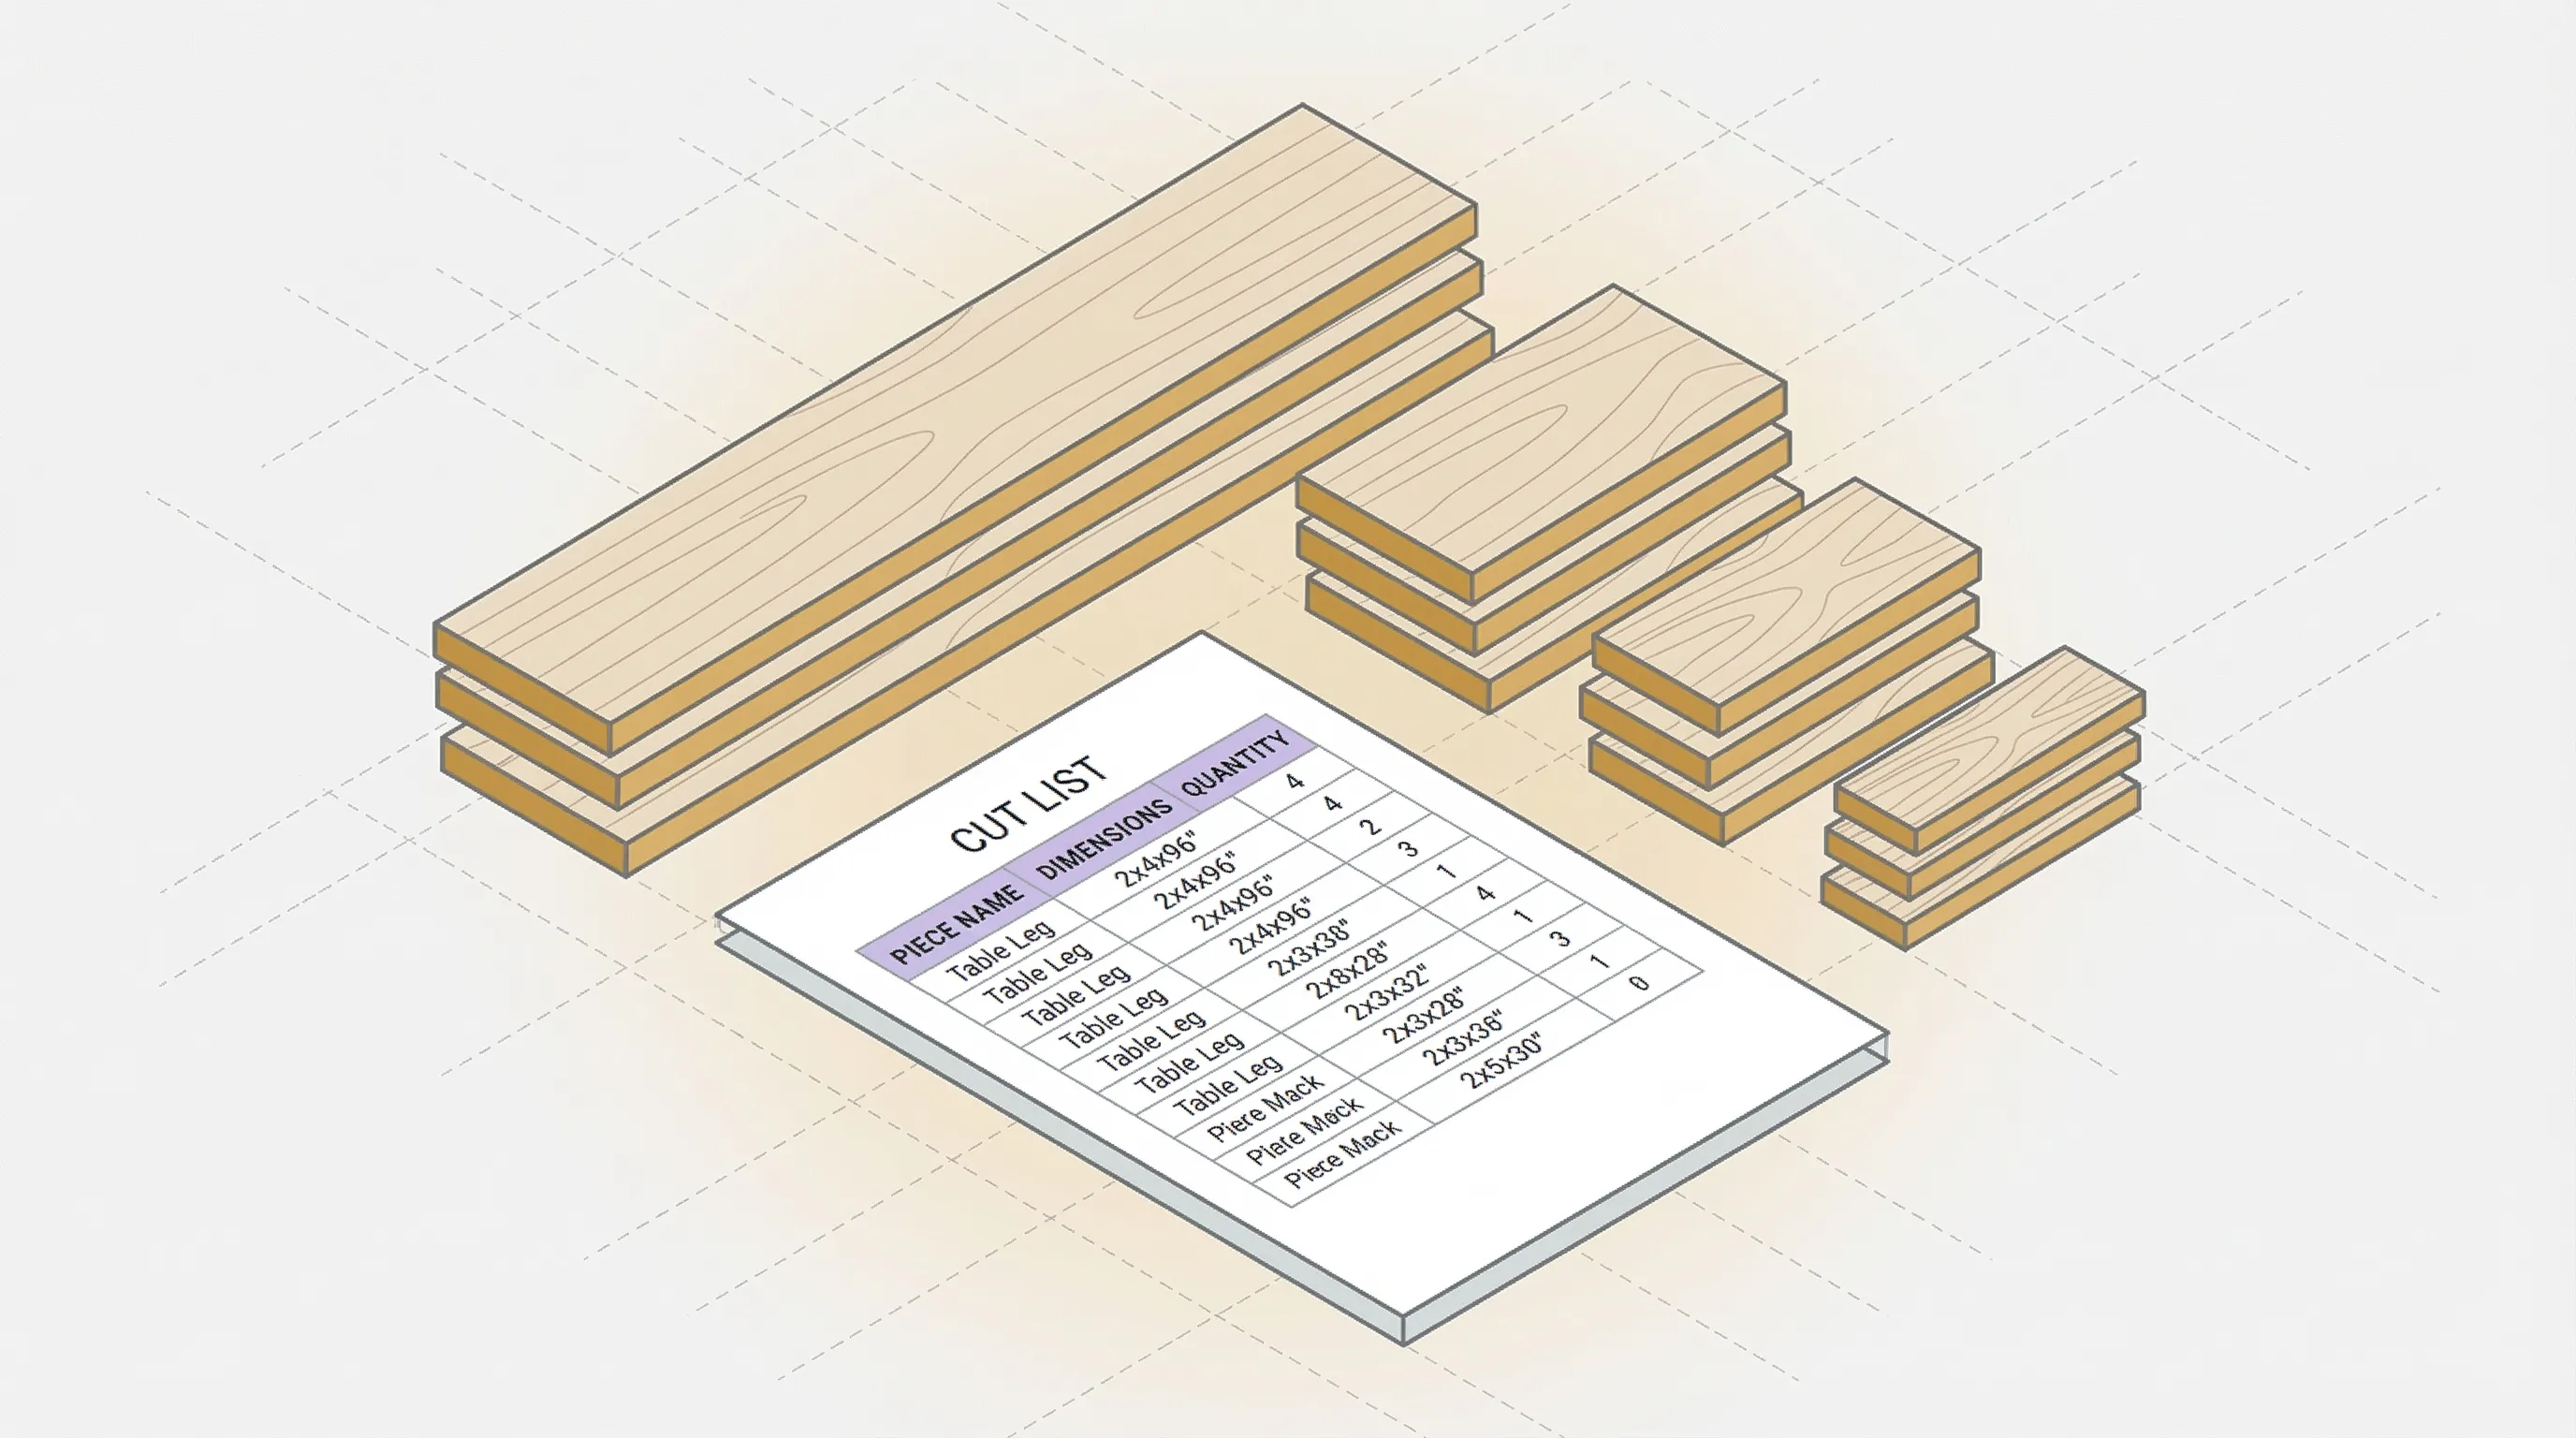
Cut List Example: A Simple Bookshelf
Here's a cut list for a basic 36" wide, 72" tall bookshelf in 3/4" Baltic birch plywood:
| Piece | Length | Width | Qty | Material | Grain | Edge Band | Notes |
|---|---|---|---|---|---|---|---|
| Side panel | 72" | 11-1/4" | 2 | 3/4" Baltic birch | Length | Front edge | Visible |
| Top | 34-1/2" | 11-1/4" | 1 | 3/4" Baltic birch | Length | Front edge | Visible |
| Bottom | 34-1/2" | 11-1/4" | 1 | 3/4" Baltic birch | Length | Front edge | Visible |
| Fixed shelf | 34-1/2" | 10-3/4" | 1 | 3/4" Baltic birch | Length | Front edge | Center |
| Adj. shelf | 34-1/2" | 10-1/2" | 3 | 3/4" Baltic birch | Length | Front edge | Pin-mounted |
| Back panel | 35-1/4" | 71-1/4" | 1 | 1/4" Baltic birch | N/A | None | Rabbeted |
| Toe kick | 34-1/2" | 3-1/2" | 1 | 3/4" Baltic birch | Length | None | Hidden |
That's 10 pieces total (counting quantities). The two side panels at 72" long need careful layout on 4x8 sheets. The back panel in 1/4" stock is a separate material purchase.
With this cut list, you know exactly what you're buying before you go to the lumber yard. Two sheets of 3/4" should cover the casework if the layout is tight. One sheet of 1/4" for the back.
Without the cut list? You'd probably grab three sheets of 3/4" "just in case." At $133 per sheet for Baltic birch, that extra sheet is an expensive safety blanket.
How to Create a Cut List
Three approaches, from simplest to most powerful:
Pen and Paper
Start with your project plans. List every piece, write down dimensions, tally quantities. Fine Woodworking recommends circling each piece on your plans as you add it to the list to avoid missing any. Check each piece against the plans twice. This works for small projects (under 15 pieces) but gets unwieldy fast. You'll need to manually figure out how pieces fit on sheets, and that's where mistakes happen.
Spreadsheet
Excel or Google Sheets with the seven columns from the section above. Faster to edit, easier to sort by material, and you can total up square footage to estimate sheet count. But a spreadsheet still can't show you how to arrange pieces on actual sheets. That's a cutting diagram, and it requires either graph paper or software.
For a step-by-step guide to making a cut list in a spreadsheet, including a free template you can copy, see our detailed tutorial.
Cut List Software
A cut list software tool takes your cut list and generates an optimized cutting diagram automatically. You enter the pieces and sheet sizes. The software calculates the best arrangement to minimize waste.
The difference is real. On a 77-piece cabinet project, a manual layout needed 12 sheets. An optimized layout needed 10. Two sheets of Baltic birch is $266.
Enter your pieces into the cutlist optimizer. It generates a cutting diagram in 30 seconds, no signup required.
Cut List vs Cutting Diagram
These are related but different.
A cut list is the inventory of pieces: names, dimensions, quantities, materials. It answers the question "what do I need to cut?"
A cutting diagram is the visual layout showing how those pieces fit on actual sheets. It answers the question "where do I cut?"
The cut list feeds the cutting diagram. You need the list first. Then you (or an optimizer) arrange those pieces on sheets to minimize waste.
A common mistake: skipping the cut list and going straight to drawing pieces on a sheet. This leads to forgotten pieces, dimension errors, and wasted material. Always list first, then lay out.
FAQ
What Is a Cut Sheet in Woodworking?
A cut sheet in woodworking is the same thing as a cut list: a document listing all the pieces you need to cut, with their dimensions and quantities. The term "cut sheet" is more common in construction and manufacturing, while "cut list" is standard in woodworking. Both refer to the same concept.
What Is a Cutting List?
"Cutting list" is the British English term for a cut list. Same document, same purpose: a table of all pieces needed for a project with dimensions, material types, and quantities. You'll see "cutting list" in UK woodworking publications and Australian shop guides.
What Is a Cut List in Construction?
In construction, a cut list refers to a document specifying the lengths and quantities of lumber, rebar, conduit, or other linear materials needed for a job. The principle is identical to woodworking: list everything before you cut, reduce waste, and avoid trips back to the supplier.
Do I Need a Cut List for Small Projects?
For three or four pieces, you can work from memory or a quick sketch. For anything with more than six pieces, a cut list saves time and prevents errors. The five minutes spent writing it out is cheaper than one wasted panel.
Can I Make a Cut List in Excel?
Yes. A spreadsheet works well for building the list itself. Create columns for piece name, length, width, quantity, material, grain direction, and notes. What Excel can't do is generate a cutting diagram. For that, you need a cutlist optimizer that arranges pieces on sheets and shows you where to cut.
Your Cut List Is Your Safety Net
A cut list is the simplest tool in woodworking, and one of the most effective. Five minutes of listing pieces before you cut plywood saves hours of rework and hundreds of dollars in wasted material.
Start with the basics: piece name, dimensions, quantity, material. Add grain direction and edge banding when the project calls for it. Then feed that list into an optimizer and let the software figure out the layout.
The cutlist optimizer takes your cut list and generates an optimized cutting diagram in 30 seconds. Enter your pieces. See how many sheets you need. Cut with confidence.
Ready to optimize your cuts?
Join the waitlist and be among the first to try SmartCutList.
Join the waitlist