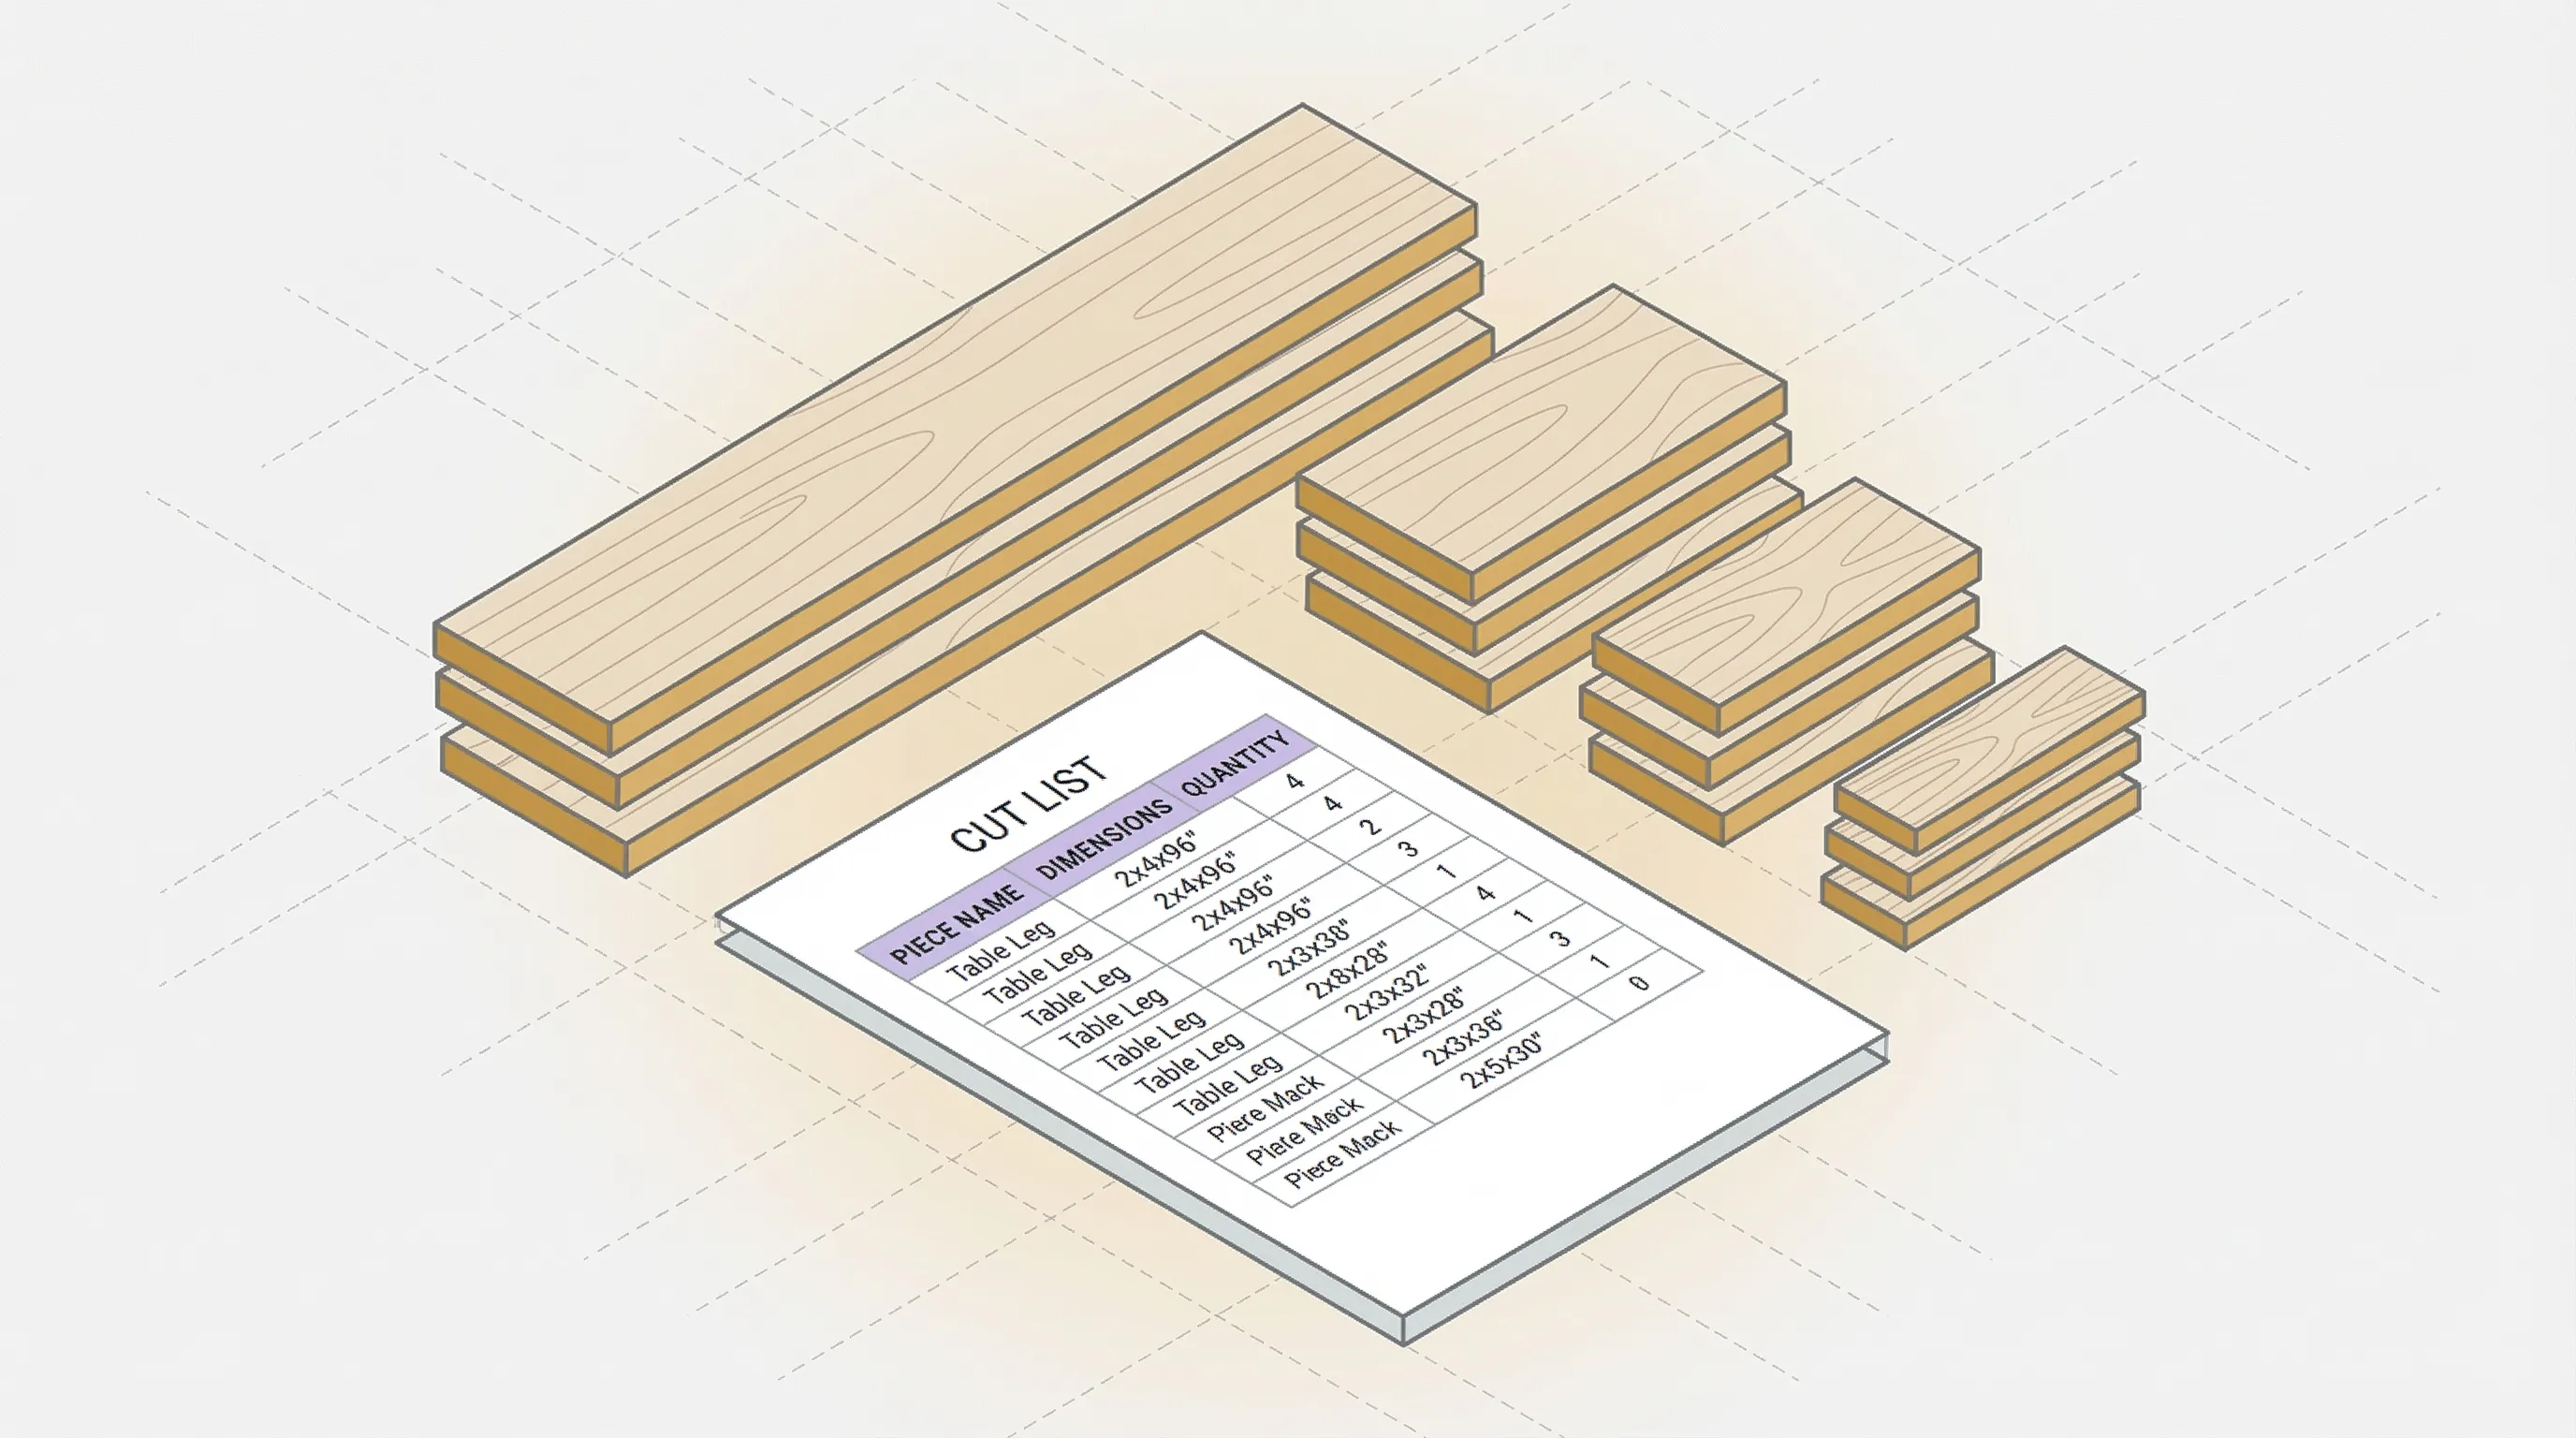
A cut list takes 10 minutes to make and saves hours of rework. It's the difference between walking into the shop with a plan and walking in with a guess.
If you've ever cut a piece 1/4" too short, bought an extra sheet you didn't need, or spent 20 minutes at the saw trying to remember which piece was the drawer bottom and which was the shelf, a cut list fixes all of that.
This guide walks through the process step by step: what to prepare, how to build the list, a free template you can copy, and a real cabinet example. By the end, you'll have a cut list you can take straight to the saw or feed into an optimizer for a cutting diagram.
Not sure what a cut list is or why you need one? Start with our guide on what is a cut list.
What You Need Before You Start
Before you open a spreadsheet or grab a pencil, confirm four things:
1. Finalized project dimensions. Your cut list is only as good as your plans. If the bookshelf width might change, finalize it first. Changing dimensions after the cut list means redoing the list, and that defeats the purpose.
2. Material choices made. Know what you're cutting: 3/4" Baltic birch for the casework, 1/4" plywood for backs, MDF for paint-grade shelves. Each material is a separate group in your cut list.
3. Sheet sizes confirmed. Standard 4x8 feet (1220 x 2440mm) covers most projects. But if your lumber yard stocks 5x5 Baltic birch or you're working with European 2500 x 1250mm panels, note the actual sizes. The optimizer needs accurate sheet dimensions.
4. Kerf width known. Your saw blade removes material with every cut. A standard table saw blade has a 1/8" (3.2mm) kerf. You'll need this number when converting your cut list into a cutting diagram.
Step-by-Step: Making a Cut List
Step 1: List Every Piece
Go through your project plans and list every piece that needs cutting. For each piece, record:
- Piece name: Be specific. "Left side" is better than "side." "Upper drawer front" is better than "drawer."
- Length: Finished dimension, long axis.
- Width: Finished dimension, short axis.
- Quantity: How many identical pieces.
- Material: Type and thickness.
Don't skip small pieces. The 3" x 34" toe kick is easy to forget. So is the 1/4" back panel. As Fine Woodworking recommends, go room by room or assembly by assembly to avoid missing parts. If it gets cut from sheet goods, it goes on the list.
Step 2: Add Grain Direction (If Applicable)
Grain direction matters when you're working with veneer plywood (oak, birch, walnut, maple). The grain pattern is visible, and mismatched grain on adjacent panels looks wrong.
Mark each piece with grain direction: does the grain run along the length or along the width?
When grain matters: Cabinet doors, drawer fronts, side panels, any visible surface in veneer plywood.
When it doesn't matter: MDF (no grain), painted plywood (grain hidden), back panels (not visible), interior shelves (functional, not decorative).
Step 3: Note Edge Banding
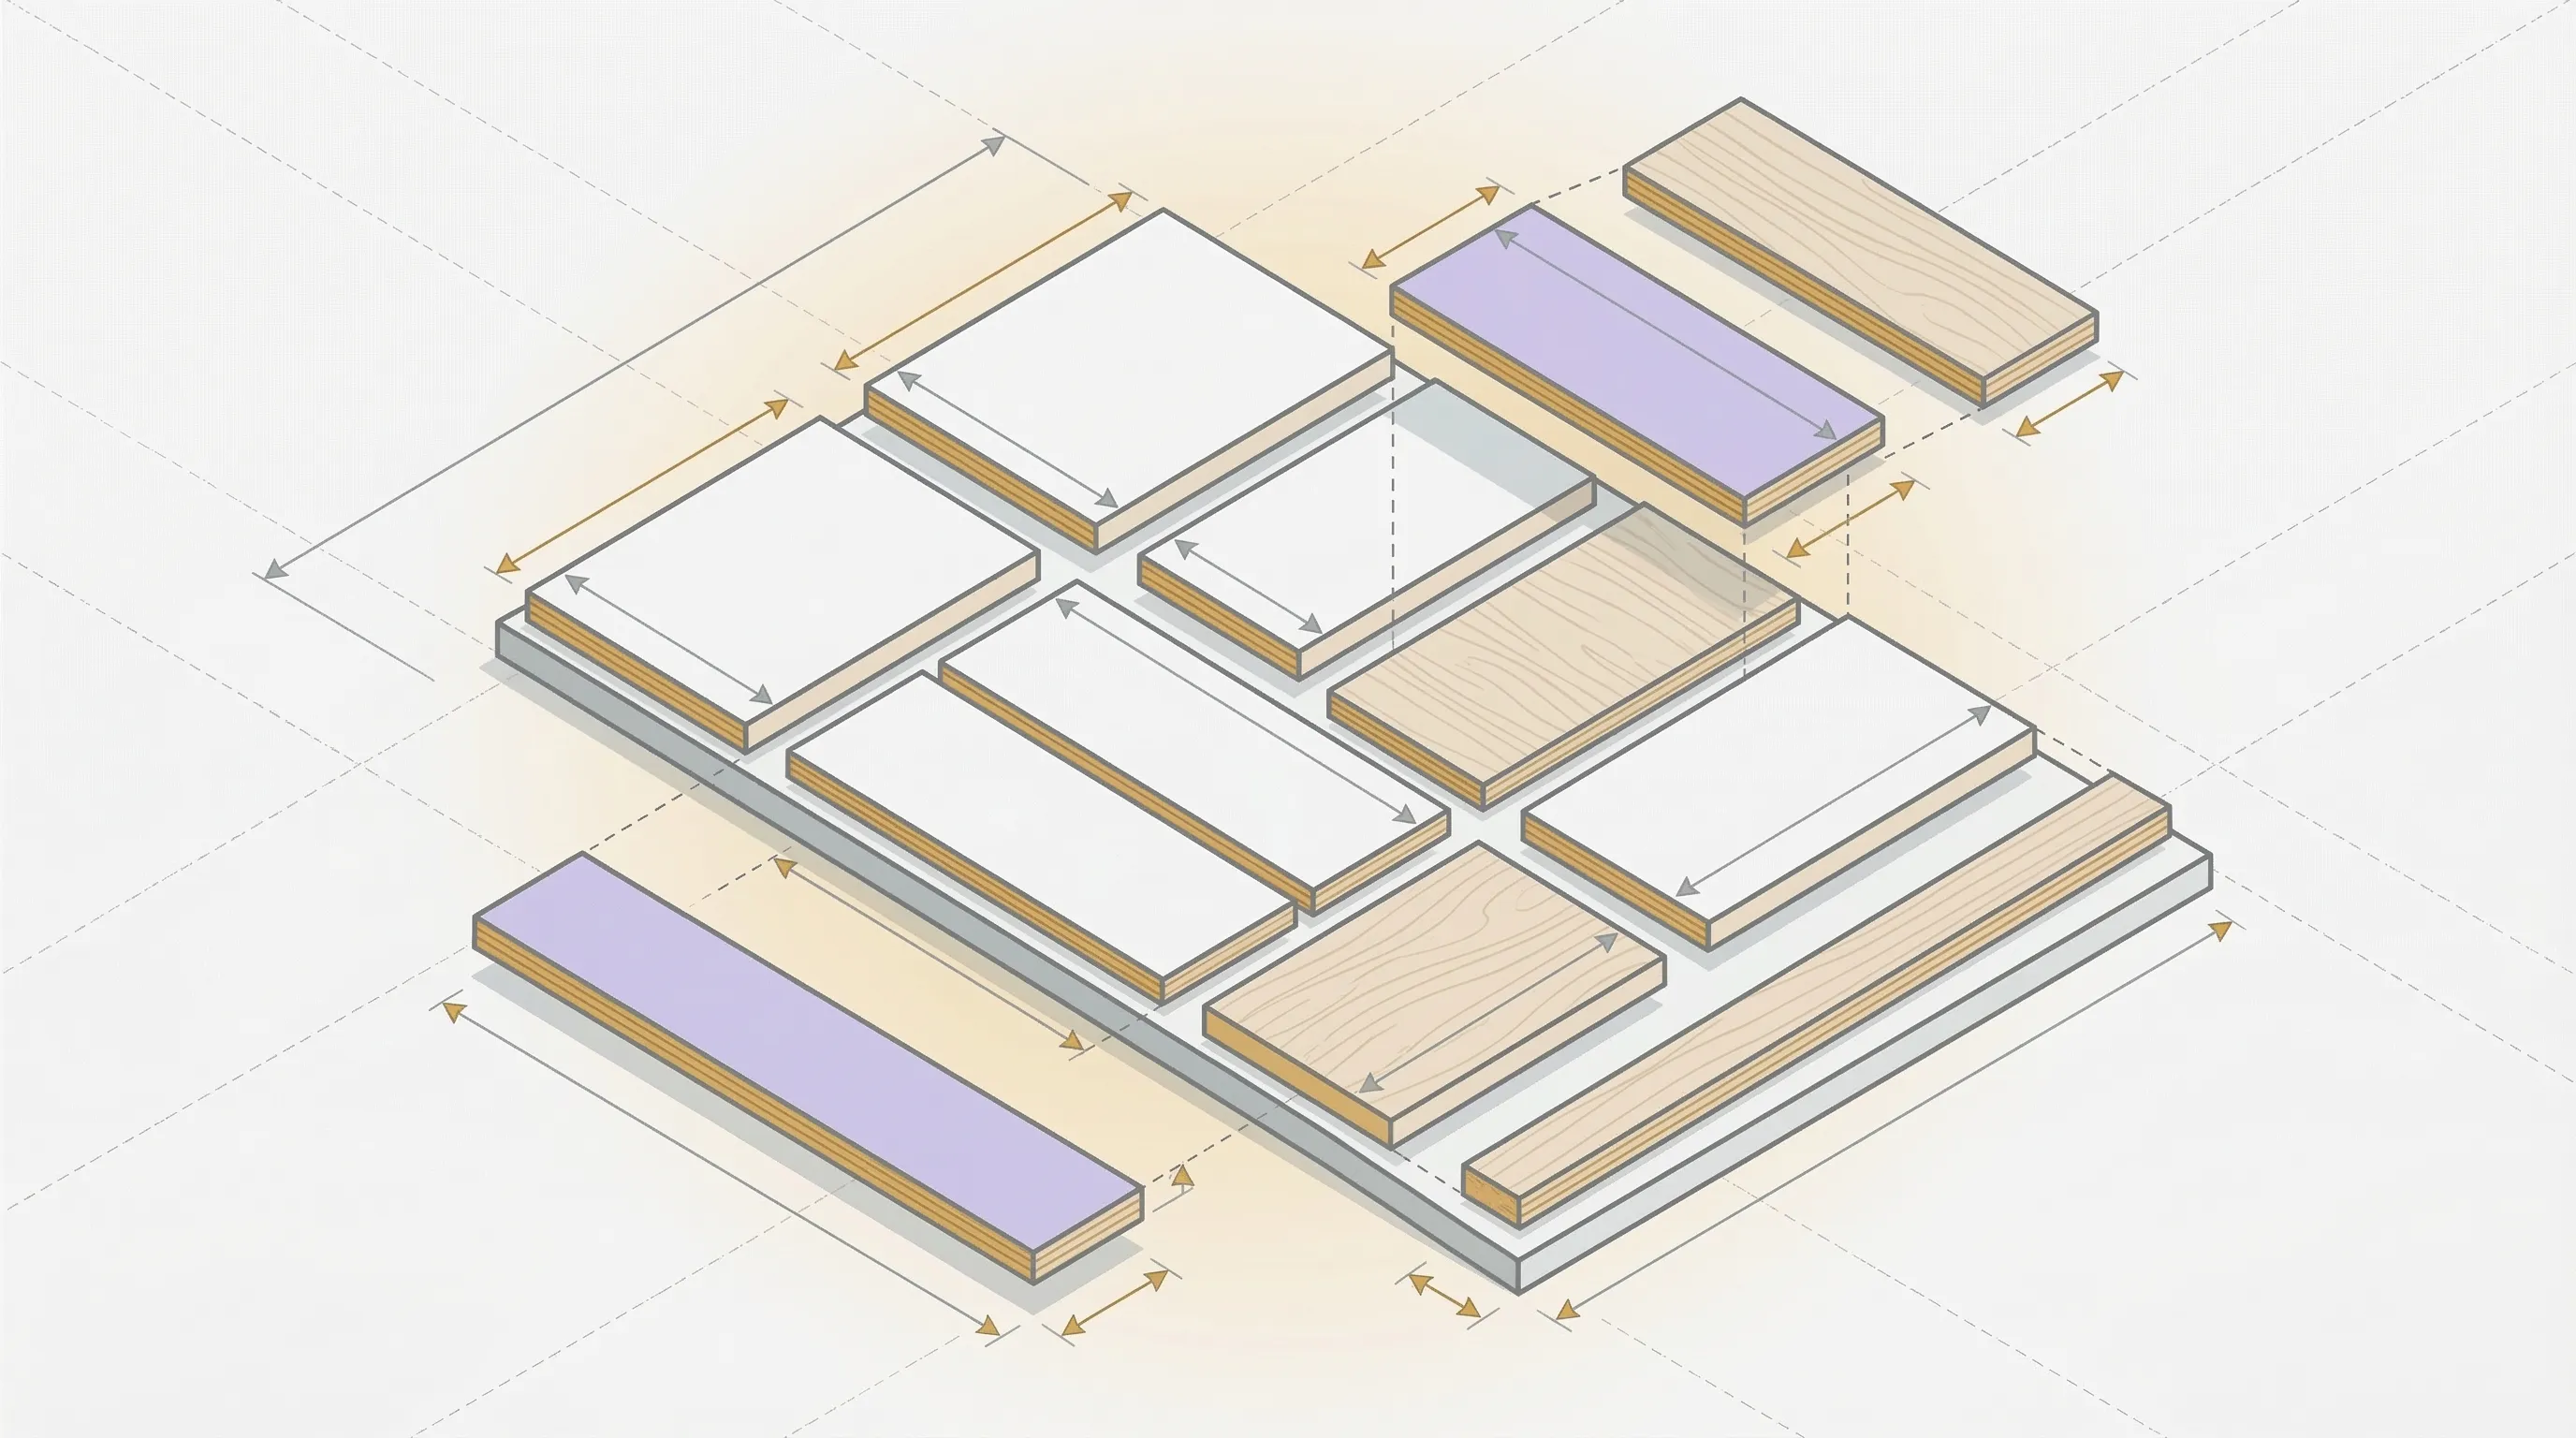
If any edges get banding, mark which ones. Edge banding adds thickness (typically 0.5mm to 2mm per banded edge), and this affects how pieces fit on sheets.
Common notation: "L" for long edges, "W" for short edges, "All" for all four, or specify by position ("front only," "front + top").
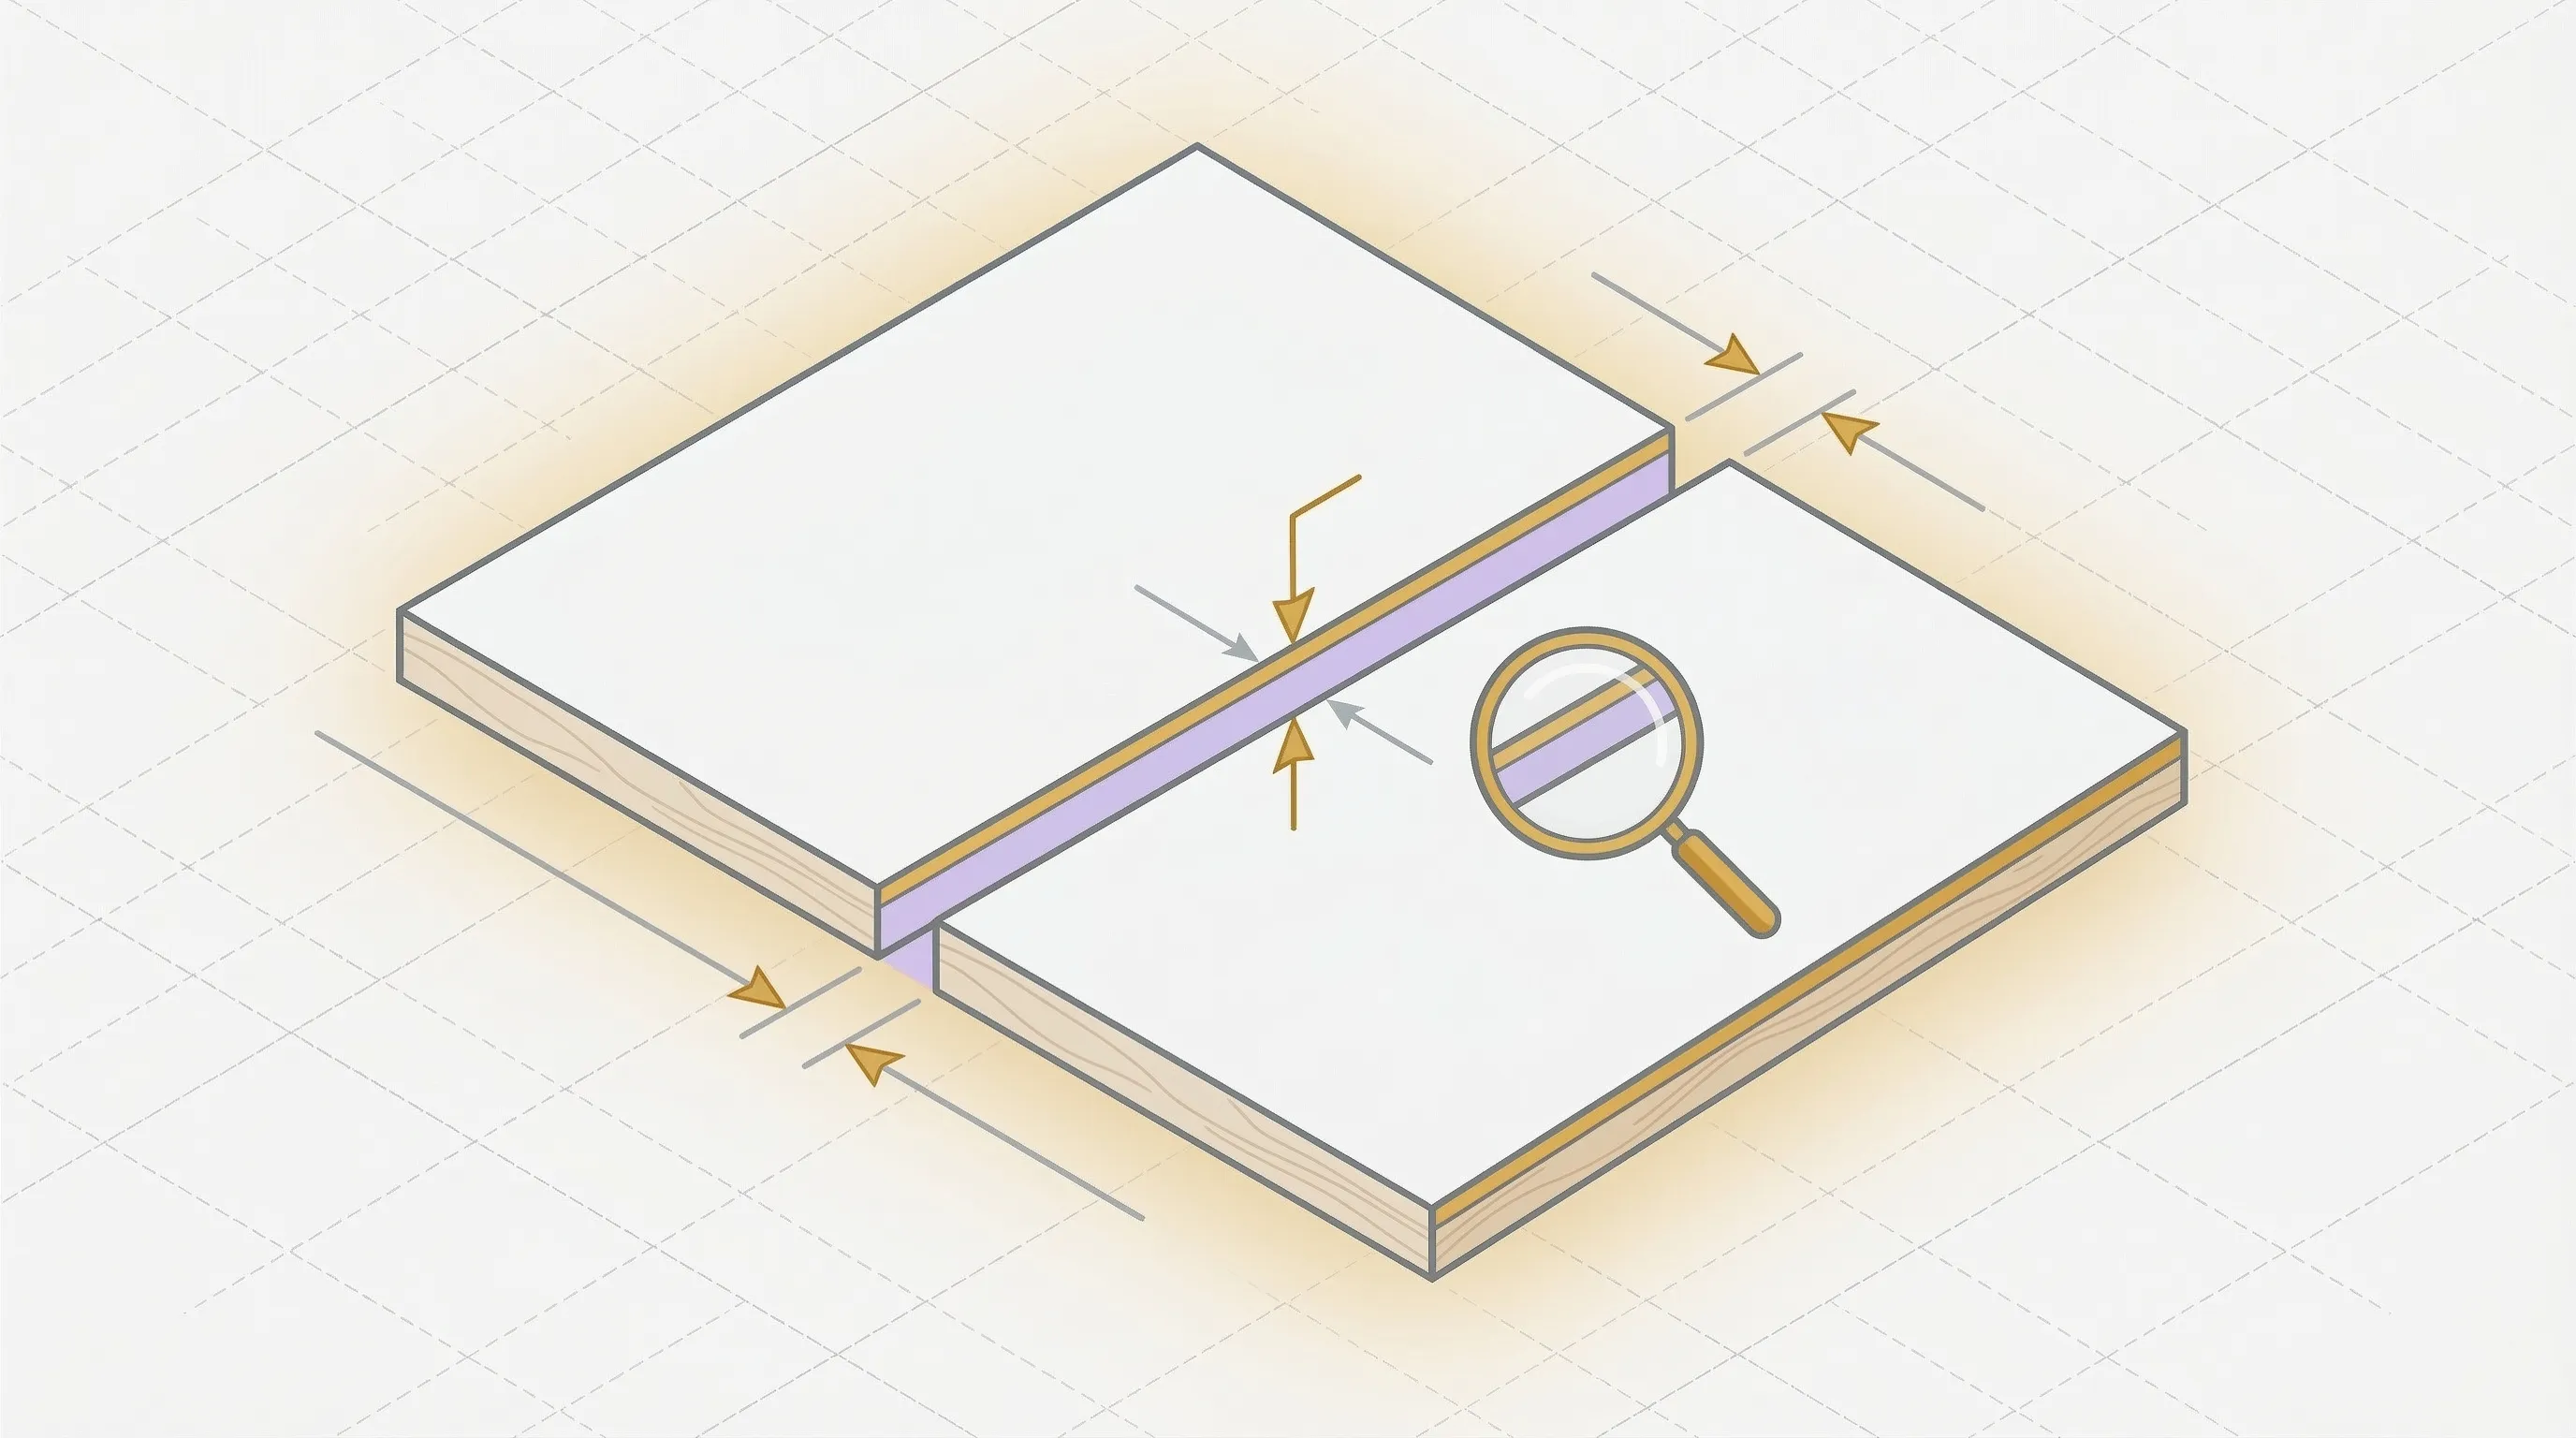
Step 4: Account for Kerf
The kerf width between every cut consumes material. A 3.2mm kerf across 40 cuts is 128mm of wood turned to sawdust.
If you're planning your layout by hand, add one kerf width between every piece. If you're using software, enter the kerf as a setting and the optimizer handles it.
Step 5: Double-Check Dimensions
Measure twice, cut once. Before you consider the cut list final:
- Verify each dimension against the original plans.
- Check that quantity totals match your project (two sides, four shelves, not the other way around).
- Confirm material thickness: is it 3/4" actual or 3/4" nominal (which is often 23/32")? Woodcraft's plywood guide has a useful thickness reference chart.
- Make sure your sheet dimensions are correct (4x8 feet = 48" x 96", not 4' x 8' nominal).
One wrong number on the cut list becomes one wrong piece at the saw. Five minutes of checking prevents five hours of fixing.
Cut List Template (Free)
Copy this template into Excel, Google Sheets, or print it out:
| Piece | Length | Width | Qty | Material | Thickness | Grain | Edge Band | Notes |
|---|---|---|---|---|---|---|---|---|
Column guide:
- Piece: Descriptive name ("left side," "upper shelf," "drawer bottom").
- Length/Width: Finished dimensions in inches or mm. Be consistent within the list.
- Qty: Number of identical pieces.
- Material: Plywood type, MDF, melamine, etc.
- Thickness: Actual measured thickness (3/4", 1/2", 1/4").
- Grain: "L" (grain runs along length), "W" (grain runs along width), or blank.
- Edge Band: Which edges. "Front," "Front+Top," "All 4," or blank.
- Notes: Anything else. "Match grain with piece X," "visible face," "oversize 1/16" for trimming."
Sort by material first, then by length (longest to shortest). This grouping makes it easier to plan your layout and cuts.
From Cut List to Cutting Diagram
A cut list tells you what to cut. A cutting diagram tells you where to cut it.
The cut list alone doesn't show how pieces arrange on actual sheets. To go from list to layout, you have three options:
Graph Paper (Manual)
Draw your sheets to scale on graph paper. Place pieces one by one, largest first. Add kerf gaps between pieces. Count how many sheets you need.
This works for simple projects (under 15 pieces, one material). For anything bigger, you'll spend more time arranging than building.
Spreadsheet Math (Semi-Manual)
Calculate total square footage of all pieces, add 15-20% for waste and kerf, divide by sheet area. This gives you a rough sheet count but no actual layout.
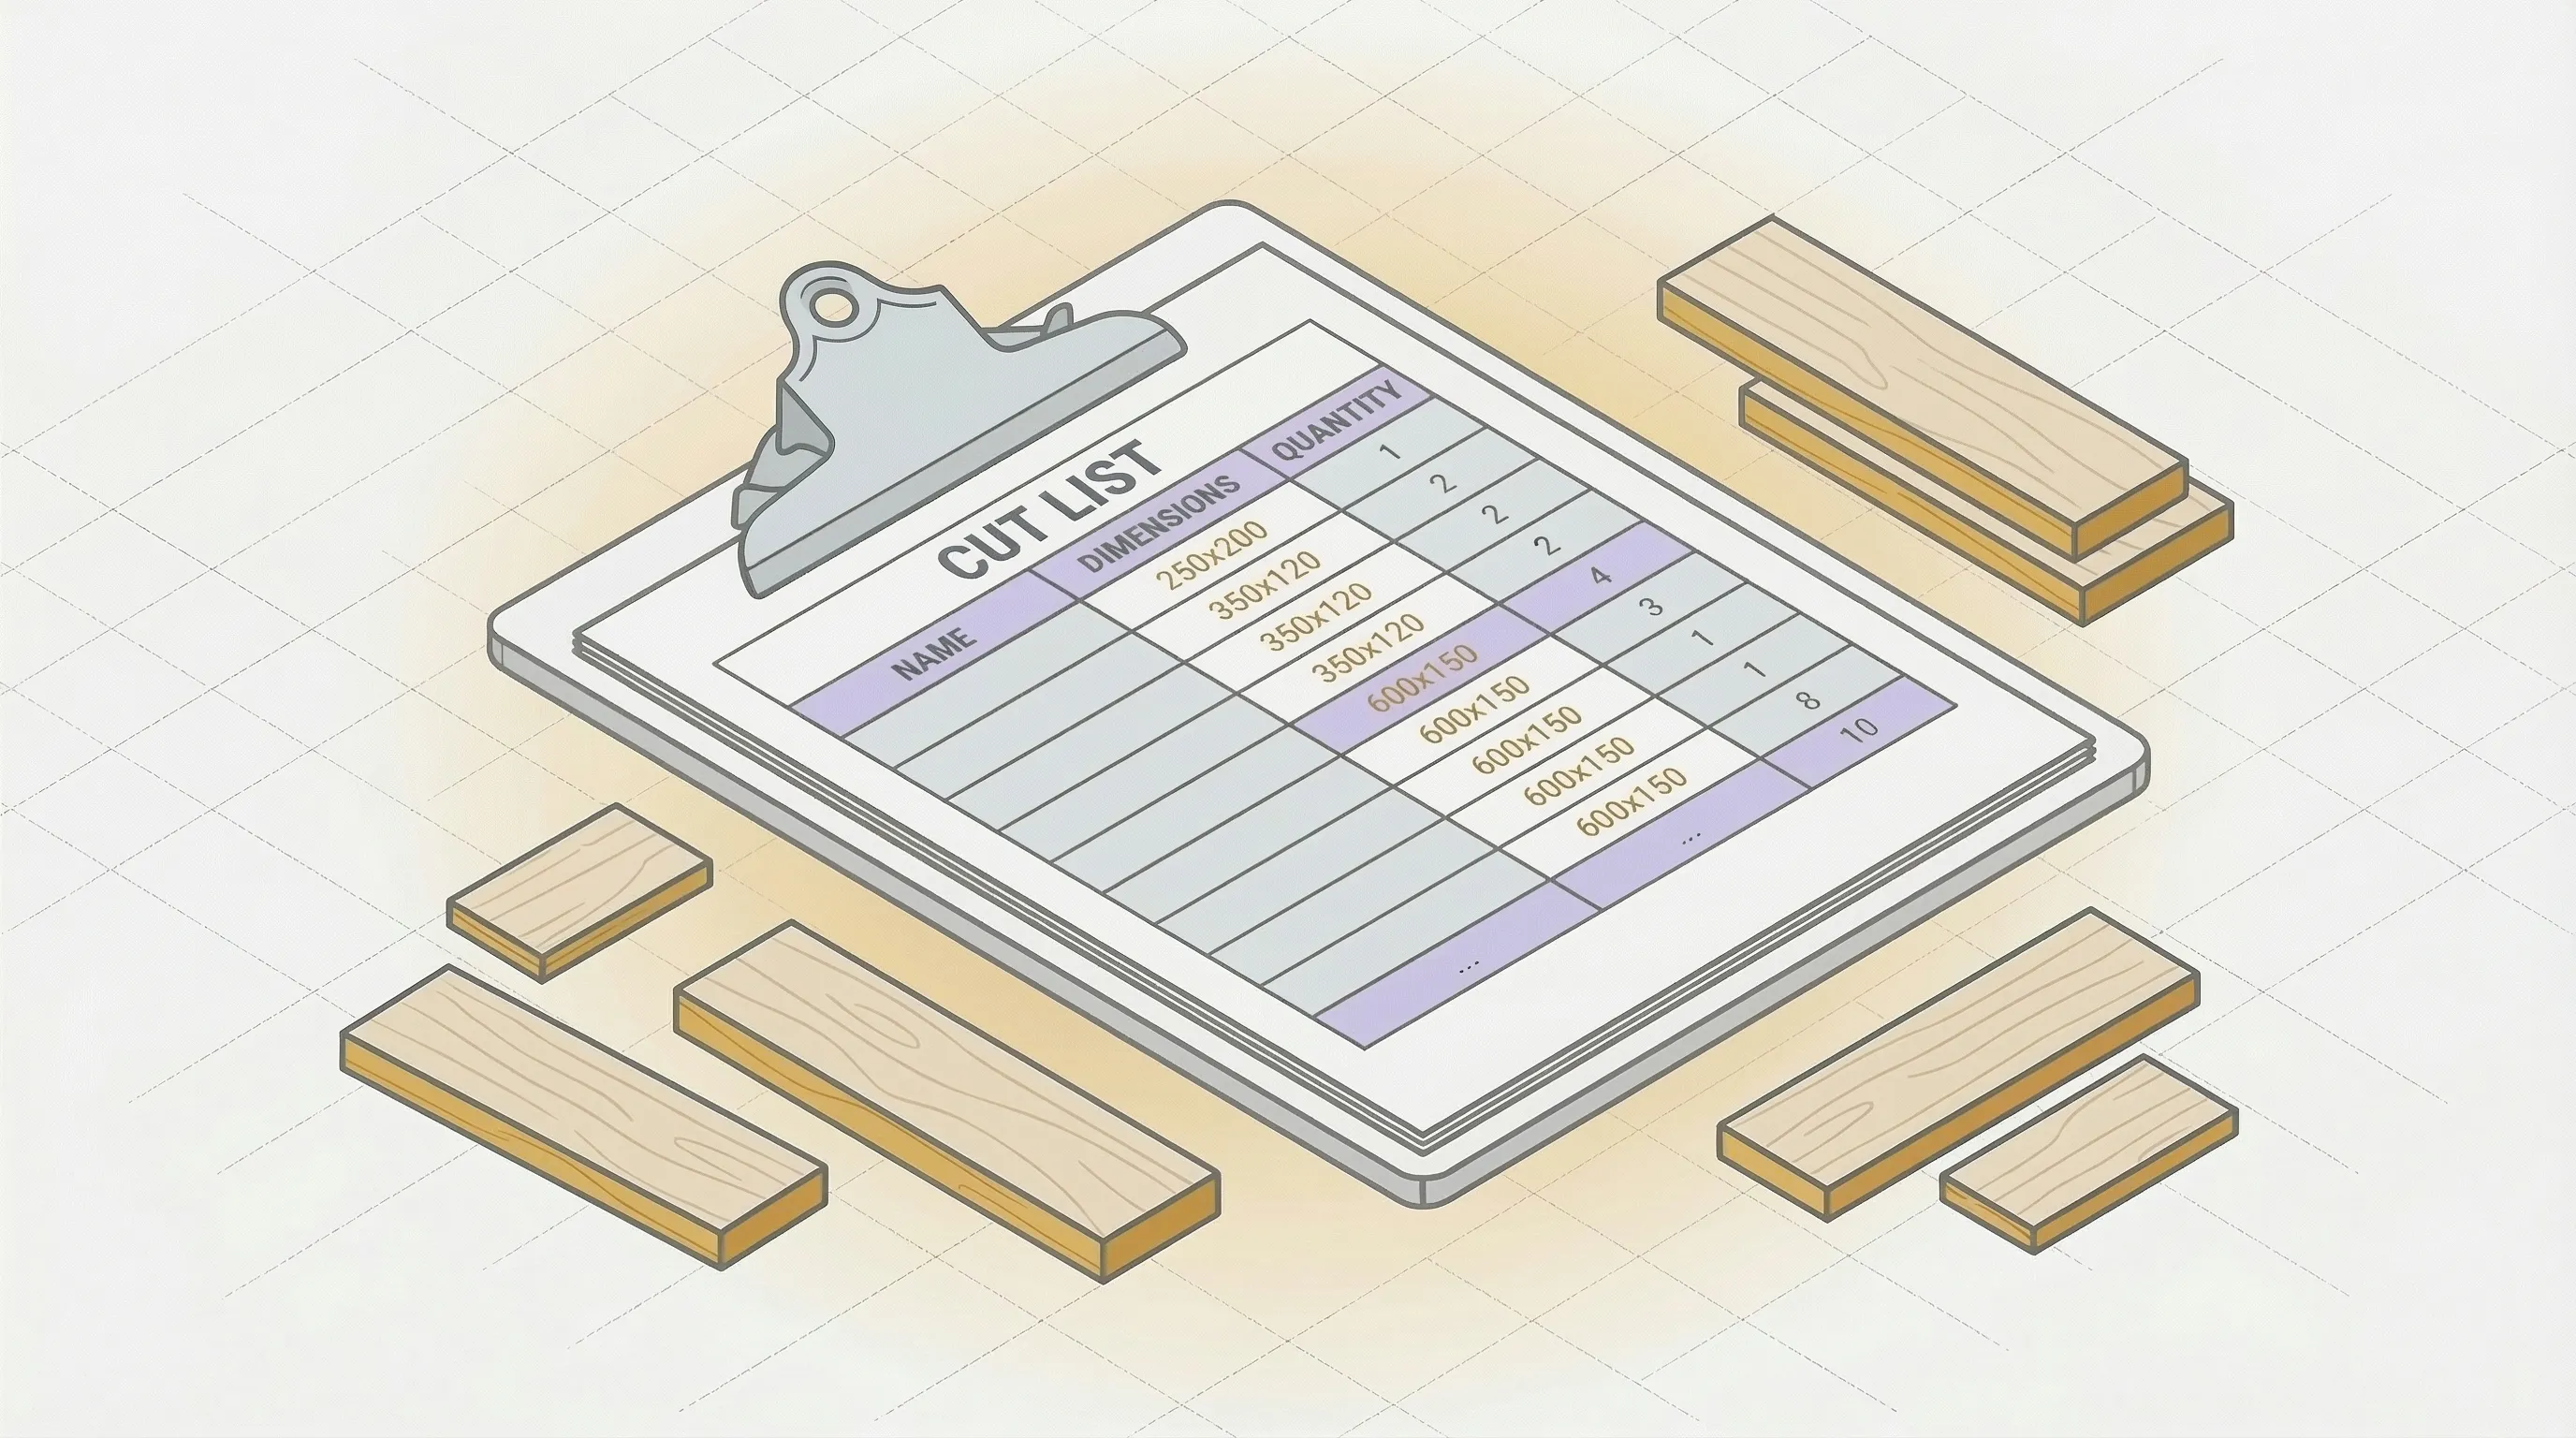
Cut List Software (Automated)
A cut list software optimizer takes your list and generates the layout automatically. You enter the pieces, the sheet sizes, and the kerf width. The software tests thousands of arrangements and returns the one that uses the fewest sheets.
The difference between manual and optimized layout is real. On a 77-piece cabinet project, manual layout needed 12 sheets. The optimizer needed 10. Two sheets of Baltic birch at $133 each is $266.
Try it: enter your cut list into the cutlist optimizer. Set your sheet size and kerf. The optimizer generates a cutting diagram in 30 seconds.
Cut List for Kitchen Cabinets (Example)
Here's a cut list for a single upper kitchen cabinet (30" wide, 30" tall, 12" deep) in 3/4" pre-finished maple plywood:
| Piece | Length | Width | Qty | Material | Grain | Edge Band | Notes |
|---|---|---|---|---|---|---|---|
| Side panel | 30" | 11-1/4" | 2 | 3/4" maple ply | Length | Front | Visible |
| Top/Bottom | 28-1/2" | 11-1/4" | 2 | 3/4" maple ply | Length | Front | Visible |
| Fixed shelf | 28-1/2" | 10-3/4" | 1 | 3/4" maple ply | Length | Front | Center |
| Back panel | 29-1/4" | 28-3/4" | 1 | 1/4" maple ply | N/A | None | Rabbeted |
Six pieces for a single upper cabinet. A full kitchen with 12 uppers and 8 base cabinets can have 100+ pieces across three materials. That's exactly where a cut list goes from "nice to have" to "essential."
For a complete kitchen cabinet project, the cut list feeds directly into the optimizer. The software figures out how to arrange 100 pieces across the minimum number of sheets, with kerf accounted for on every cut.
FAQ
How to Make a Cut List in SketchUp?
SketchUp doesn't generate cut lists natively, but the OpenCutList plugin does. Install it from the SketchUp Extension Warehouse. Build your model with components, and OpenCutList extracts a cut list from the component dimensions. You can then export that list to a CSV and import it into a cutting optimizer.
What Is a Cutting List in Construction?
In construction, a cutting list (or cut list) specifies the lengths and quantities of materials like lumber, rebar, or conduit needed for a job. The concept is identical to woodworking: list everything before you cut to reduce waste and avoid shortages. Construction cutting lists typically focus on linear (1D) cutting, while woodworking cut lists handle 2D sheet optimization.
Can I Make a Cut List in Excel?
Yes. Create a spreadsheet with the columns from the template above. Excel works well for building and managing the list. What it can't do is generate a cutting diagram (the visual layout of pieces on sheets). For that, export your list and import it into a cutting optimizer, or enter the pieces manually into a cutlist optimizer.
What Is a Stock Cutting List?
A stock cutting list includes not just the pieces you need, but also the stock materials you have available (full sheets, remnants from previous projects, offcuts). By listing both the demand (pieces) and the supply (available stock), an optimizer can use leftover sheets from past projects before cutting into new ones.
Start Your Cut List Now
A cut list is the most underrated tool in woodworking. No batteries, no blade changes, no calibration. Just a list that keeps your project on track and your sheets from ending up as scrap.
Five steps: list every piece, add grain direction, note edge banding, account for kerf, and double-check dimensions. That's it.
For your next project, build the cut list first, then feed it into the cutlist optimizer. The optimizer turns your list into a cutting diagram that tells you exactly where to cut, on exactly the right number of sheets. No guessing. No wasted panels.
For more on the cutting itself, see our how to cut plywood guide.
Ready to optimize your cuts?
Join the waitlist and be among the first to try SmartCutList.
Join the waitlist